Welcome to the ONE-HUNDREDTH edition of Kitchen Projects! Can you believe it?
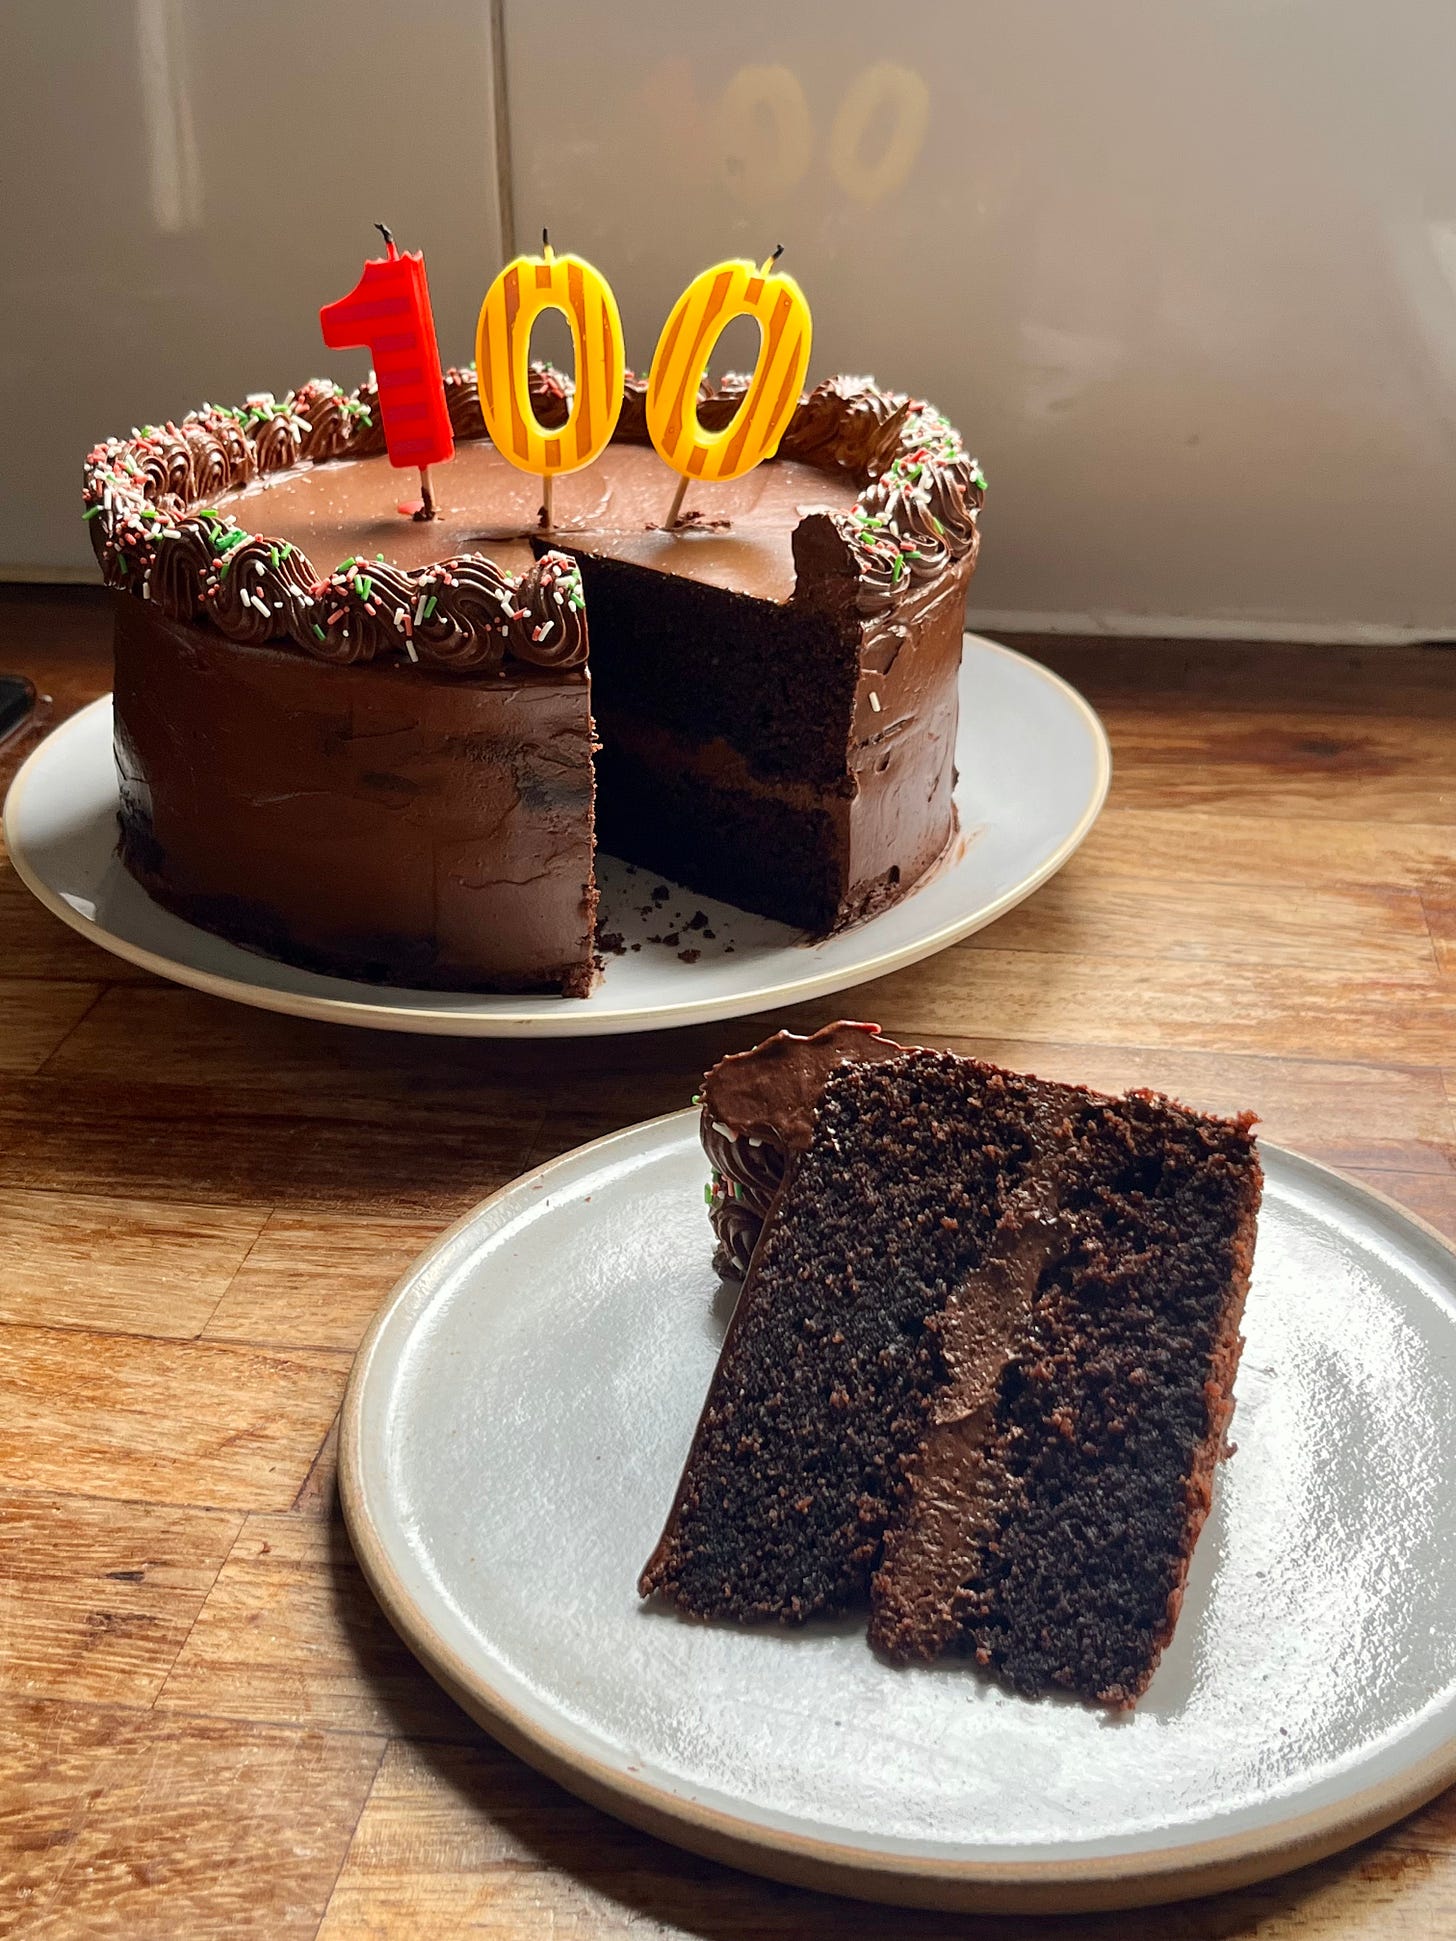
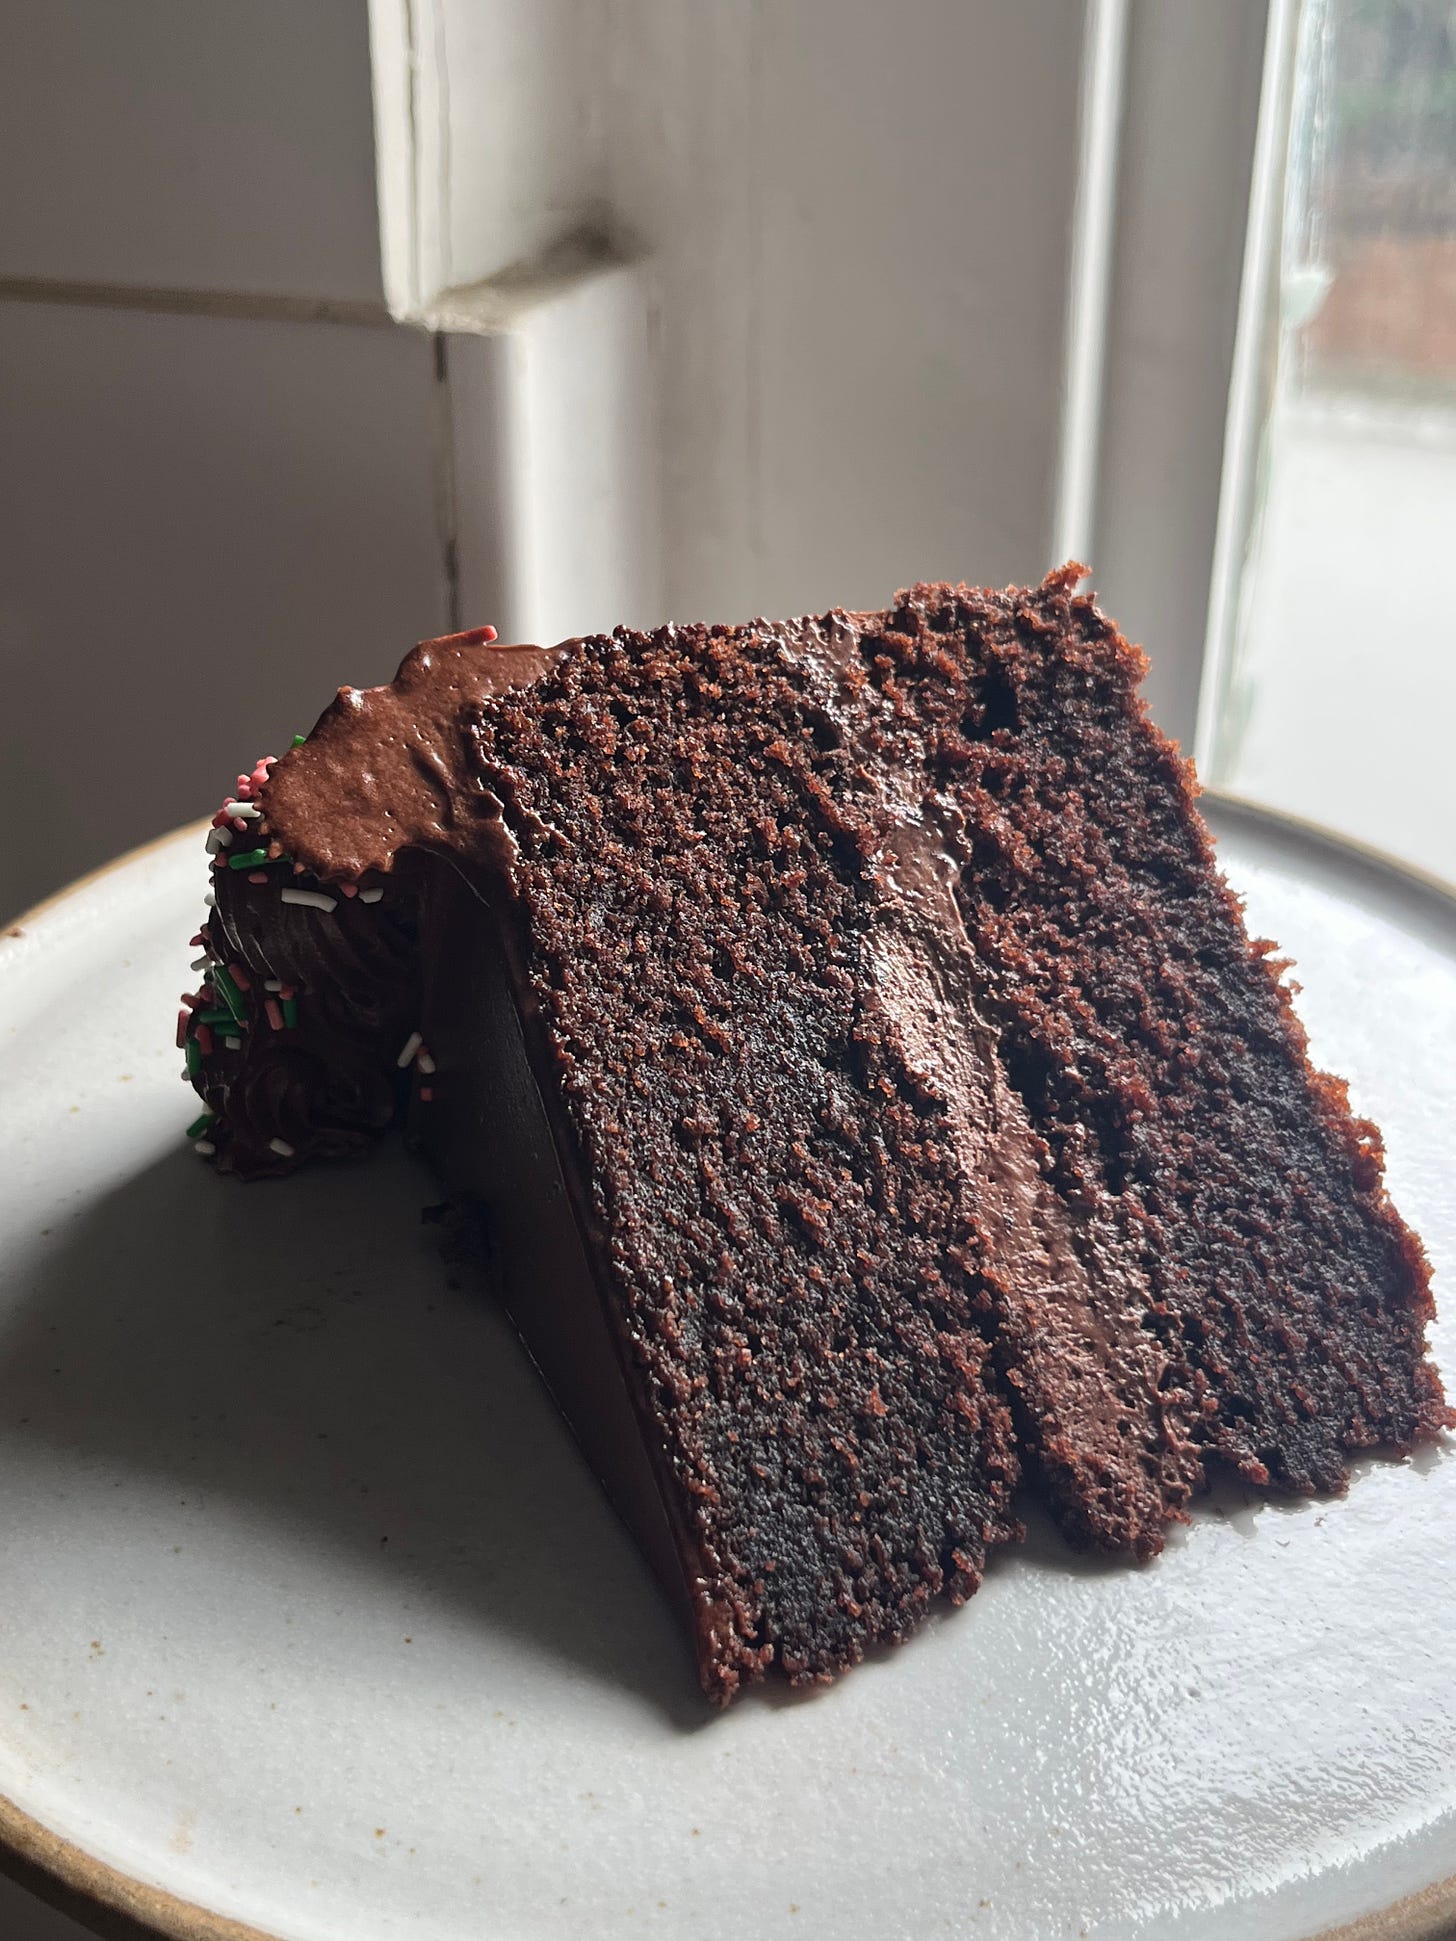
I hardly can. And I’m beyond thrilled that you’re here reading this. Thank you so much! In this very special 100th edition of Kitchen Projects, we’ll take a misty eyed look back at the newsletter AND have a chat about what’s coming up. Of course, we’ll finish off with something to celebrate: A party cake, aka my ultimate chocolate cake. This just felt like the perfect moment to share it. And seeing as how my mum is actually the best person in the world, I’m happy to be sharing a celebration cake on Mother’s Day:
I’ve always said that baking isn’t magic - pulling back the curtain to show you the nuts and bolts is just too much fun not to share - but it certainly is magical.
When I started this newsletter, my goal was to create an honest account of recipe development in the hope it could be an antidote to all of those insta-perfect dishes; All I’ve ever wanted to do is help build you a toolbox of techniques and tricks and pass on the knowledge that I’ve gathered over the years in kitchens (professional and my own). And looking back on all the KPs past, I hope you’ve learnt a few things…. I definitely have! But I’m thrilled to say that 100 editions in, this really does feel like it’s just the beginning.
Whether you’ve been reading this newsletter for one week, or two years, it’s been a RIDE. We’ve traversed the breadth of desserts, cakes and pastries. We’ve discovered freaky tricks, unashamedly used every mixing bowl in our kitchen, taken long detours to find the perfect fruit and spent entire weekends tending to the perfect dough, showing it saint-worthy patience and adoration.
But best of all, it feels like we’ve done it together. Even though I spend most of my week in my kitchen alone, I never feel lonely when I’m writing this newsletter for you. It’s been such a journey. I almost can’t quite believe - and I am tearing up as I write this - that Kitchen Projects goes out to almost 25,000 people every week across 150 countries. It totally blows my mind that this email is reaching you in Uganda, Norway, Bolivia, Mexico and Lithuania, to name just a few.
I find it hard to find the words to describe how grateful I feel for the support that I’m shown. Whether it’s reading every week, or joining the group of icons that make up the KP+ community, coming to the pop-ups, or just being up for a chat about cake in the DMs, it really does mean the world to me. Your support has meant that I’ve been able to write more in-depth pieces and keep going down the rabbit hole. It has also led me to a HUGE project that I haven’t officially announced yet (but will soon). And trust me, I’ll be screaming from the rooftops about it, so you’ve been warned.
So let’s go on a little journey back through the newsletter together. And then I’ll see you at the end for cake. Here’s to the next 100!
Love, always, and thank you, thank you, thank you,
Nicola
PS. This will be my last main newsletter for a while whilst I work on finishing up a major project. For info on how to get involved, please see today’s edition of KP+! Whilst I finish up this project, KP+ will be taken care of by some truly esteemed guests!
Kitchen Projects in review
The Recipes
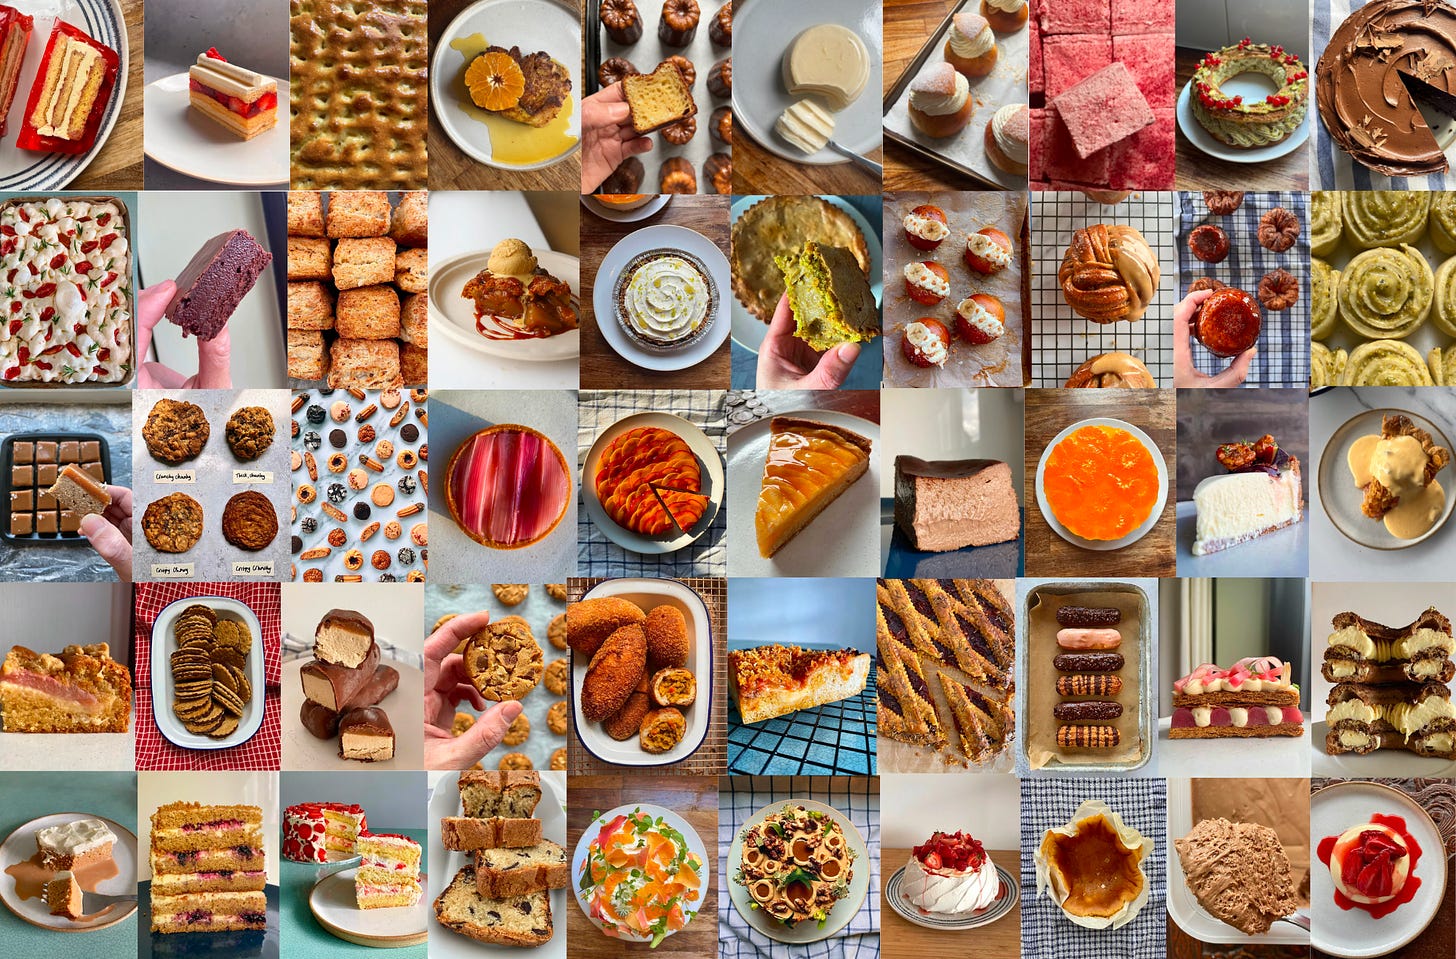
It feels crazy to count them all, but there are over 220 fully tested, in-depth recipes in the Kitchen Projects archive. Over 100 of these are special subscriber-only KP+ recipes. All the recipes come with in depth info on why and how it works plus all the recipes are illustrated with instructional GIFs for a bit of extra support when you’re making the recipe.
Covering desserts, pastries, tarts, biscuits, cookies, confections, frozen dessert, drinks and more, it has been such an honour to dive deep into these recipes with you. From DIY Vienetta to Roast Garlic Laminated Potato Tatin, to Inside-out Trifle, to really, really good Chocolate Chip Cookies, it’s been such a fun ride. From the afternoon bakes - hi 3pm Oat Biscuits - to the whole weekend affairs - hi 3 Day Focaccia - it’s been a joy to accompany you in your kitchens!
I’ve tried to keep track of all the subjects we’ve covered (and I’ll try and come up with a better indexing system) and it’s impossible to list them all right here, but together we’ve explored SO much. From sugar temps to starch gelatinisation, custard ratios to gelatine, meringue drama to syrups, food processor hacks to bun shaping techniques, deep frying pep talks to pastry shrinking-preventing techniques, egg foams to lamination, kneading strategies to wholemeal tactics, maillard reactions to caramelisation, piping to infusing and SO much more, it’s been a journey. I hope that when you open this newsletter to read it you’ll learn at least one piece of information you can take with you, a ticket that might gain you entry to better bake in the future.
To discover the full archive, check the index here.
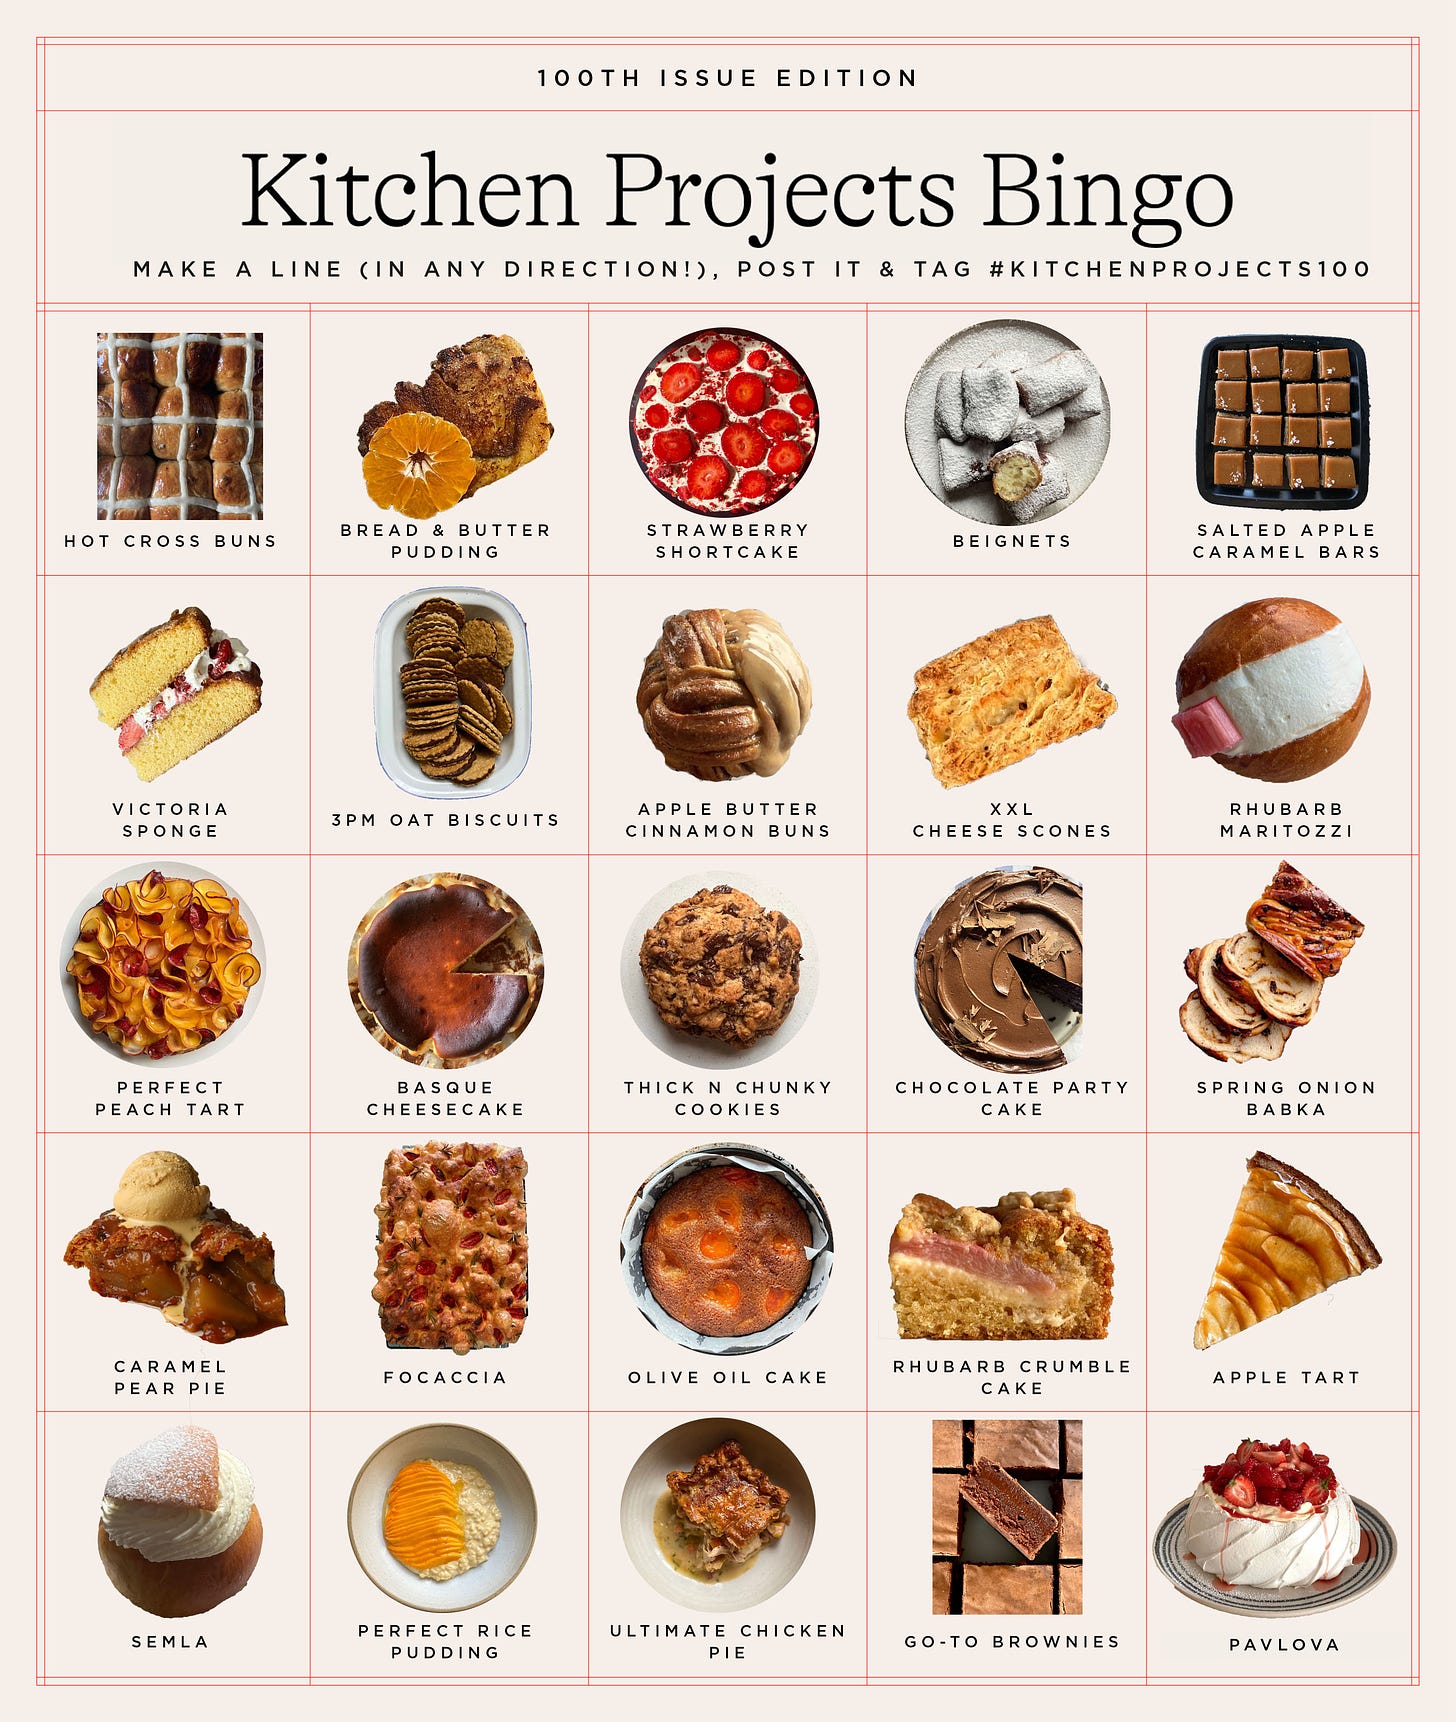
Introducing… 100th edition Kitchen Projects BINGO!
Nothing makes me happier than being tagged in your posts or getting a DM with a photo of something you’ve made from the newsletter. It actually makes me tingle. Especially because you guys cook my recipes better than I do, honestly, and I’m so grateful to see it. For a bit of fun, I’ve decided to put together a little game for this 100th newsletter occasion: KITCHEN PROJECTS BINGO!
Take a look at the bingo card and see if you’ve completed a line in ANY direction (hi diagonals!). If you have, post ‘em on insta with the hashtag #KitchenProjects100, tag me and I’ll randomly pick a winner. I honestly have no idea if anyone will be able to enter, but I’m hoping there’s at least one bingo out there!
The winner will get a year’s subscription to KP+ as well as a VERY special giveaway box filled w all my favourite goodies!
The KP+ community and recipes
One of the best things to emerge from this newsletter is the community of bakers in who have joined me over in KP+. HI all of you! I love you so much!
KP+ is the paid version of the newsletter, and I’m so honoured to have such a fabulous mixture of home and professionals in the community. I’ve been incredibly fortunate to spend time with so many of you digitally and in person. From gift exchanges to apple picking trips to the orchard to hang-outs - albeit brief - at pop-ups to the hilarious chat threads, it’s been an honour getting to know you. I’ll definitely be hosting more events in the upcoming year and am chatting with some friends about doing some special subscriber-only supper clubs etc. so watch this space.
In 2022, I launched the KP+ Community Recipes series. It’s a regular spot where I share a recipe and story from a member of KP+. So far we’ve had Shadie’s Tayta’s Quince Jam to Rory’s Auntie’s special Brown Bread Ice Cream, the most delish Loaded Corn Muffins by Zak and a stunning Marmalade Treacle Tart by Annie. It’s so wonderful to shine a spotlight into your baking lives and origin stories. I am actually obsessed with you all!
Ready to join us?! Click the button below…
Columnists and guest writers
When I started Kitchen Projects, I genuinely had no idea what direction it would go in. It’s become one of my greatest joys to commission work from writers especially for the newsletter. Getting to see the way that they persevere through obstacles in their development process is such a delight.
I’m still ‘pinch me’ proud that the inimitable Goddess Camilla Wynne has joined KP as our resident preserving columnist. Her book ‘Jam Bake’ is indispensable in my kitchen. Whenever her writing lands in my inbox, it feels like an actual gift. She is so witty, intriguing, sharp and downright SKILLED. We’ve plenty of fun columns still to come this year. Click here for her archive.
So what’s next? WELL, I’m so excited for this newsletter to continue growing into new areas of curiosity and teaching. In fact, there will be a brand new column and regular columnist launching sometime this Spring - I cannot WAIT for us all to learn from them.
Alongside the longer columns, I’ve had the pleasure of hosting a series of visiting bakers and writers in a beautiful buffet of guest posts.
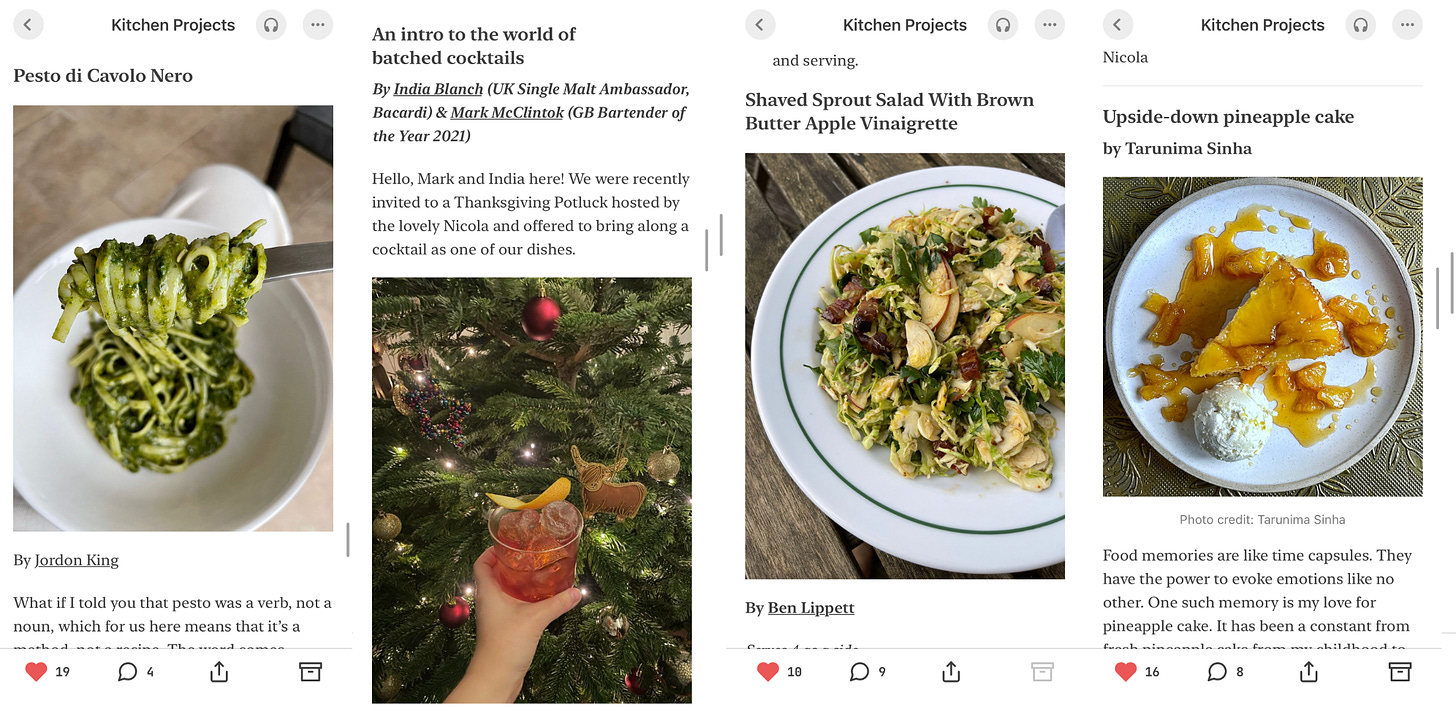
Covering everything from savoury delights to cocktails, cookies to spreads, my gratitude goes to the insanely talented bunch that is Jordon King, Claire Dinhut, Tarunima Sinha, Rosie Mackean, Cissy Difford, Ayako Watanabe, Talia Berk, Darcie Maher, Nichola Gensler, Ben Lippett, India and Mark Mc Clintock-Blanch! Just reading that list I’m bowled over by the talent! Oh, and a huge thanks also to Giles Cooper and Steph Blackwell for their invaluable behind-the-scenes help.
Interview specials and Cookbook features
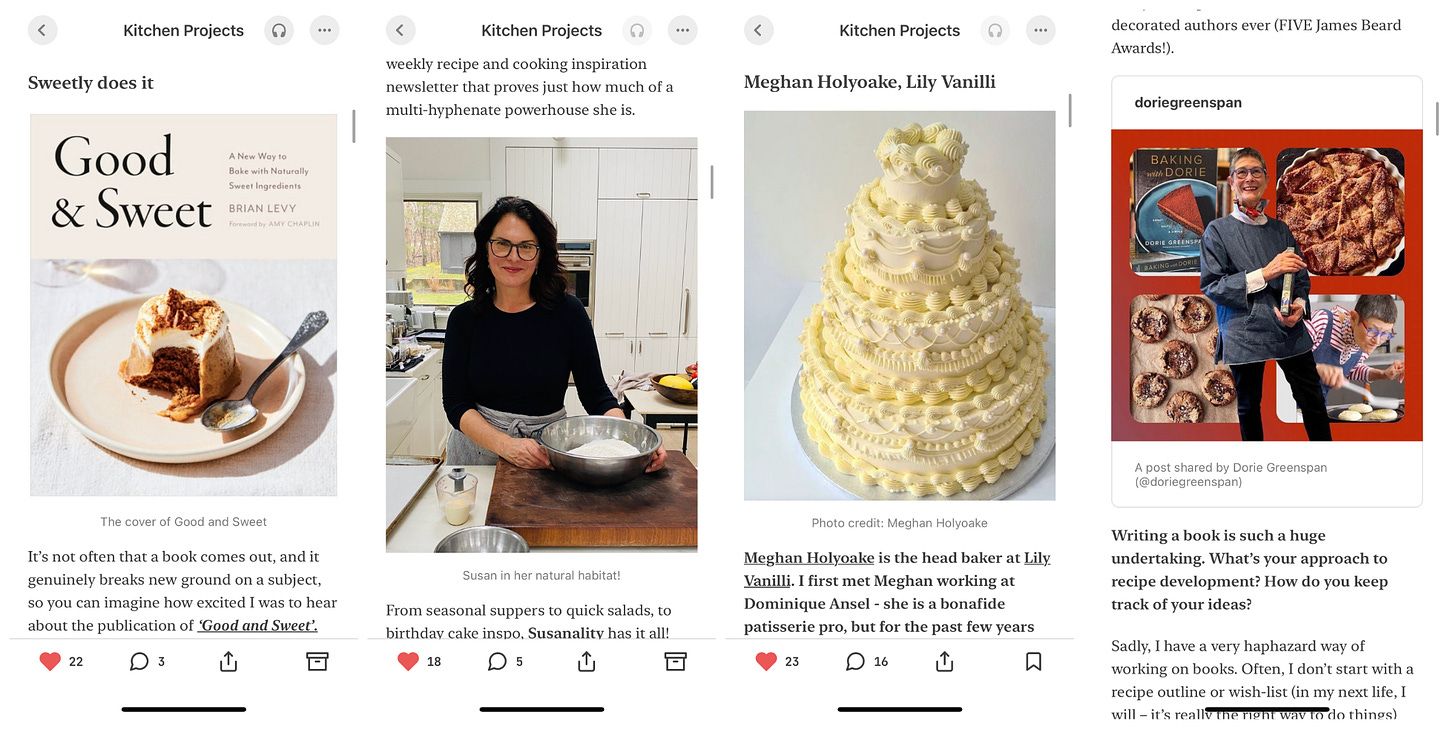
I’ve been outrageously lucky to have some extraordinary chefs, bakers, and writers stop into the newsletter to share their pearls of wisdom. Since the inception of Kitchen Projects, we’ve had drop-ins from some of the greats. I’ve loved learning from Nicole Rucker on pies, Susan Spungen on scones, Dorie Greenspan, Liz Prueitt, Yossy Arefi, and Helen Goh on cookbooks for IWD ‘23, Meghan Holyoake, Pam Jones, Natasha Pickowicz, Holly Cochrane and Rose Wilde on layer cakes for IWD ‘22; Thank you very much for all your wise words!
This newsletter has also become a place to celebrate cookbooks, new and old. Every time I get to write about a cookbook here, I sit down with the author to chat about their journey into recipe development, writing and cheffing. I’m always delighted (and often misty-eyed) at the breadth of stories that lead them to the book. Getting to share those conversations along with an excerpt is such an honour. So far I’ve chatted and featured Brian Levy and JR Ryall about their respective books and let me tell you, I have SUCH a fab one coming up very soon!
Teacher editions
Launching the KP+ teacher series has been a total riot; I’m the first to admit that my expertise has limits, and I love nothing more than learning and listening. Every few months I’ve been heading into the kitchen with an expert and becoming a student all over again! I spend the day learning from them, asking ALL the questions, so I can pass that knowledge onto you and share their food story.
With the help of Lillian Luk of Shanghai supper club, I learnt that baking powder can neutralise the fermented flavour of yeast. Chloe Rose Crabtree showed us how to bring all the energy of a tart tatin into a deep dish apple pie whilst illuminating us on the great homogenisation of US food culture. And Pam Jones of Lemon Tree Cakes showed us the relationship between art and food, craft and cooking with a joyful edition about iced biscuits.
Travel guides & other useful bits
There’s also been little forays into non-recipe content. From travel guides (Is the best thing about being on holiday a) eating or b) eating or is it c) eating? Ok, it’s eating) to kit recommendations to ice cream balancing spreadsheets, it’s fun to go a bit left field every now and again. Here’s a little round-up:
Your favourite places – travel recommendations
P.S. I have a few ideas planned for future travel-y reccs content, food focused of course! Watch this space!
The look of it all
Before we get onto the cake I have one more big thank you. Although I think I’m pretty good at designing pastries, I’m horrible at all other design bits. SO please let me take a moment to thank Josh and Chris at Nueker for the KP design glow-up. I love love love working with the team there so if you have ANY design needs (they do a whole host of stuff), then they are your guys.
Alright, let’s make some bloody cake!
Party cake, perfected
Baking holds a special place in my life as an activity that is simultaneously for myself and others. How great is it that something that feels so good and meditative to do alone can later be shared and enjoyed with others? How rare?! How mystical?! How FABULOUS?!
For me, the best example of this magic at play is party cake. You know, the kind that you bake with the express intention of sharing with others and making someone's day. Party cake comes in all shapes and sizes and one thing I know is that we will all have different ideas about what it looks like (team colin caterpillar, where you at?). Although Victoria Sponge is a go-to, for me there’s just something about a really good chocolate cake that just screams: ‘It’s time to party!’
From birthdays to engagements, leaving parties to house warmings and, of course, Mother’s Day (which falls today in the UK!), there’s always a reason to celebrate with cake.
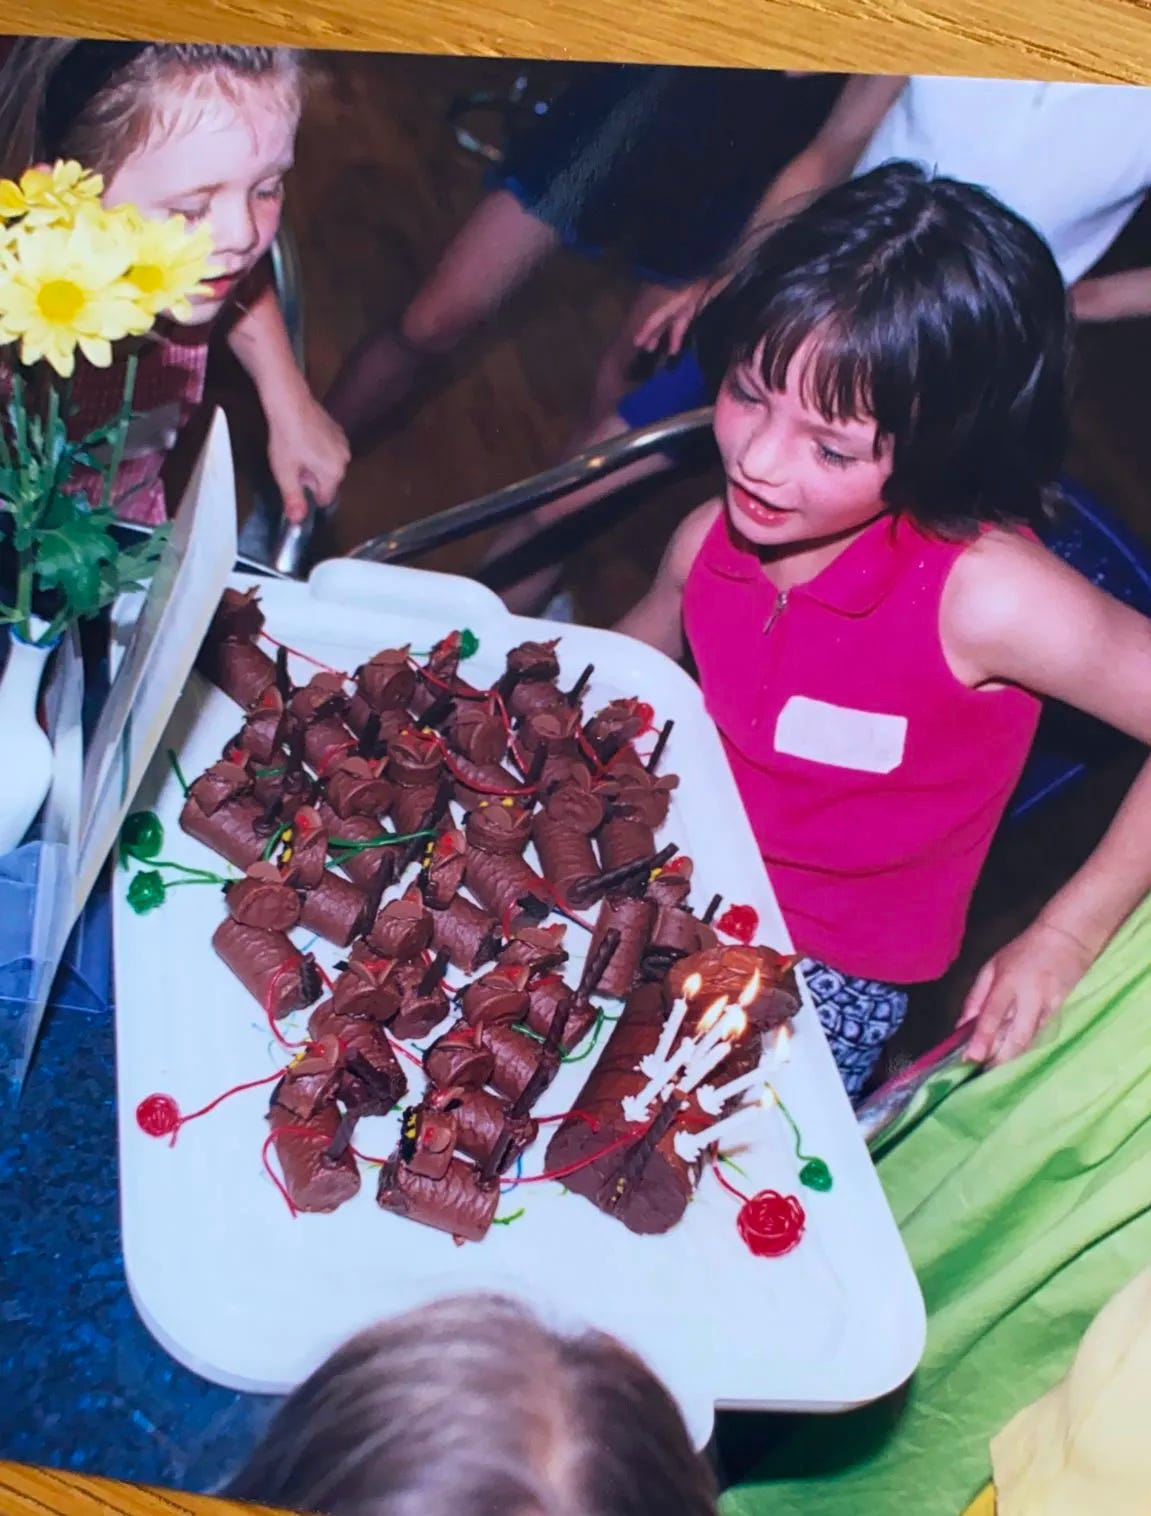
I think it’s my family’s fault; As well as being bonafide biscuit people, my family are chocolate nuts. My dad used to go on a weekly pilgrimage to the ASDA superstore to buy a frankly alarming quantity of galaxy chocolate. An ‘in progress’ Toblerone was a permanent fixture in the fridge. Eating an entire chocolate orange for breakfast is the family Christmas tradition for goodness sakes. We just can’t get enough. Just look at the birthday cake my mum made me - my two passions perfectly combined: Cats and mass-produced chocolate.
The making of a chocolate cake
So what makes a great chocolate cake? For me, it’s a rich, dark sponge paired with a chocolate frosting that doesn’t take itself too seriously. That means a good balance of cocoa (earthy, bitter) and actual chocolate (more complex, fat, rich).
When it comes to chocolate sponge, I find that airiness isn’t the goal. I want something deeply flavourful, tender, velvety and pleasantly dense. Dry cake is disappointing at any occasion, but I find it to be particularly offensive when the cake in question is of the chocolate variety. I think we have Nigella to thank for coming up with the ultimate alternative for the dreaded ‘m’ word - damp. And in the context of chocolate cake, it works particularly well.
So what are we looking for? Well, a really good chocolate cake should be able to be dressed up or down as you wish. It should have a good balance of roasty cocoa and rich chocolate notes. It should be able to play ball in a multi-layered affair, hold its own as a hefty doorstop-style layer cake, or be happily nestled in an entremet surrounded by mousse. A recipe that takes you through every kind of party life offers.
For today we’ll go through the sponge and my new go-to chocolate buttercream. And over on KP+, I have taken this cake to the next level with my 16 layer chocolate dream cake, with layers of coffee whipped ganache, passionfruit butter caramel sauce, chocolate cake soaked with coffee and finished off with the best buttercream and chocolate curls. It’s a journey of bitter, sweet, sour, rich and fresh. It really does have it all:
What’s in the sponge?
Today’s recipe is heavily inspired by a category of chocolate cakes that I think of as ‘wet’ cakes - think guinness cake or devil’s food cake. There are plenty of ‘wet’ recipes out there, and the most successful ones share a bunch of similarities - high proportion of sugar, lots of added liquid in the form of dairy fats like sour cream and liquids like stout or coffee, plus eggs and flour to bind it all together.
To kick this ingredient dive off, let’s first refer to Harold McGee for his perfect description of cake: “A web of flour, eggs, sugar and butter that readily disintegrates in the mouth and fills it with easeful flavour.” So let’s run through what makes that wonderful web. I tested out a few combinations based on the notes below:
Fat (approx 16% of total recipe): The fat in chocolate cake varies between butter, favoured for flavour, and oil, favoured for texture. Fat tenderises the crumb by coating the other ingredients, like flour, and weakens the gluten (the development of gluten will lead to toughness or chewiness). The more strong flavours you add to a cake, like cocoa powder in today’s recipe, the less important the flavour of the fat becomes in my opinion. I think oil is the best for optimal texture, but you can’t beat butter on flavour. I opt for 50/50!
Sugar (About 23% of total recipe): Sugar, besides sweetness, has an essential role in tenderising bakes. In fact, I like to think of sugar as a tenderiser before I think of it as a sweetener in cakes. This is because sugar is hygroscopic, aka loves water! As a result, it holds onto moisture, resulting in a tender, soft crumb. The sugar in chocolate cake can be any! Though liquid sugars like honey or maple syrup may need some careful balancing with the chocolate flavours for both to still be able to shine.
Eggs (about 10% of total recipe): Even without being beaten to a foam, eggs implicitly aid leavening in your recipes - they provide hydration which turns to steam during baking. As well as this, the proteins coagulate (harden) as they are heated, so provide structure to your bakes. Cakes generally use whole eggs, but you can change this up; Because yolks contain fat, you can increase the tenderness of cakes by using more yolks or adding additional yolks.
Flour (about 20% of total recipe): Though we most associate flour with gluten, flour is most useful in cakes for its bulking role and starch gelatinisation. Starch provides essential structure in our cakes, with a bit of assistance from the gluten.
Cocoa powder (about 5% of total recipe): Cocoa’s main role in chocolate cake is adding those deep, roasted cacao flavours and providing that deep colour. It also adds bulk to the batter and, because it has no gluten-making capabilities, will help with the tenderness of the cake.
Liquid (usually dairy and is thick / fat - about 20% of total recipe): A lot of chocolate cakes will call for an additional dairy - it usually has a tang. This ranges from buttermilk to sour cream, but could be yoghurt, ricotta, double cream, creme fraiche etc. Each has a slightly different effect. The higher the fat, the more tender and tight the crumb, as the fat weakens the gluten structure. The higher the water content of the dairy, the more the cake rises from the production of steam.
Liquid (thin - about 8% of total recipe): A lot of recipes also call for additional liquid. The most popular pairings with chocolate tend to be Stout/Guinness or coffee. Coffee makes the chocolate cake taste more like chocolate (deep!), whilst the stout is more distinct. If you don’t like either, add water, milk, or more of the ‘fat’ liquid above.
Raising agents: Because chocolate cake is often made with oil or melted butter, it tends not to be aerated during mixing, so raising agents are essential for the texture. Depending on the ingredients, this could be a mixture of bicarb and baking powder, or just one or the other.
Conclusion: To make this as simple as possible, I’m giving you a lot of leeway on the recipe today. This is an “always works” cake, no matter what you’ve got in the pantry and fridge. For fat, I opt for 50/50 butter and oil OR all oil, depending on what I’ve got (or if I can’t be bothered to dirty a utensil for melting the butter, it’s all oil). I like a blend of light brown sugar and caster for the sugar, though you could do either. For the added fat liquid, I opted for a mixture of sour cream and buttermilk in my final cake, though I had good results with double cream, yoghurt, creme fraiche etc. (see notes for the differences). For the ‘thin’ liquid, I opt for coffee because its a less distinct flavour, though you could do stout if you like that bitterness!
The mixing method
Lucky for us, a rich, dense crumbed cake tends to benefit from the most simple and mess-free mixing processes: A one bowl mix! Liquid fat - either melted butter or oil - is combined with the sugar and eggs, followed by the dries and any add-ins. This is typical for this type of cake - Devil’s Food Cake and Guinness Cake both use this method to great effect.
What about ACTUAL chocolate?
Some chocolate cake recipes will call for a quantity of melted chocolate to be added to the batter. Although this can lead to a good depth of flavour that is distinctly ‘chocolatey’ rather than cocoa-y, I found it had a rather drying effect on the crumb as the cocoa butter hardens as it cools. I also found that the cake was prone to exploding - because the chocolate adds no structure as it bakes (it doesn’t harden, like flour, or coagulate, like eggs), I am sure it's possible to adapt the formulation to make up for this; For today’s party cake where I prioritise balancing simplicity and flavour, I didn’t think the addition of melted chocolate into the cake was worth it. I’ll leave the frosting to do the talking.
The frosting
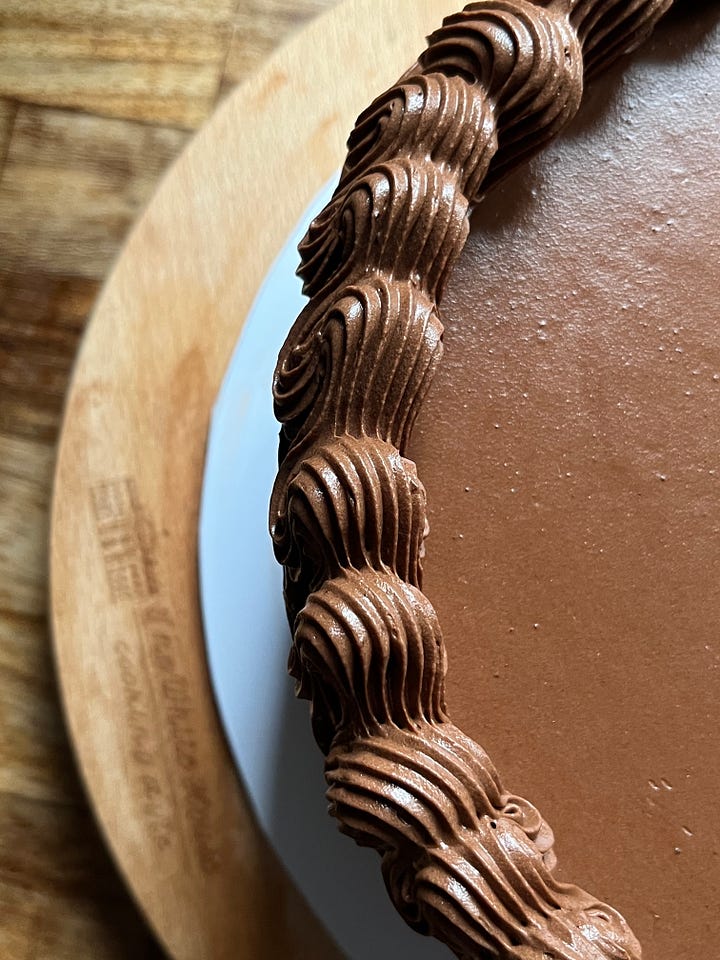

This is one of my favourite recipes I've ever developed. It’s the kind of chocolate frosting that you can eat gleefully with a spoon. When it comes to chocolate icing, I hate having to decide between buttercream and chocolate ganache. Usually, that means deciding between cocoa flavours (buttercream) and rich, smooth, chocolate (ganache) So for today’s recipe, I decided not to decide: I’ve combined the two. The result is a well-balanced, very well-behaved (it pipes sooooo well) frosting that holds well at room temp. Unlike ganache which tends to split if you agitate it too much, this frosting can be piped, re-piped, spread, and re-spread til your heart’s desire is complete.
Ok, let’s make it.
Chocolate Party Cake
Makes 1 x 8 inch, hefty 2-layer cake. Serves 16. For a scaled recipe guide for making diff sizes of this sponge, check out today’s KP+.
Cake Ingredients:
120g Butter, melted
120g Neutral oil like vegetable oil
150g Light brown sugar
190g Caster sugar
130g Eggs
300g Plain flour
75g Cocoa powder - something rich like Valrhona or Cacao Barry works great!
4g Bicarb
8g Baking powder
3g salt
100ml Strong coffee or stout
300g Sour cream, creme fraiche, yoghurt or a mix depending what you have at home. (I used 75/25 sour cream and buttermilk)
Plus 75ml coffee for soaking
Chocolate Buttercream
Enough for a double layered 8 inch cake with piped decor. If you’re a person that LOVES frosting, I’d suggest x this recipe by 1.5 for extra thick swoopage!
135g Double cream
40g Light brown sugar
135g Dark chocolate
3g Maldon salt
160g Butter
30g Cocoa powder
Optional: Sprinkles for decoration
Method
Pre-heat oven to 170c fan and line 2 x 8inch tins.
Whisk together melted butter and oil. Whisk in the sugars, followed by the eggs, coffee and salt. Sift in the flour/cocoa powder/raising agents, and finally, whisk in the sour cream (or whatever you are using).
Divide between the tins and smooth out slightly. Bake for 30 minutes. Check to see if its baked - it should be risen and firm with no wobble, but still tender. You can prod with a toothpick - it shouldn't be liquid, but a few crumbs are fine - good, even! If not, bake for another 5 minutes and check. Overbaked chocolate cake is a tragedy, so be careful to check this and err on the side of ‘just’ baked! Leave to cool completely on a rack.
Whilst the cake is baking/cooling, make the frosting. Whisk the sugar into the cream then heat til simmering. Chop up the chocolate into small pieces and put into a bowl. Pour the cream over and leave to stand for 1 minute before whisking to a smooth ganache. Leave to cool in the fridge or at room temperature until the ganache reaches room temperature or around 18-20c.
Beat butter until smooth, then stir in the cocoa powder. Beat together until smooth and shiny, then add in the ganache ⅓ at a time. Whip and beat until smooth. It should be very shiny and lush. Taste and check if you need to add more salt!
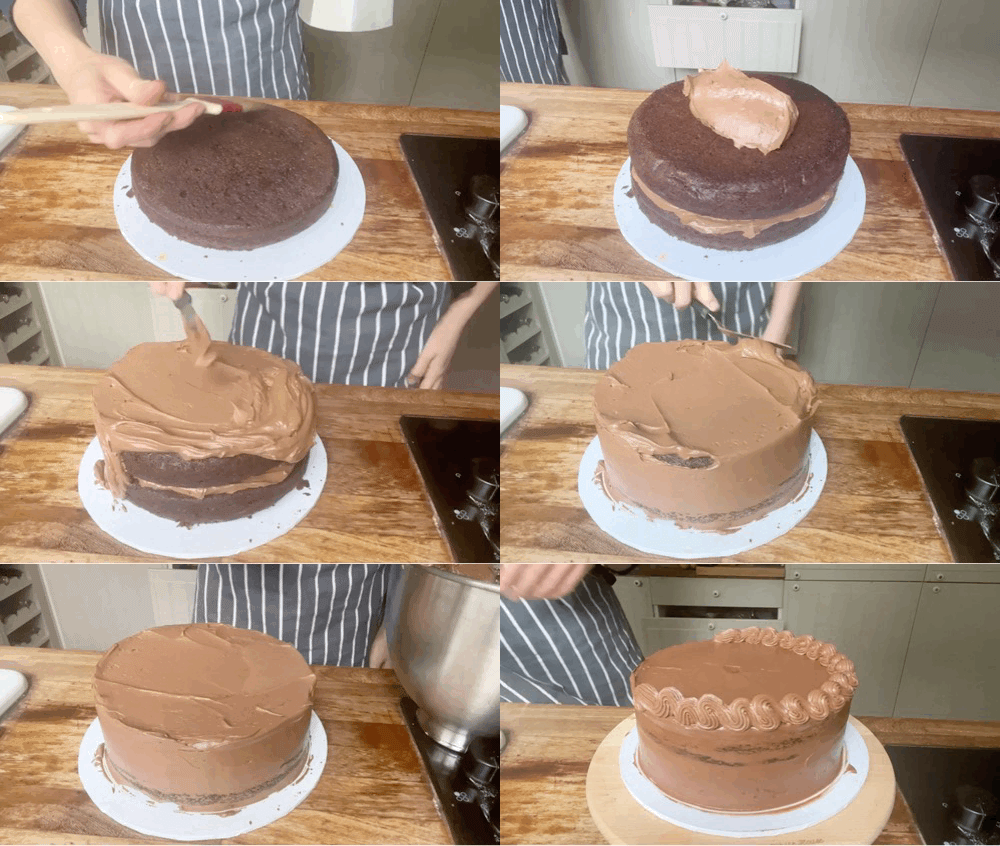
Trim sponges if needed (if there are any domes or peaks, just trim and snack!), then soak with half the coffee using a pastry brush. Spread 150-175g buttercream on the sponge, then place the other sponge on top, also soaking with coffee. Cover the layered cake in the rest of the buttercream. Pipe squiggly decor if desired, though an artful swirl of the palette knife is often plenty!
You can store leftovers in the fridge but make sure it comes to room temp before enjoying!
Wanna level this cake up? Check out the KP+ recipe, a 16 layer level-up version aka the PARTY CAKE EXTRAVAGANZA EDITION ft. Coffee whipped ganache & passionfruit butter caramel. See ya there!




![[video-to-gif output image] [video-to-gif output image]](https://substackcdn.com/image/fetch/w_1456,c_limit,f_auto,q_auto:good,fl_lossy/https%3A%2F%2Fsubstack-post-media.s3.amazonaws.com%2Fpublic%2Fimages%2Feab6af58-28ba-485b-a830-8c113872a7d2_600x804.gif)







Special! Thank you. Mum
I hope your MAJOR project is a cookbook Nicola and if it is - I'm ordering it NOW ❤️❤️❤️