Hello,
Welcome to today’s edition of Kitchen Projects. Thank you so much for being here.
Today I have the absolute joy of sharing a gorgeous new piece of writing by our columnist Octavia Lamb, a passionate chocolatier with infectious curiosity. Today, she is exploring the world where hazelnuts meet chocolate, yes, it’s gianduja!
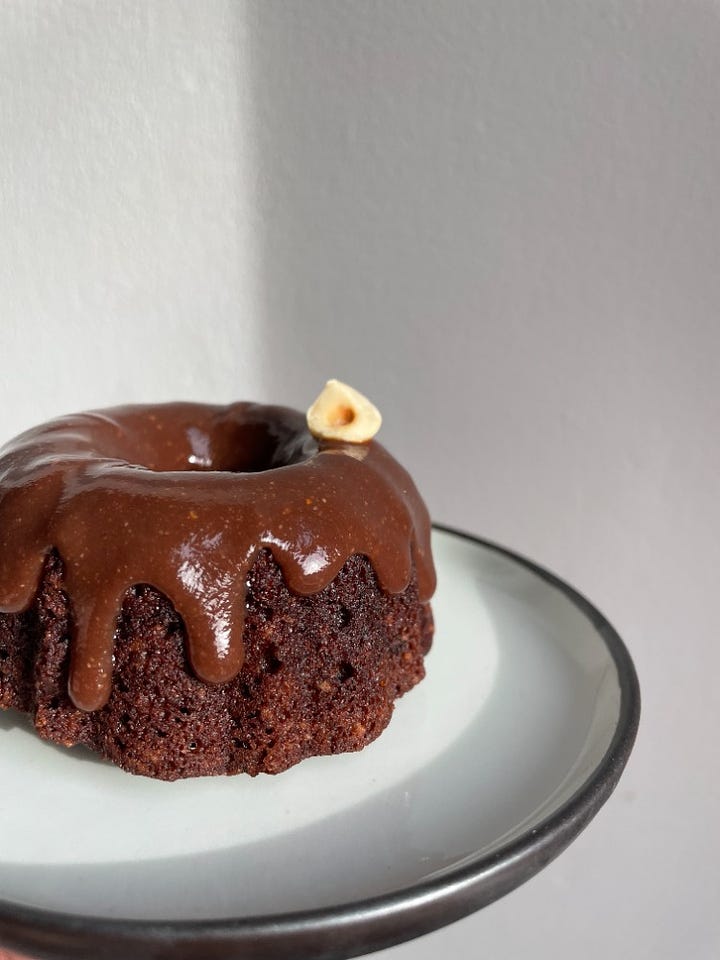
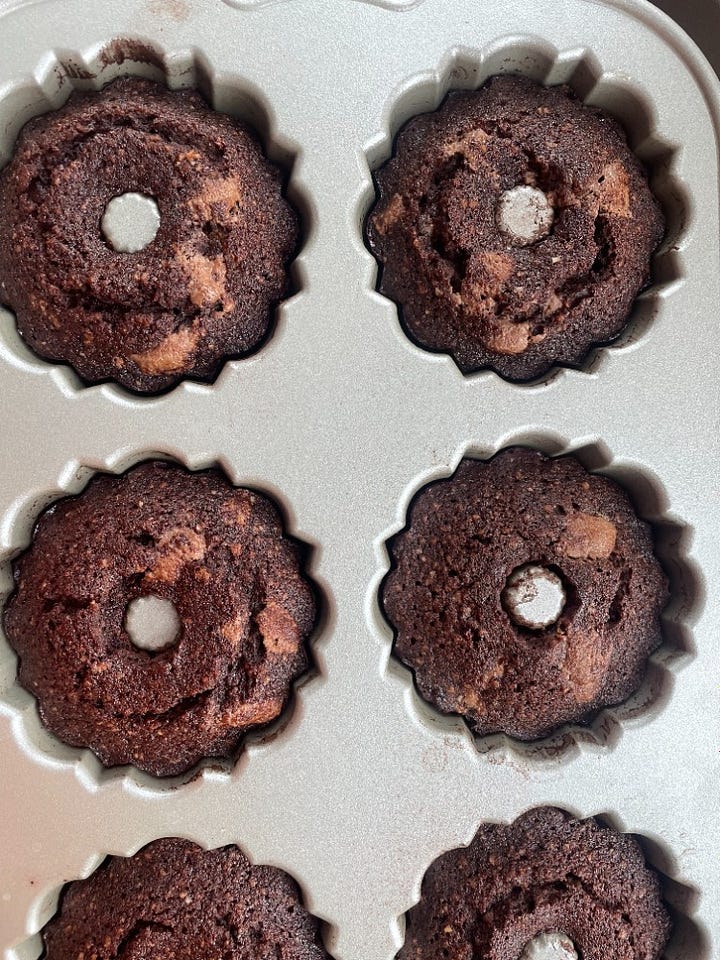
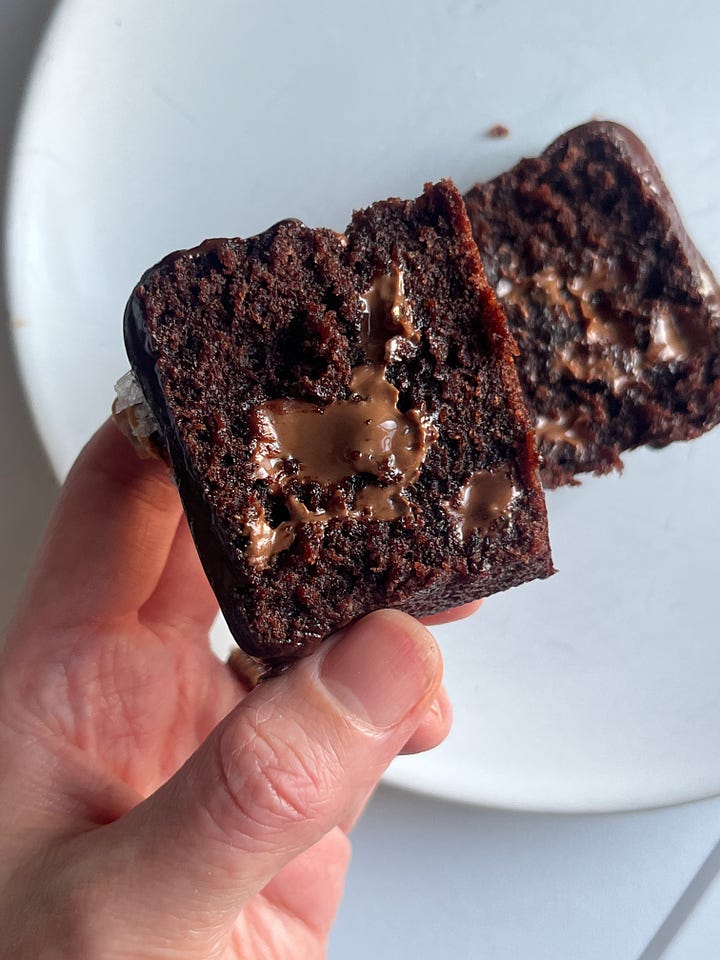
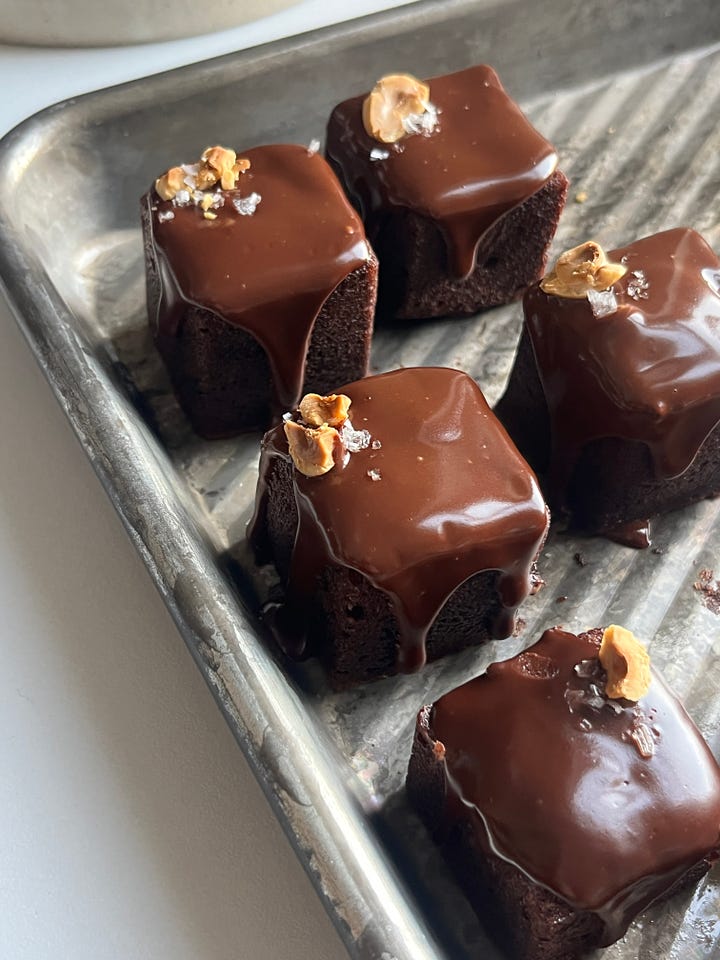
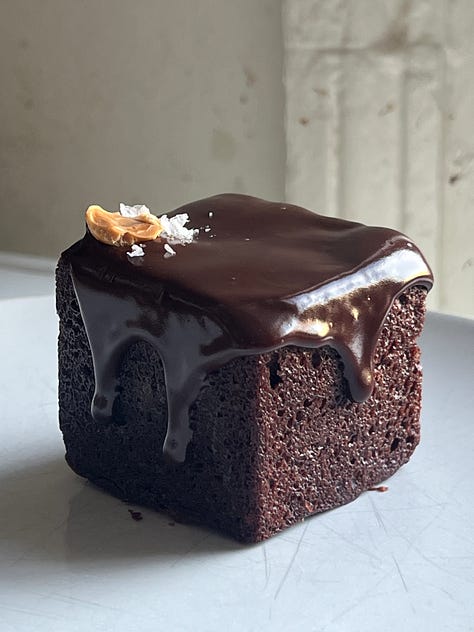
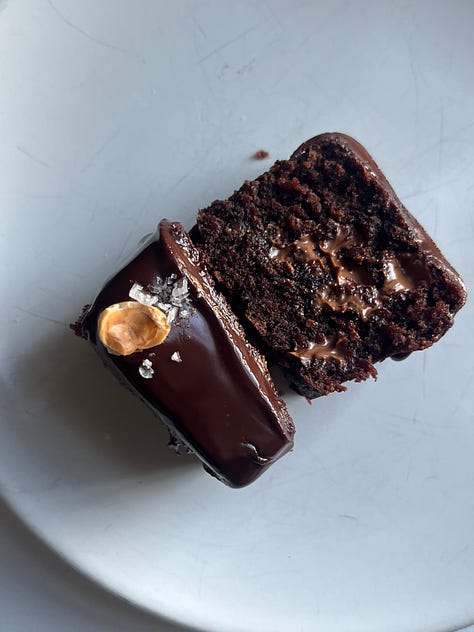
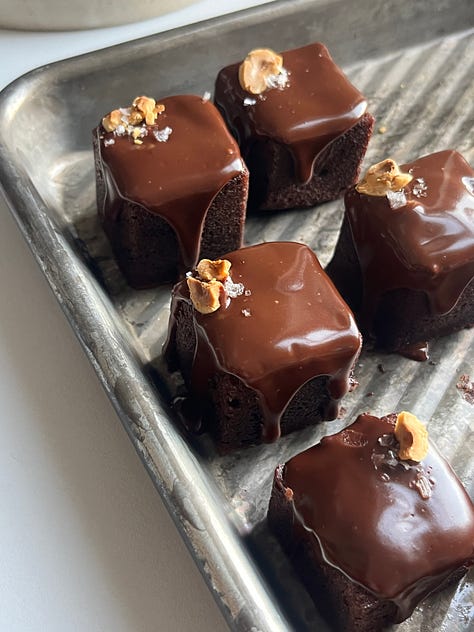
Over on KP+, Octavia is sharing a perfect recipe for rich gianduja cakes (in mini bundt form!). These are so delicious, somewhere between a cake, financier and brownie. And if you don’t have a bundt tin, rest assured they are divine in MANY forms (I checked!): Click here to make them.
What’s KP+? Well, it’s the level-up version of this newsletter. By joining KP+, you will support the writing and research that goes into the newsletter (including the commissioning - and fair payment - of all the writers), join a growing community, access extra content (inc., the entire archive) and more. Subscribing is easy and only costs £6 per month or just £50 per year (£4.10 per month). Why not give it a go? Come and join the gang!
Love,
Nicola
P.S. If you haven’t already read Octavia’s first column on truffles from last year, here’s the link! You can also keep up with her on Instagram here.
PSST… I’ve written a book!
I can finally say that my debut book SIFT: The Elements of Great Baking out THIS YEAR!!! and it’s available to pre-order now. Across 350 pages, I'll guide you through the fundamentals of baking and pastry through in-depth reference sections and well over 100 tried & tested recipes with stunning photography and incredible design. SIFT is the book I wish I'd had when I first started baking and I can’t wait to show you more.
I’m just a girl, standing in front of a slightly baffled Italian man, asking him for a gianduja gelato
by Octavia Lamb
Picture the iconic love story that is Notting Hill, except at its climax, instead of Julia Roberts and Hugh Grant, it’s me and a gelato salesman, and he has no idea what I’m on about... I have loved gianduja long before I even knew its name. Literally.
My first introduction to it was by way of an incredible gelato on holiday, and the rest is history. The amount of times I have since locked eyes with an innocent Italian and butchered their language in quest of that heavenly, utterly unpronounceable, flavour is countless. But still, I persevered with the panic, humiliation and confusion that always comes with ordering it because it is simply that worth it. Now if that isn’t love I don’t know what is.
After much trial and tribulation, I can now tell you confidently that it is pronounced jan-doo-yuh (that looks a little lumpy in my clumsy phonetics, but ask a kind Italian to say it, and it’s every bit as musical as the rest of the language). Gianduja is a rich, smooth, melt-in-the-mouth paste traditionally made of chocolate and hazelnuts. Its application in patisserie (gelato being one wondrous example), confectionery and chocolate work stretches far and wide and it’s also gone through many reincarnations to now be devoured in house and home in the form of Nutella.
Today I’m going to walk you through its history, composition and how to create your own at home. But first, just in case I haven’t made my own feelings clear enough yet, a small love letter to the humble hazelnut.
To Piedmont with Love
I’m sure everyone is in agreement that Italy has given us far more than its fair share of culinary gifts. Given the diversity of climate and terroir from north to south, region to region, it is hardly surprising that this is a country overflowing with many of the world’s most unique and sought-after delicacies. To preserve the quality and true origins of certain special foods, the EU awards Protected Status. And though we have plenty to celebrate in the UK, with a total of 89 protected foods, Italy boasts a rather humbling 882.
From the postcard-perfect lemons of the Amalfi Coast, to Lombardy and Emilia Romagna’s Parmigiano Reggiano (no introduction needed), to the uniquely sweet and flavoursome Nocciola del Piemonte IGP, that’s Piedmont hazelnuts to you and I. The bulk of the world’s hazelnuts are grown in Turkey or the USA, but Piedmont hazelnuts are considered the cream of the crop. Grown in the UNESCO-protected rolling hills of Piedmont in northwest Italy, these hazelnuts are smaller than average, less woody in flavour, and impossible to cultivate anywhere else in the world. I mention these extra special (and extra pricy) hazelnuts not because I think you need to source your own to make gianduja, any hazelnuts will do, but because it follows suit that Piedmont is also the birthplace of gianduja.
The relationship between chocolate and hazelnuts is a beautiful, symbiotic one. The hazelnut paste lends its richness and depth of flavour, but most importantly for me, its own perfect smoothness amplifies the unique melt-in-the mouth texture of chocolate. In turn, the milk chocolate lifts the hazelnuts, turning them from savoury to sweet, making them, in my opinion, the ultimate IT couple.
With that in mind, nothing says ROMANCE more than discussing Napoleonic Era importation law, but that’s just what we have to thank for the ultimate love match that is gianduja. In 1806, Napoleon banned importing cocoa from the UK, driving up its price dramatically. The confectioners of Turin needed to find a way of reducing their costs, and therefore the cocoa content of their chocolates without spoiling its flavour. In a stroke of divine resourcefulness, they began mixing chocolate with the ground paste of their local hazelnuts. Ironically, true gianduja made from Piedmont hazelnuts has done a full 180 and is now about as far from thrifty as it gets.
The Piemontese named their new confection after their own classic theatrical/carnival character, Gianduja, who depicts an honest Piedmontese peasant. In 1856, Caffarel was the first chocolatier to begin commercially producing gianduiotti - little individually wrapped giandujas said to be in the shape of Gianduja’s triangular hat, these were traditionally handed out at carnivals when the character of Gianduja was passing.
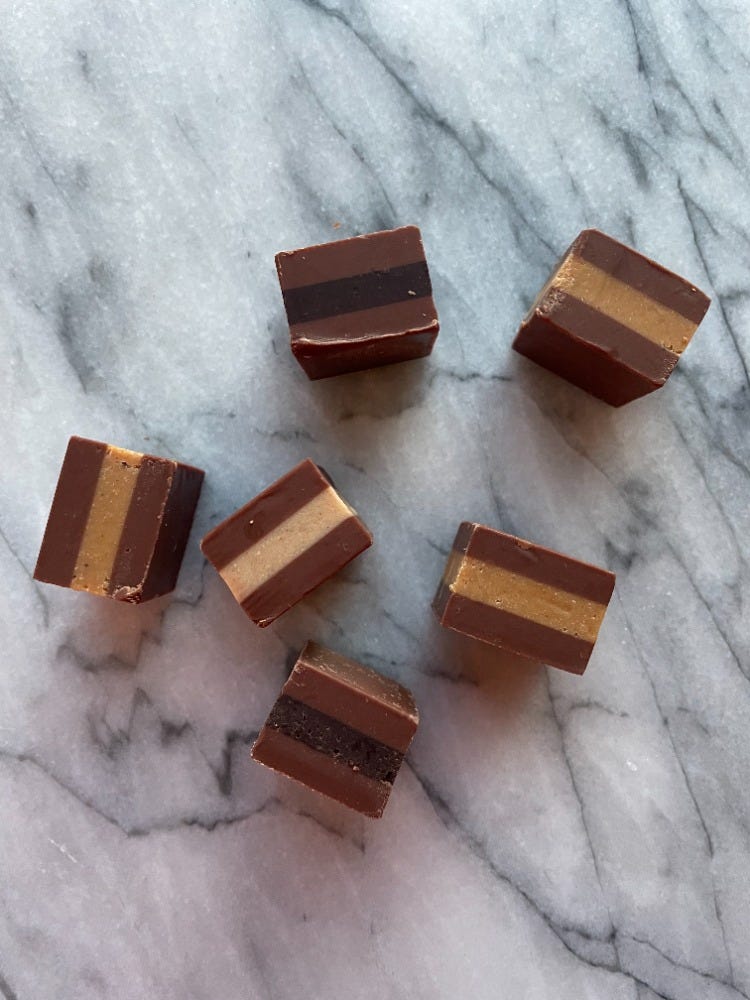
The other classic is a cremino, a triple layered square of gianduja. The two outer layers are traditionally milk chocolate gianduja, whilst the middle layer could be a white or dark chocolate gianduja, but I’ve also tried salted caramel, lemon, or coffee. However, fast forward a couple of hundred years and the spectrum of what’s on offer has greatly expanded.
Enter: THE DUJAS
Nowadays, chocolatiers are no longer bound by the classic hazelnut gianduja. ‘Dujas’ as the kids are calling them, can come in any nut/chocolate combination; pistachio, pecan, almond, or even a mix of nuts, you name it. (Sidenote, while ‘nduja’ the meat paste and ‘duja’ the nut paste aren’t related gastronomically, they did both come about owing to Napoleon’s storming of the relevant regions!! THIS IS THE FRENCH REVOLUTION THEY DON’T TEACH US ABOUT IN SCHOOL). Given the expense of the classic hazelnut gianduja, a lot of producers actually pad out their giandujas with varying percentages of almonds.
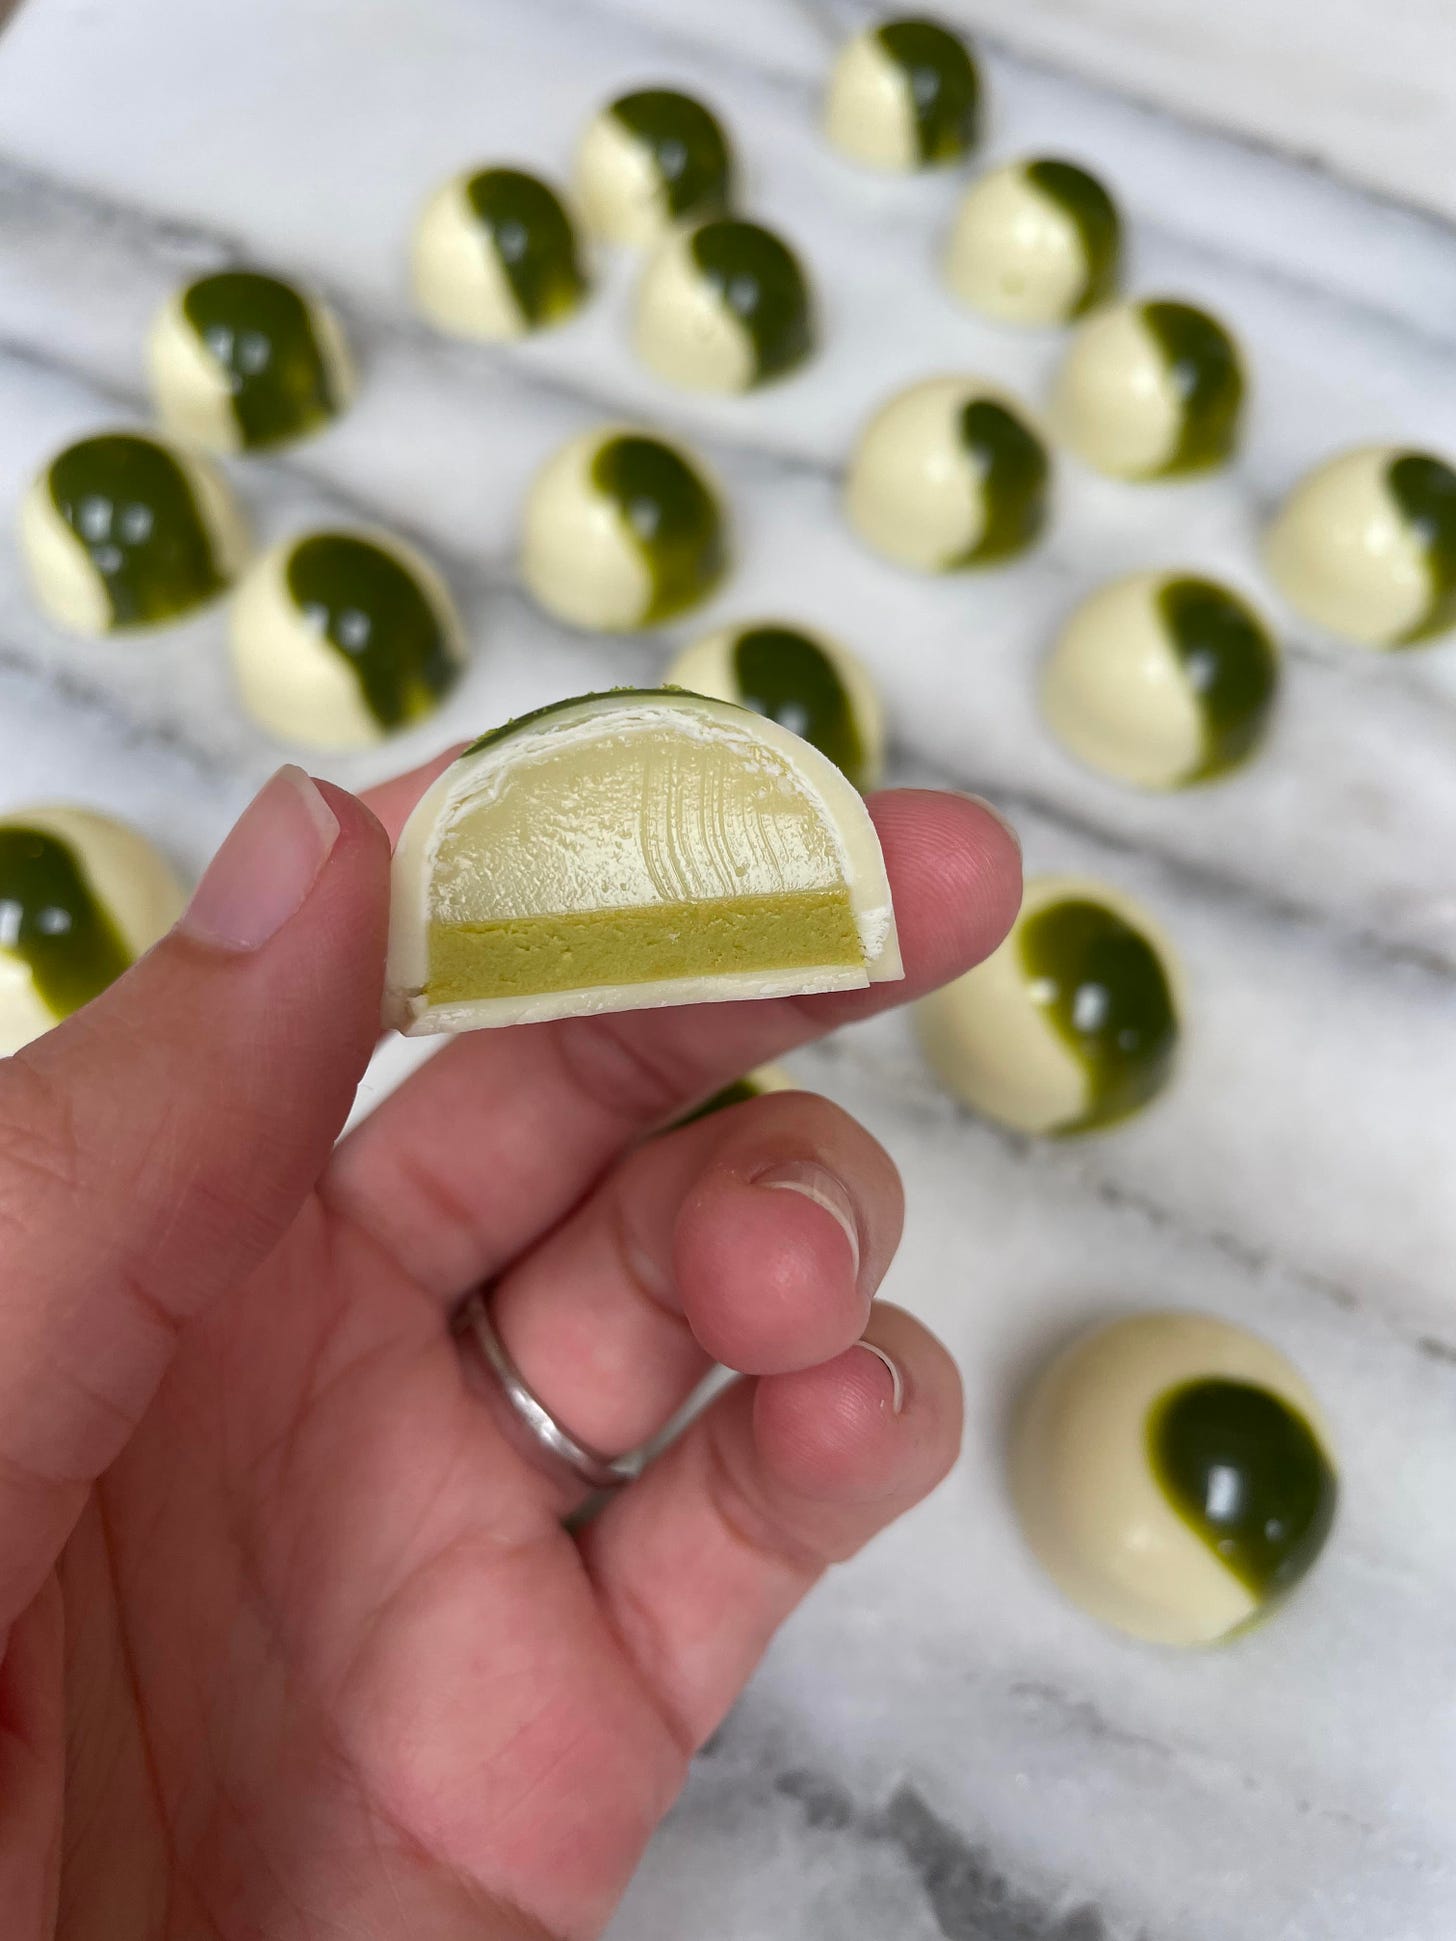
I personally love making my own pistachio gianduja using Sicilian Bronte pistachios, whose earthy, almost smoky, flavour can be attributed to their growing in the volcanic soil surrounding Mount Etna (exceptional Italian produce strikes again), and pairing it with the creamiest white chocolate. I also make my own punchy peanut and milk chocolate gianduja to go in my caramel peanut chocolates. Dream up your own nut/chocolate love match and make it happen!
While a lot of chocolatiers buy their gianduja from makers such as Valrhona and Amedei, the joy of making it from scratch is that you have complete control over all the variables, allowing you to create your own unique product. This includes the degree of roast on the nuts, the ratio of nut to chocolate, the kind of chocolate, and the level of sweetness.
Ratios
Nutella isn’t actually gianduja, but a gianduja spread. While it did start life as real blocks of gianduja paste, manufactured by Pietro Ferrero (yes, that Ferrero), it has since been diluted time and time again and these days its composition is over 50% sugar and palm oil, and a diminutive 13% hazelnut.
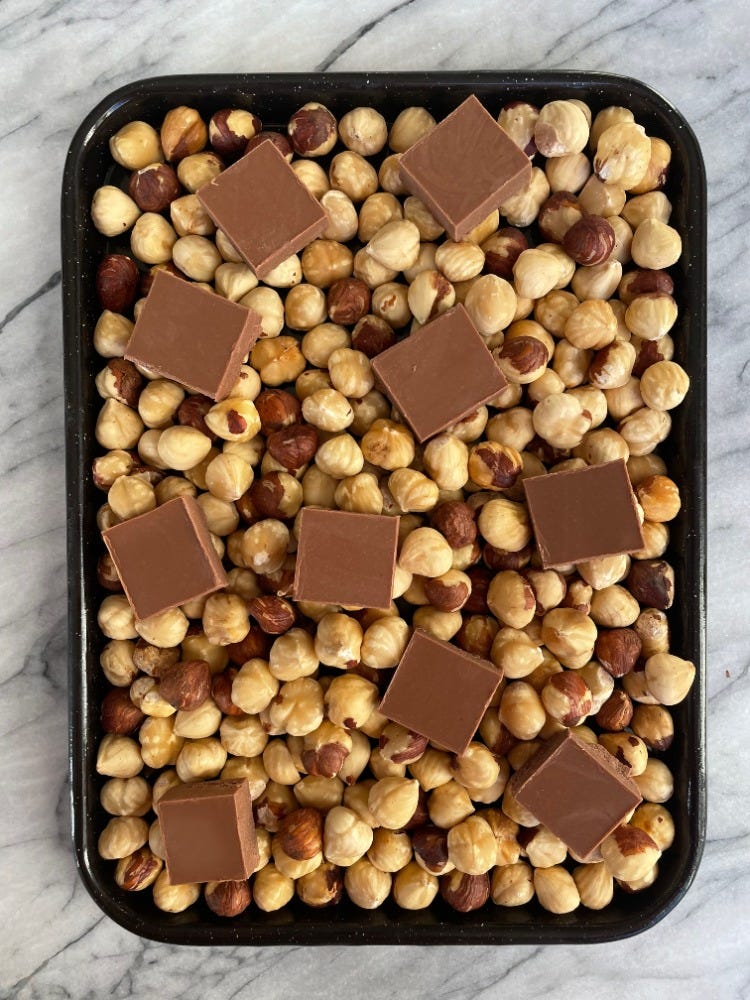
Actual gianduja should have the texture of slightly soft chocolate, firm enough to be chopped up and folded into a cake, and that’s what we’re creating today. Beyond that, there isn’t one specific formula for making gianduja. LA-based Chocolatier Kriss Harvey defines it as a simple 2:1 chocolate to nut paste mix, which is a pretty traditional formula, making it a good starting point when conducting your own gianduja experiments. Peter Greweling, however, suggests 1:1:1 dark chocolate, nut paste, and sugar (or 1.25:1:1 in the case of milk chocolate) in his book Chocolates and Confections. As gianduja is a fat system, it’s very flexible, meaning you can play with the ratios to suit your own taste without worrying about it splitting as you’re not balancing water/fat like you do in a ganache.
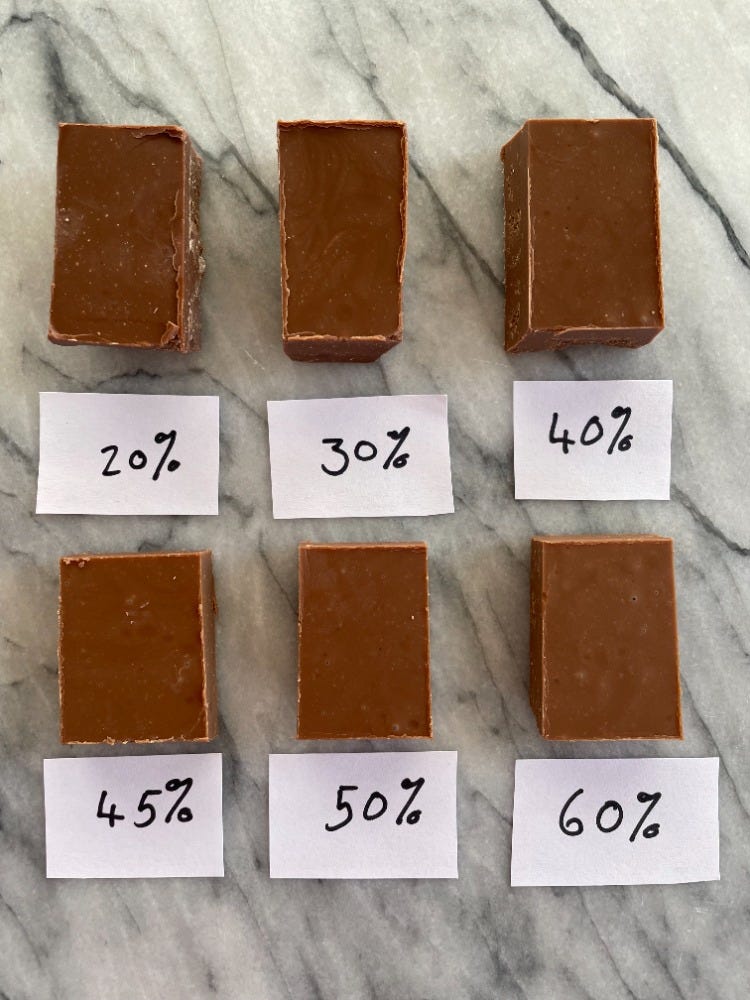
To get started, I began by testing my base hazelnut/milk chocolate ratio to find my favourite balance. Using a 45% milk chocolate, I started at 20% hazelnut paste, which was unsurprisingly meek, and increased the percentage of hazelnut paste up to 60%, by which point it no longer had enough noticeable chocolate flavour, as while I was certainly in pursuit of something that had a healthy hit of hazelnut, gianduja should be a celebration of both hazelnut and chocolate. It was also getting progressively softer and softer owing to the fluidity of the nut paste. The 20% was still pretty much as hard and snappy as normal chocolate and it chipped into sharps as I cut it, but by the time I reached 60% it was soft enough to squish between my fingers. As I’d used a fairly high percentage milk chocolate, I found 40% - 50% nut content were my favourites. In the end I alighted on 45% as this made the happiest of marriages flavour-wise for me. Crucially, I did find that it needed just a little sweetening at this point.
Personally, I found Peter Greweling’s ratio of almost equal parts milk chocolate, nuts, and sugar sweeter than I like it, and I only needed a very small proportion of sugar to pep my gianduja up. It is worth noting here that the level of sugar will depend on the type of chocolate used, for example with white chocolate or a lighter milk chocolate, I wouldn’t want to add any sugar at all, and then I’d likely add more to offset a dark chocolate gianduja. I also found that a pinch of salt was essential to make the flavours dance.
Knowing your Nuts
The first step to making a good gianduja is to treat your nuts with respect. All nuts are very fatty, meaning they can burn quite easily, so if you cook them quickly on a high heat, e.g. 180C, you’ll likely overcook them on the outside before you even reach the middle. Instead, they benefit from a lower heat, e.g. 140C and a slower roast, until they’re evenly cooked through. Different nuts can take different levels of roast. For example, I love to go pretty dark on peanuts, but for hazelnuts, I prefer a light roast. Compared to other nuts, hazelnuts can quickly start to take on a level of bitterness that I don’t want in my gianduja, so aim for light golden rather than golden brown.
The next step is to grind your nuts down as smoothly as possible. To achieve the absolute smoothness of a professionally made gianduja, nuts are refined in stone grinders called melangers, the same sort of machine used for refining chocolate. I’ve got a tabletop melanger in my chocolate kitchen for creating my own gianduja, but this week, in the name of science, I’ve been routinely putting my food processor through its paces, and I am thrilled to report that it lives on.
While we can’t achieve the flawless smoothness that comes from using a melanger, if you’re willing to push your food processor to its limits, we can actually achieve something pretty good! It’s physically not possible to over grind the nuts, the only limit is how far you’re willing to take your processor, as the motor will start to overheat after a while. [Editor’s Note: You could in theory pass through a sieve for an extra smooth gianduja but then you'd have to waste precious nuts]
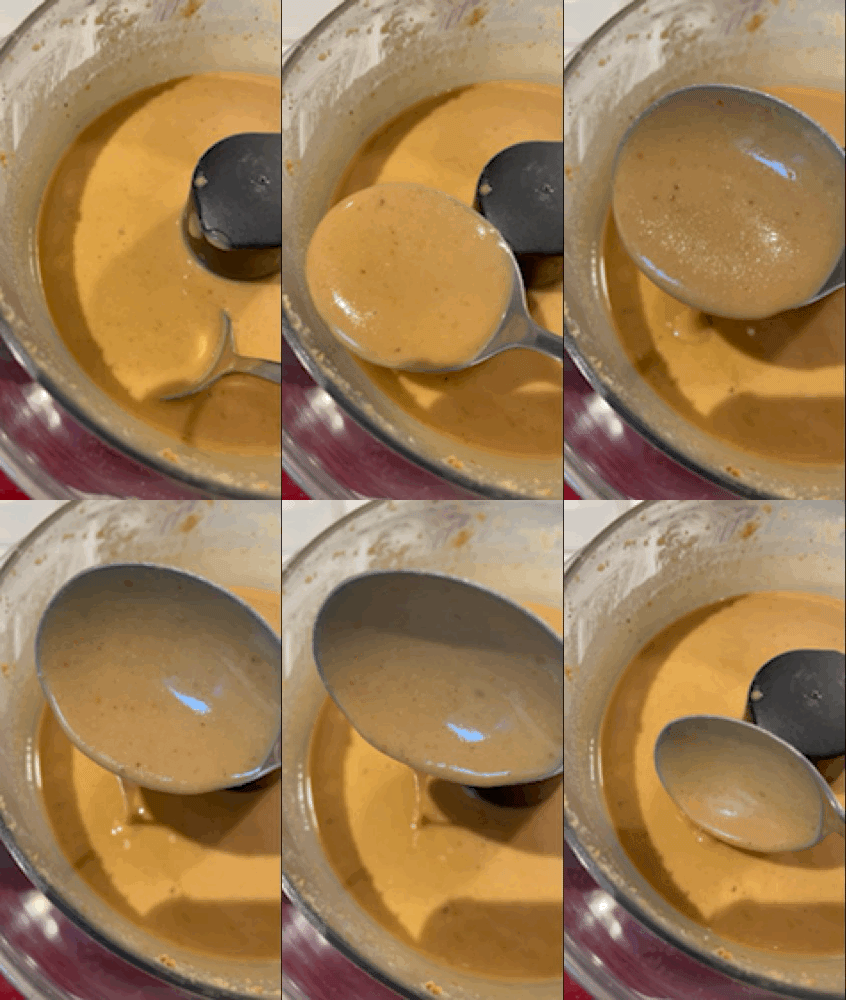
I tapped out at 47 minutes to be precise, but being honest, that’s after giving it an hour’s break in the middle as I was really keen not to kill my Magimix. By 25 minutes I found that I’d achieved something smooth enough to work, but the timing will vary depending on your machine, so just aim to take your paste as smooth as you can before your processor gets too hot If you don’t have a high-powered food processor, or you’re simply not keen to do the dance of death with your kitchen appliances, that is fine! I’ve got you covered with a simple method with ready made nut pure paste.
Sugars
Sugar’s primary role in gianduja is (SURPRISE SURPRISE) to sweeten it, it is a confection after all. But I do find there’s a definite sweet spot (sorry) to hit between it lifting/acting as a flavour carrier before it starts diluting the main flavours, and altering the texture. Given it’s by far the cheapest ingredient in gianduja, larger manufacturers use it to bulk out their product, but because of this, I’ve tried some where this almost starts to give the gianduja a weird gluey texture.
It is also possible to mix up the flavour of your gianduja with your choice of sugar. You can introduce a new flavour note by making a direct caramel, leaving it to harden and then blitzing up the hardened caramel shards into gianduja. However, this is really only an option if you have a machine powerful enough to completely break it down (we’re talking Thermomix and Robot Coupe), as otherwise you’ll be left with a slightly granular texture, and one of the joys of gianduja for me is it’s silky smoothness.
I tried blitzing down regular caster sugar with my hazelnuts but found that even after 30 minutes, the texture was still granular. Therefore, in order to sweeten my hazelnut paste for my gianduja, I used icing sugar. When I added the sugar and hazelnuts all together at the beginning, the presence of the icing sugar slowed the process of breaking down the nuts so I found it best to only add it once you had achieved your desired smoothness in your nut paste.
The crunch of the matter
Owing to the total lack of water content in gianduja, it takes crunchy elements very well. If you were to add something like caramelised nuts, feuilletine, biscuits or cereals into a ganache, the water content would turn them soggy within a day, but in a gianduja they’ll stay crunchy for weeks. Feel free to experiment with your own add-ins for extra flavour and texture, just wait till your gianduja is no longer warm to the touch before adding them or they’ll still soften.
I was lucky enough to go on a gianduja field trip to Turin back in November last year, and I made my way through a lot of the stuff (stoically, of course). Of all the gianduja I tried, the best came from independent maker Guido Gobino. Their products were exceptional across the board, but my surprise hit was a gianduja with added cocoa nibs. I don’t always love cocoa nibs (FORGIVE ME FOR I HAVE SINNED), as often, if they’re not amazing quality, I find they can sometimes taste a little like angry soil… However, the ones I tried in this bar weren’t just the usual suspects. Beyond the bitterness, they were also vibrant and fruity, making a fantastic pairing with the sweet gianduja.
Excitingly, Pump Street is one of the only producers I know that sells cocoa nibs by origin. Their Madagascan cocoa nibs are bright, acidic and with wonderful fruitiness like the ones I’d tried in Turin, and so I decided to pair my gianduja with these, in homage to my own pivotal experience.
Tempering
I’m really sorry. Just when you thought we’d made our way through a whole chocolate article without me using the T word. I’d be remiss if I didn’t quickly touch on it though. Whether or not you want to temper your gianduja depends on what your intentions are. If you want to use it in a bake, then I see no need to temper as you’ll be melting it down anyway. However, if you’re intending to enjoy it simply as a confection, then for optimum structure and mouthfeel, we do need to temper it like we do chocolate. (Click here for the method)
One quick word of warning, nut paste behaves like chocolate in the way that it will seize if any amount of water gets into the mix, so make sure your equipment is completely dry.
Recipe: Food Processor Gianduja
Makes about 450g
Equipment: 1 x tray or tin as close to 24x18cm as possible, you could go a bit smaller than this, but if you use a larger tray than this for the quantities listed below, you’ll be left with unsatisfyingly thin sheets of gianduja.
You’ll also need a powerful food processor with a small size attachment for this, otherwise you’ll need to double the quantities for the hazelnut paste to have sufficient volume to process it. I’ve written the method to make this as a tempered confection, but if you don’t need it in temper simply mix the cooled nut paste with melted untempered chocolate.
Ingredients
200g blanched hazelnuts
250g 45% milk chocolate
25g icing sugar
A good pinch of salt
Method
Preheat your oven to 140C degrees fan.
On a baking tray, lightly roast your whole hazelnuts for 15-20 minutes to achieve a light golden roast.
Transfer to the small attachment of a food processor.Add your salt and begin processing! At first you’ll have to stop a few times and scrape it down but eventually the nuts will release their oils and start blitzing without intervention.
Once they’ve begun to liquefy, BLITZ AS FAR AS YOU DARE, but please don’t destroy your processor. Take breaks if you think it’s getting too hot.
Meanwhile, line a high sided baking tray or tin with parchment paper. Mine was 24x18cm.
Once your nut paste is your desired degree of smoothness, add in your sugar and blitz for another 5 minutes to incorporate thoroughly.
Set it aside to cool in a medium heatproof bowl while you get on with tempering your chocolate to these instructions. You nut paste will have likely heated up a lot during the processing, and we need it to cool to room temperature before we add it to the chocolate.
You’ll temper more chocolate than you need, but you can save what’s left for next time. Once you’ve tempered it, check the temperature of your nut paste, if it’s between 22 and 28 degrees, pour your tempered chocolate in and mix thoroughly. If your nut paste has gone colder than 22 degrees, warm it VERY gently in the microwave or over a bain marie. If the nut paste is too cool when we add it, the mixture will start to set before you’ve got a chance to pour it out into your tray!
If your gianduja/chocolate mixture is at all lumpy, just give it a quick blend with a hand blender.
If you want to add any inclusions, wait till it’s cooled to about 21 degrees and then stir them through.
Pour into your lined tin or tray and leave it to set in the fridge for an hour.
If you’re enjoying it as a standalone confection, chop them into little squares and enjoy! This will last for a month in an airtight container in a cool dry place.
Recipe: Nut Paste Method
(aka No Food Processor!)
Without a food processor it’s hard to add in sugar whilst keeping it smooth, so instead I’ve opted for a lighter and therefore sweeter milk chocolate, and a lower proportion of nut paste to keep it balanced, but treat this as a base formula, and adjust to your taste! As with the processor method, you only need to temper the gianduja if you’re intending to keep it as a standalone confection.
Ingredients
160g smooth hazelnut paste
290g 33% milk chocolate
A pinch of salt
Method
Line a high sided baking tray or tin with parchment paper. Mine was 24x18cm.
Pour your nut paste into a medium heatproof bowl and add your salt.
If you’re not tempering your gianduja, simply melt your chocolate either over a bain marie or in the microwave, pour it into your nut paste and mix thoroughly with a silicone spatula to combine, then skip to instruction no. 7!
If you are tempering, temper your chocolate according to these instructions. You’ll temper more chocolate than you need, but you can save what’s left for next time.
Warm your nut paste to 22 to 28 degrees in very short gentle bursts in the microwave or over a bain marie. The temperature can shoot up very quickly, so stir it thoroughly between bursts. If it does go above 28 degrees, just wait for it to cool back down.
Put your nut paste bowl onto your scales and weigh 290g of your tempered chocolate directly into the bowl, give it a thorough stir.
If you want to add any inclusions, wait till it’s cooled to about 21 degrees and then stir them through.
Pour your gianduja into your lined tin or tray and leave to set for an hour in the fridge.
If you’re enjoying it as a standalone confection, chop them into squares and enjoy! This will last for a month in an airtight container in a cool dry place.
Duja really like hazelnut and chocolate? Head to KP+ for Octavia’s Gianduja cakes of dreams now!





Really interesting read!
A wonderful read. So interesting, brilliantly written and am now going to put my food processor to work. Sounds like a visit to Turin is a must too Thank you.