Hello,
Welcome to today’s edition of Kitchen Projects. Thank you so much for being here.
I am thrilled to share a gorgeous book with you today—our very own Camilla Wynne has just released Nature’s Candy. It’s a veritable bible on candied fruit. What could be a more perfect autumnal and winter activity? I’m excited for you to learn more…
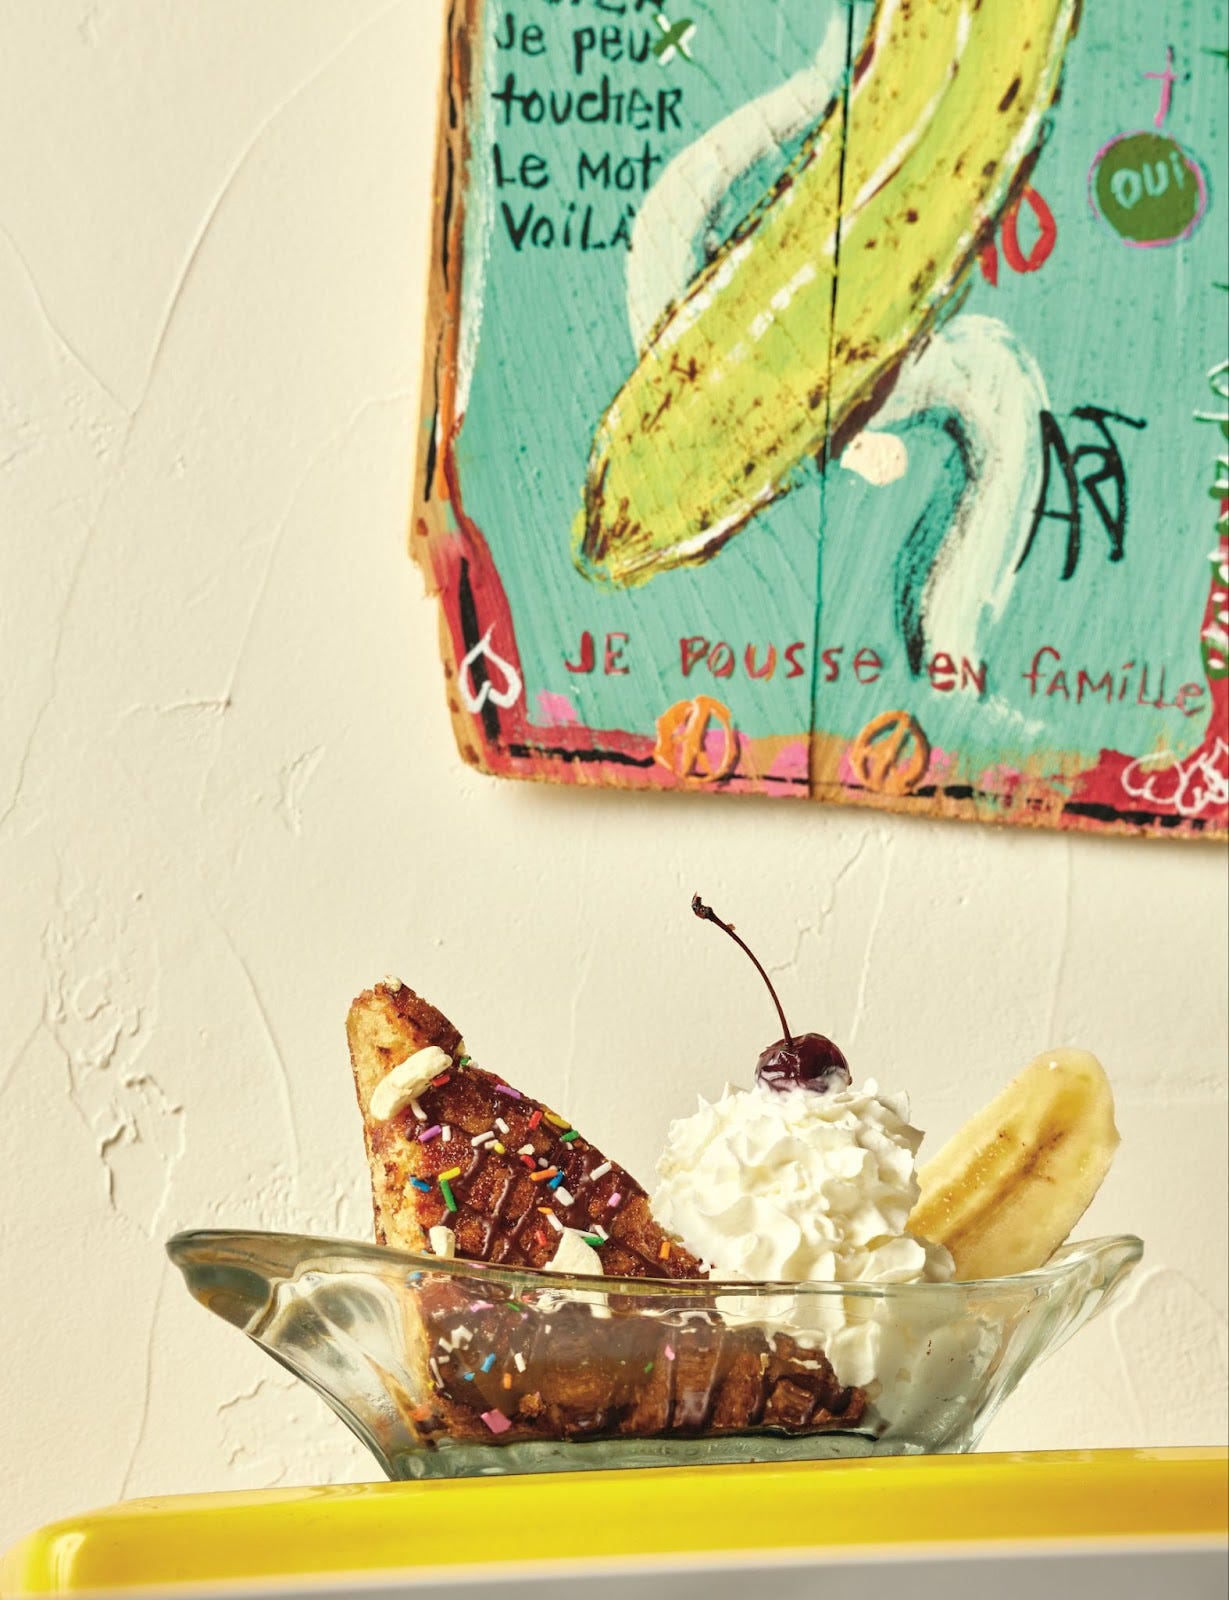
For KP+, I get to share another of Camilla’s recipes with you - BANANA SPLIT BLONDIES. Have you ever heard of something so wonderful? I hadn’t, so I’ve jumped at the chance to share with you. Click here for the recipe.
What’s KP+? Well, it’s the level-up version of this newsletter. By joining KP+, you will support the writing and research that goes into the newsletter (including the commissioning - and fair payment - of all the writers), join a growing community, access extra content (inc., the entire archive) and more. Subscribing is easy and only costs £6 per month or £50 for the whole year. Why not give it a go? Come and join the gang!
Love,
Nicola
Letting Fruit Shine
The act of preserving fruit is a bid to freeze time. As soon as a fruit is picked a sand timer flips and, unless we intervene, it's only a matter of time before it transforms from ripe to mush. Of all the methods of cheating death, candying is definitely the intervention with the cutest outfits. Sure, jams and jellies can look resplendent in jars, but have you ever seen a cake topped with candied and crystallised fruit and worn as a hat?
Step into the world of Nature’s Candy, Camilla Wynne's latest treasure, and you’ll be greeted with fantastic sights. Cat-shaped rice pudding? Strips of candied citrus tied into bows? Paper-thin quince tiling on a cheesecake? Whimsical as the aesthetic may be, the recipes in this book are deeply rooted in good technique and offer us skills to last a lifetime.
Though candying at large might have fallen out of fashion, we’ve got Camilla Wynne to thank (at least in part) for its modern resurgence. If the visuals in Nature’s Candy are anything to go by, it's back and better than ever. In the first half of her book, Camilla leads us through a series of candying methods, leaving us in good stead to preserve anything from whole pineapples to jalapeno slices. The second half is dedicated to recipes that gloriously pillage your candied fruit stores, whether it’s a stollen pound cake or grapefruit madeleines.
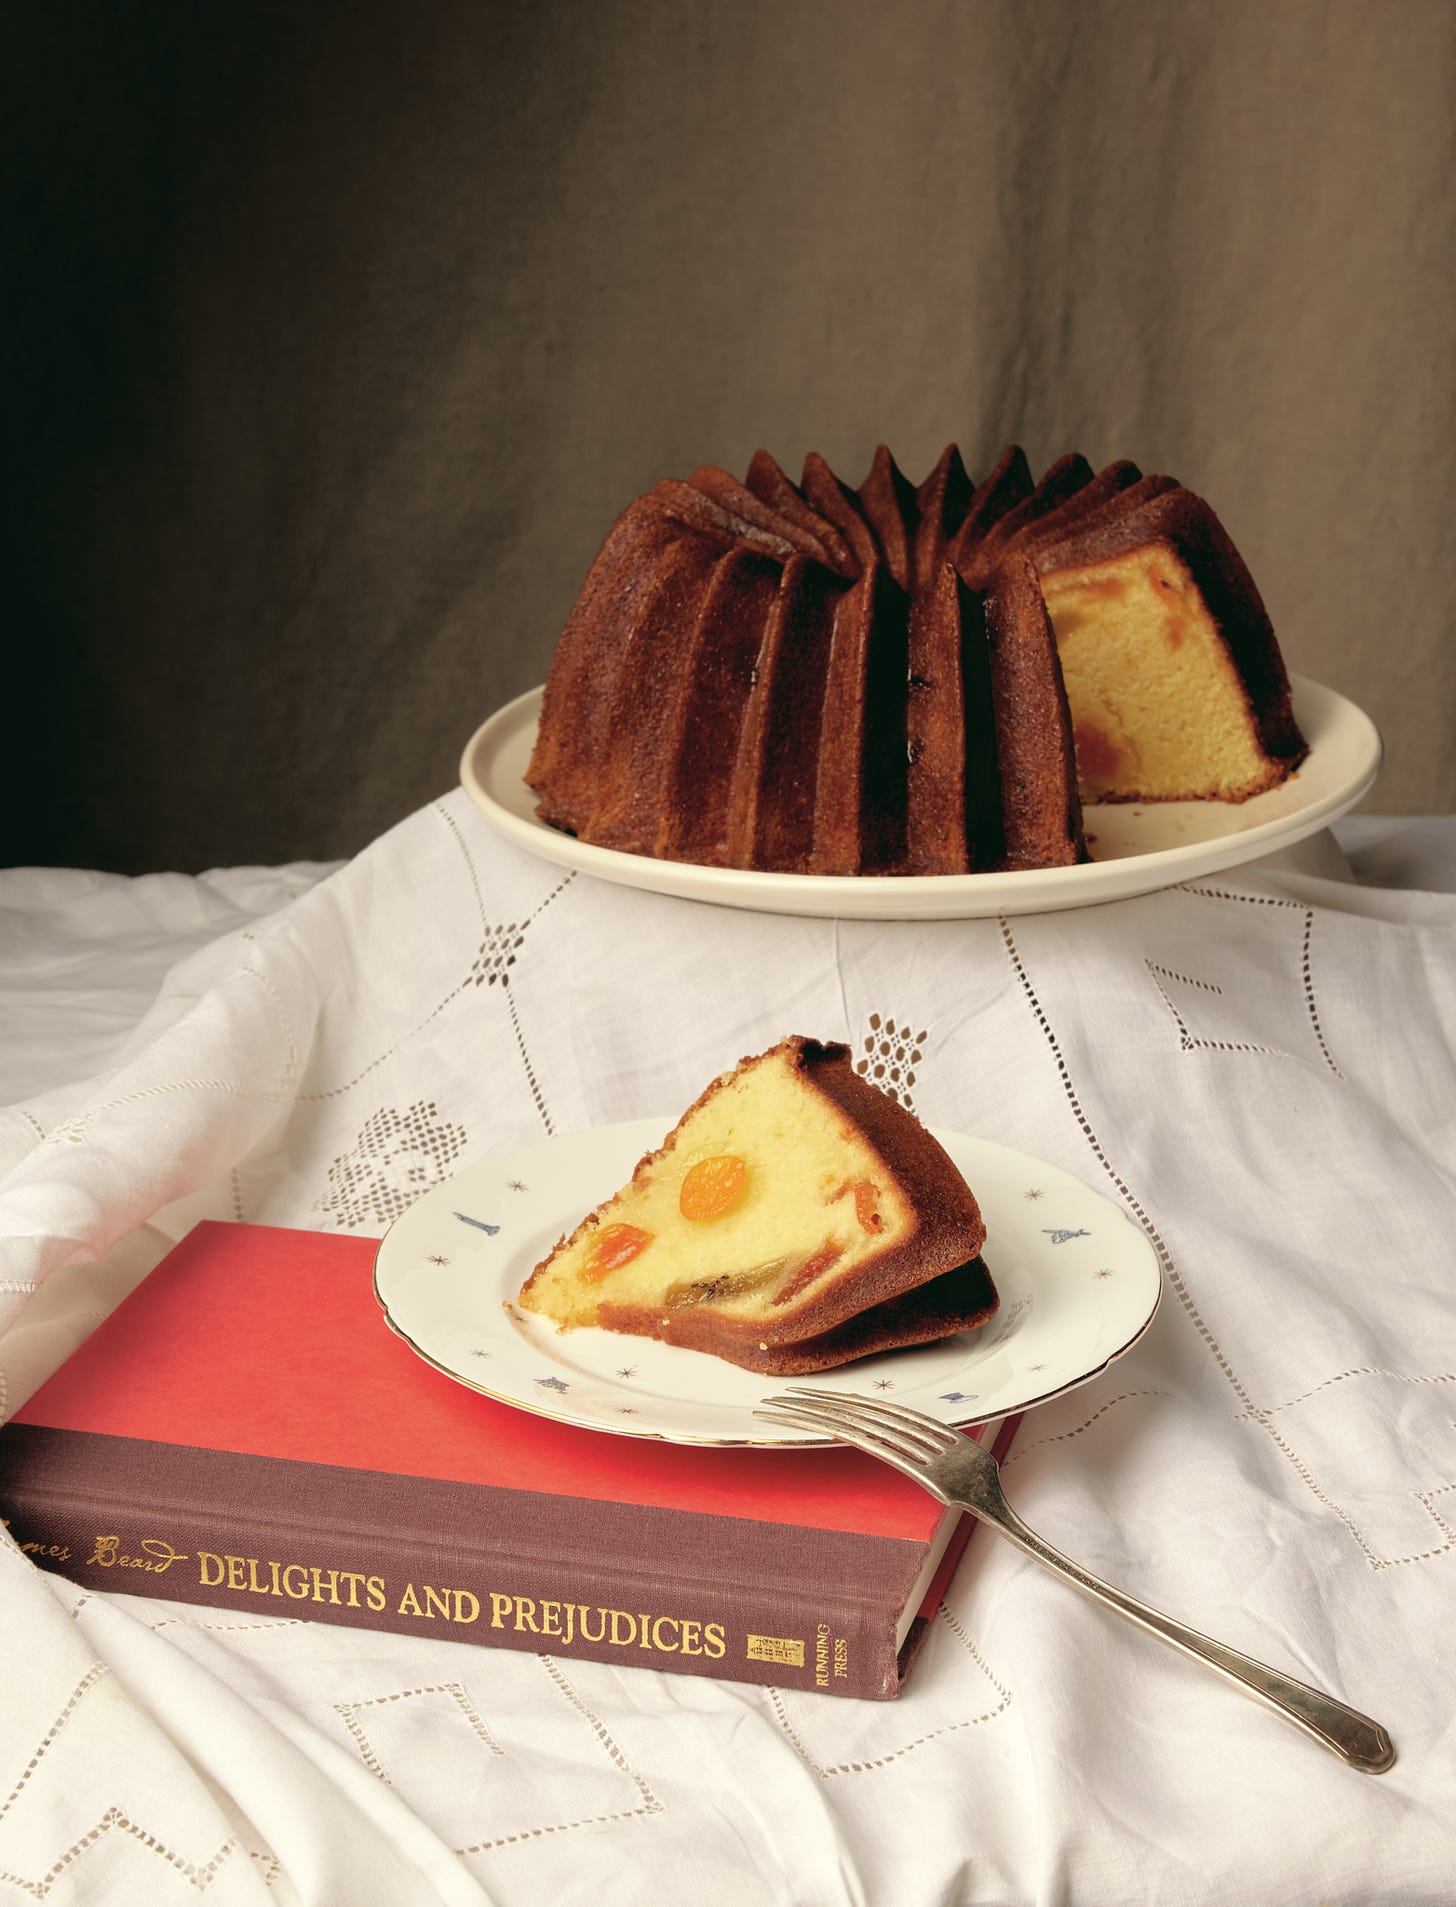
One thing I love about Camilla’s approach is how she never leaves her readers marooned. Not only does she very helpfully teach you how to master techniques like jam making (as in her previous book Jam Bake, one of my favourites of all time) and candying, but she genuinely wants and encourages you to use them creatively. Why not make a tarte tatin with a candied citron as she does on page 149, stud ricotta beignets with candied cherries pg. 174, or add glistening peel to Welsh cakes as shown on pg. 109?
I’ve always found my mind continuously opening when reading Camilla’s work - it was a true boon when Camilla agreed to write regular columns for Kitchen Projects. In the past few years, you’ve been treated to delights like her perfect rum baba, and she’s made admirable attempts to save your lives via her dangerous goods column. And now, on the publication of her latest horizon-widening book, we sat down to chat about all things candied fruit.
In conversation with Camilla Wynne
In the introductory chapters of Nature’s Candy, Camilla explains that candying fruit is nothing new. The ancient Chinese and Romans would seal their favourite fruits in containers with concentrated grape juice or honey. This miraculous method extended the lifespan of the usually transient and fragile fruits, which, rather than rotting, could be procured from their containers with a new lease of life. Now plump with sugar and glistening outrageously, it’s a tale that lands somewhere between Mary Shelley’s Frankenstein and Taylor Swift’s Bejewelled.
Candying lives somewhere between cooking and crafting - both resourceful and aesthetically pleasing, the technique is a worthwhile scouts badge to earn. Though Camilla, a master preserver with plenty of roles in restaurants and the food business, had always been interested in candying, it wasn’t until she launched a class during the pandemic that it took off. Starting with an all purpose method inspired by the Tartine cookbook, Camilla started experimenting. No fruit (or vegetable!) was safe from her syrups and her experiments turned into a book, diving deep into the sticky, shiny world of candied fruit. From the origins of her techniques, the mysterious perma-failure of limes and the ingredient every kitchen needs to have, I’m excited to share our chat with you here.
Nicola: I have been dipping into Nature’s Candy a LOT, and it’s just so gorgeous! It’s one of those books that’s not only fun but genuinely useful. I love how all your books truly have a purpose. I think people can be intimidated by things like making jam or candied fruit. They worry, "What do I do with it?" But I love that you always find ways to use those ingredients and teach us as you go.
Camilla: Thank you! That’s really all I want, a book that’s fun and useful.
Nicola: I’ve noticed more candied fruit on cakes lately, and I think you’re 100% responsible for the resurgence. I was re-reading your intro today and wanted to ask you about the whole ‘maraschino cherries are bleached’ thing. I mean, you’re making some serious accusations here!
Camilla: In the UK, you have access to natural glace cherries, which is great. I’ve bought them while travelling in England. But here, in Canada, the only option is usually those neon bright red or green cherries, or maraschino cherries, which are in fact bleached. I’ve actually ordered sodium bisulfite to try making maraschino cherries from scratch. It firms them up and bleaches them, but totally strips away the flavour.
Nicola: I’m fascinated! Was this common knowledge, or how did you come across this?
Camilla: I’ve always known in part because my dad hated them. He’d say that some cheap fruitcakes had candied turnips instead of fruit, which I found hilarious. As a kid, I loved fruitcake, but not the grocery store ones, and my dad would insist it was candied turnip.
Nicola: That’s wild! I love that you don’t mind candied vegetables, but you draw the line at secret candied vegetables!
Camilla: Exactly. If you’re going to candy a turnip, just tell me! What’s even stranger with maraschino cherries is that after bleaching, they add the cherry flavour back in—sometimes artificially. It’s like, what’s the point at all?
Nicola: So, candied fruit—it often gets dismissed as just overly sweet. Do you think certain fruits retain their flavour better than others?
Camilla: Peel keeps its flavour really well so if someone has candied anything at all, it’s likely to be orange or lemon peel, or something like kumquats because their essential oils help preserve the flavour even through the candying process. Those oils, combined with the natural acidity of the fruit, really help cut through the sugar.
Nicola: Is the amount of water in the fruit a factor?
Camilla: I think that’s part of it - fresh fruits, even the sweet ones, have natural acidity, which balances their flavour. When you cook them down or candy them, that acidity starts to fade, and the sugar becomes the dominant taste. This is why I like finishing candied fruits with something like citric acid sugar—it brings back a touch of acidity, making the flavour of the fruit more vibrant rather than just sweet. It’s incredible how that little dose of acidity brings back the fresh fruit flavour and you can taste the actual flavour of the fruit better than before.
Nicola: So fruits that naturally have a high acidity, like pineapple or kiwi, tend to do better when candied?
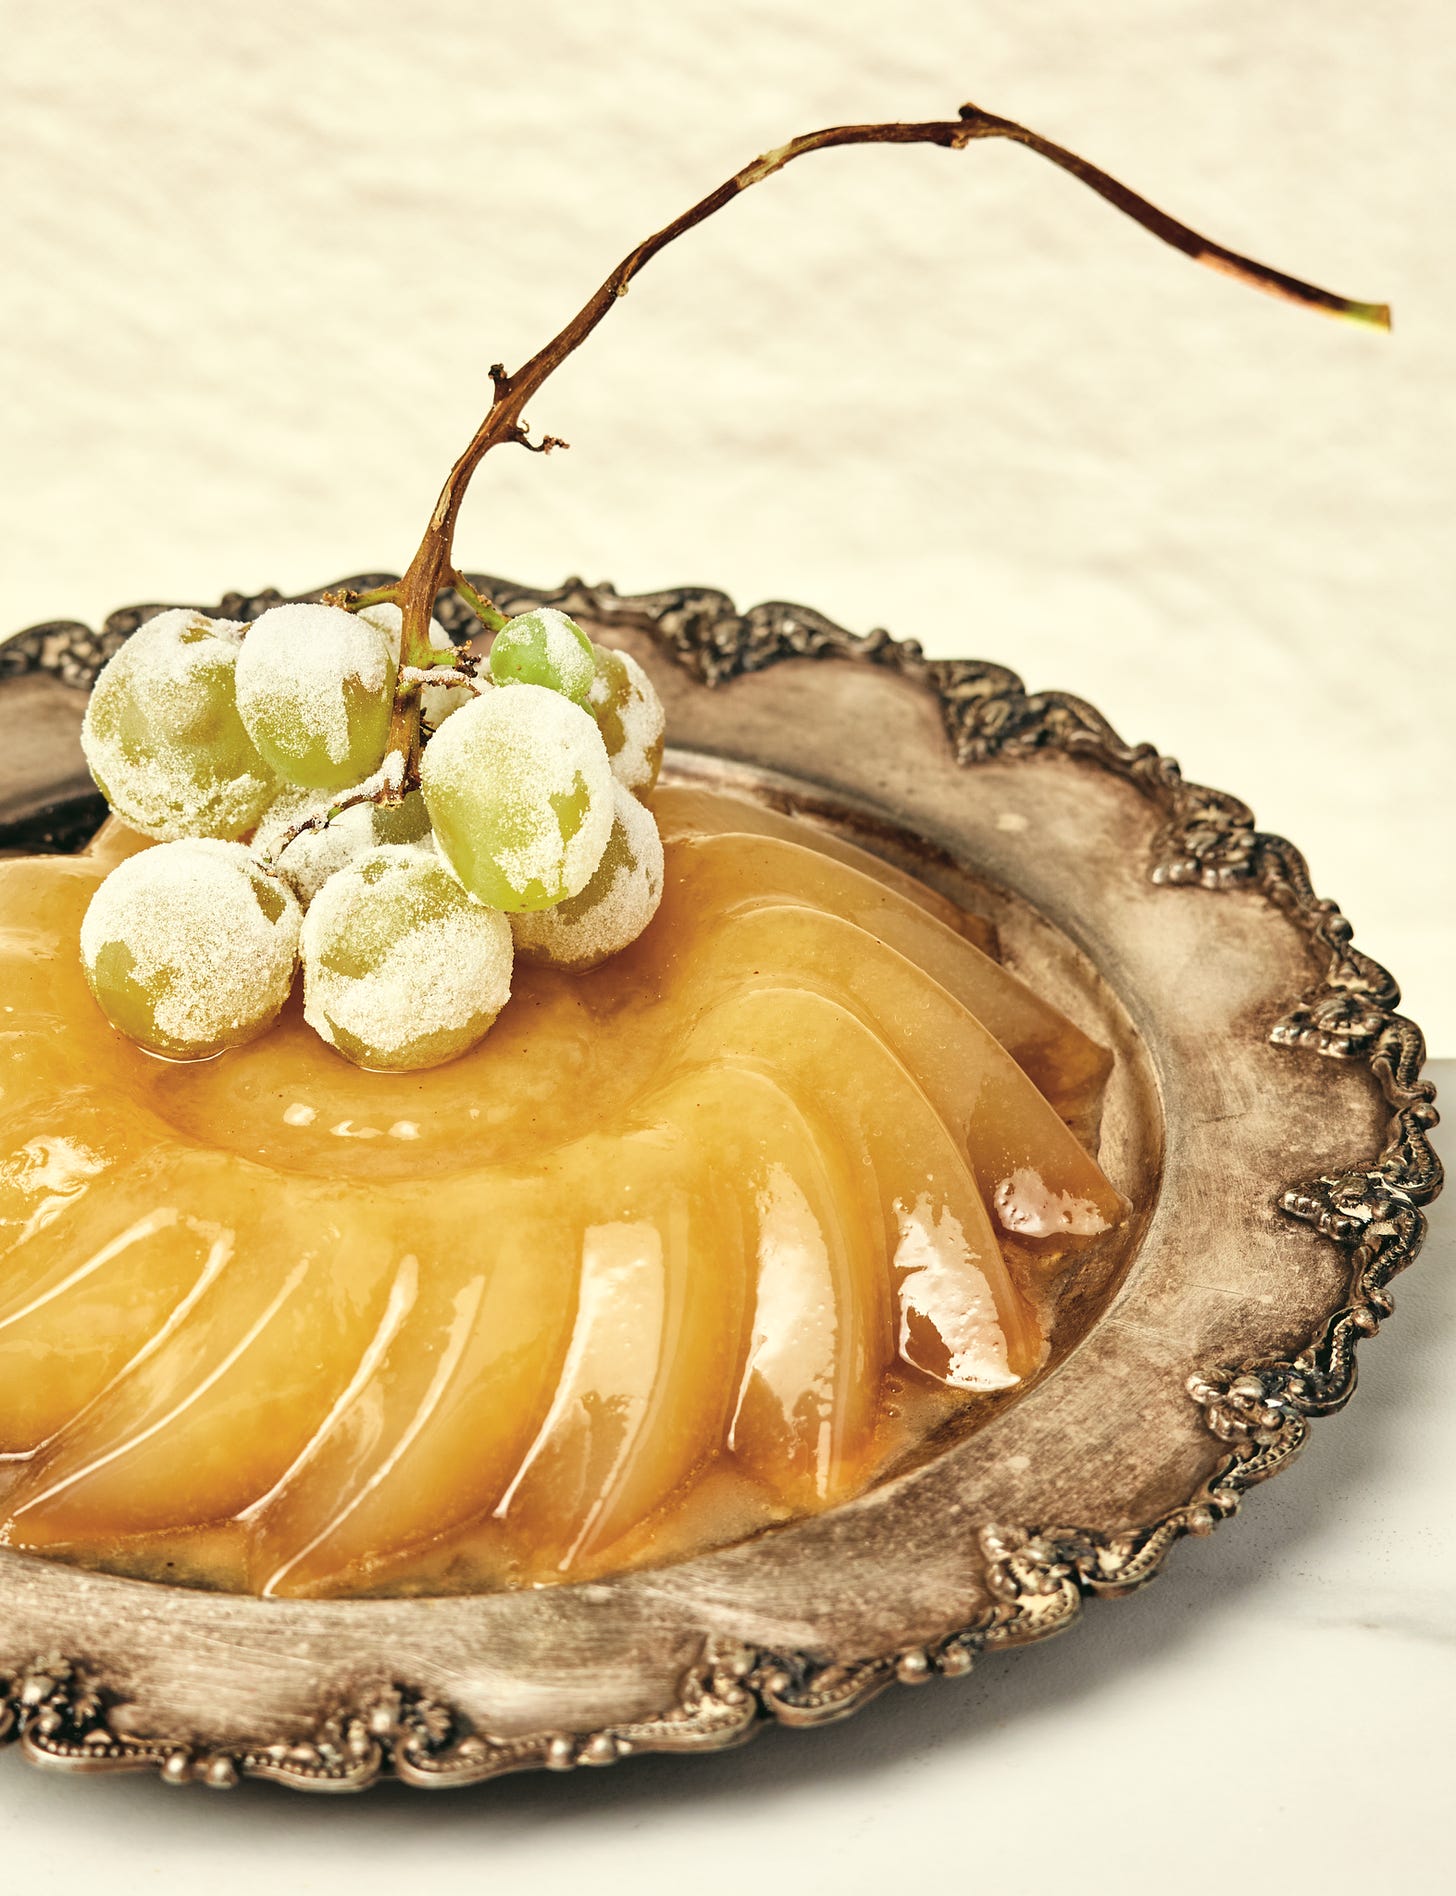
Camilla: Yes Some prominent acidity before candying really does tend to keep its flavour. But fruits like melon or even strawberries, which are sweeter and contain more water, aren't things I'm typically candying because they get a little sad, but there are ways around that - there's a whole section on it in the book.
Nicola: Tell us your secrets!
Camilla: For fruits like pumpkin or melon, I often add flavours that we strongly associate with them. For example, I made candied pumpkin.The pumpkin flavour itself can be mild, but when you add those warming spices—cinnamon, nutmeg—it becomes unmistakably “pumpkin,” even though the actual taste of the pumpkin isn’t that pronounced. It’s like apple pies; people often taste the cinnamon more than the apple itself.
Nicola: That’s really clever.
Camilla: It’s a way of giving fruits and vegetables a little bit of flavour that makes them taste. Not necessarily, like themselves but still familiar. A friend of mine was in Paris and bought these perfect candied fruits from Provence that take months to make. They’re so gorgeous, but when she tried them she said they didn’t taste of anything.
Nicola: Those are just 100% sugar with a tiny bit of fruit fibre right? How do they vary from the recipes in your book?
Camilla: Homemade candied fruit, though, tends to have a lower sugar concentration and, or a lower “brix,” which means you get more of the fruit’s flavour because there’s less sugar to overwhelm the palate. But they have a shorter shelf life.
Nicola: I'll always remember that in your strawberry jam recipe you say to add a pinch of citric acid at the end of cooking, and it really brightens things up.
Camilla: I'm happy to spread the word!
Nicola: People who don’t keep citric acid in their kitchen are really missing out.
Camilla: What are they up to? I grew up with a father who had malic acid for when he cooked with apples and citric acid for other things. He had sumac and dried pomegranate powder, and he's always been into flavouring with acidity, so I really benefited from that.
Nicola: You ever hear people talking about their parents and you're like this all just makes so much sense?! I noticed you have a section in the book on how to use leftover syrup from candying. Can you reuse it if you’re candying more fruit?
Camilla: You can! It would require a refractometer and some math, which not everyone has access to. But you can absolutely test the sugar concentration and use the syrup again.
Nicola: I’m terrible at using leftover syrup. I have so many tupperwares of it in the fridge.
Camilla: I use mine in layer cakes when I’m making them actively. It’s great for soaking cakes. I even came up with a great sherbert recipe using leftover candied orange syrup that’s in the pre-order bundle for this book. (Editors Note: I will find out if this recipe still available to get!) and there’s a cornmeal cake that's soaked in candied orange vinaigrette (pg. 81). That's really good.
Nicola: Out of all the fruits you’ve candied, is there one you’d recommend to someone who’s hesitant about candying fruit?
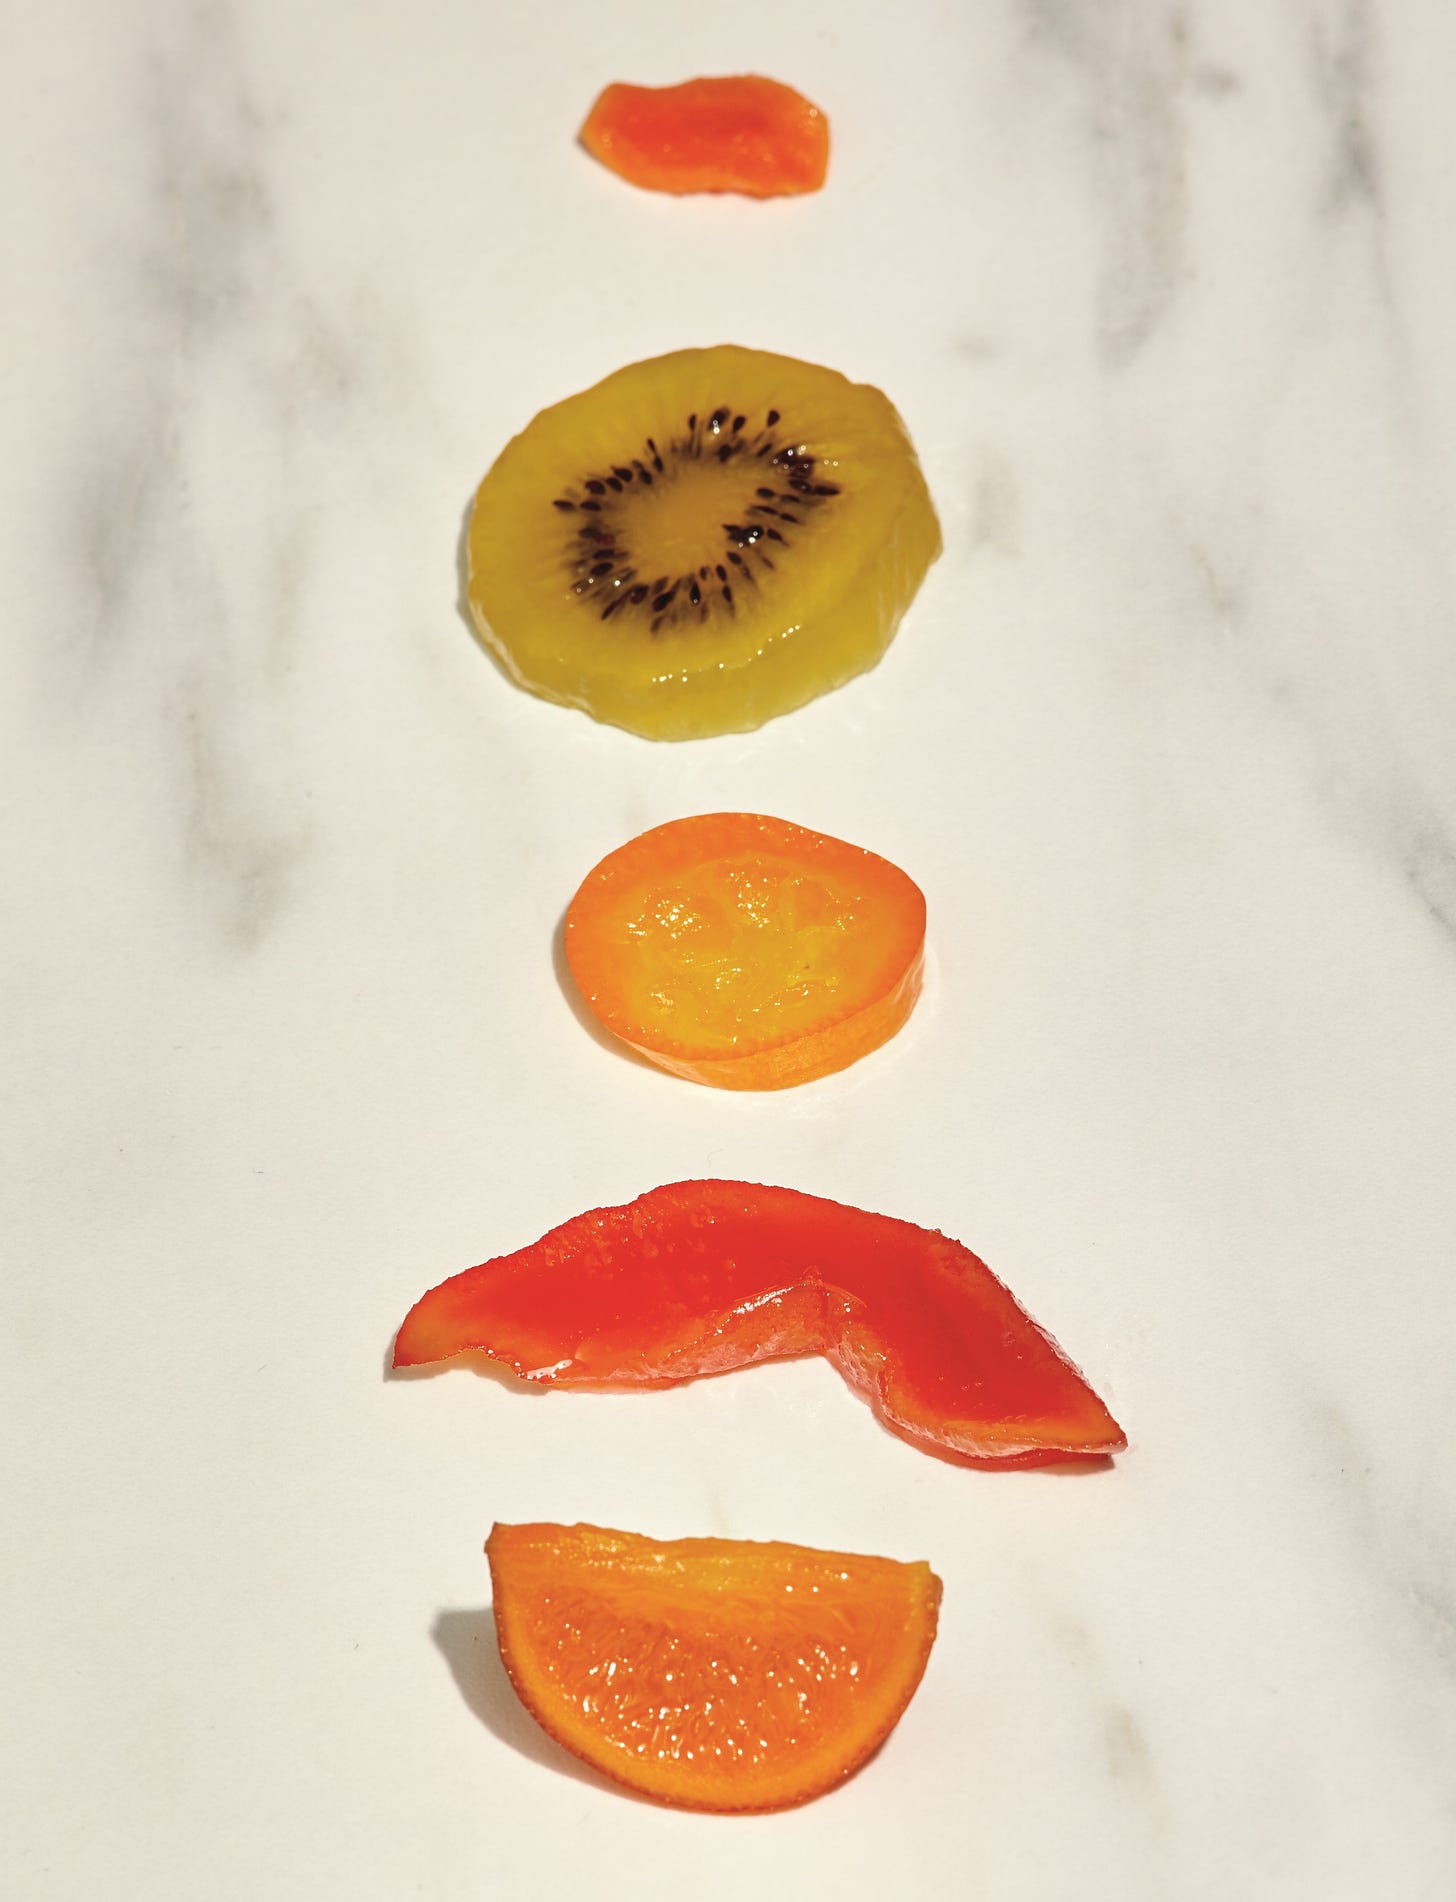
Camilla: I always say kiwi or clementine wedges are great to start with. You don’t have to blanch thin-skinned citrus, and clementine wedges can be flavoured with vanilla bean for this wonderful creamsicle vibe. They look just like those jelly candies from when you’re a kid.
Nicola: I noticed you mentioned candying lettuce stems…
Camilla: I've only read about them. There's lots of food from the last century in England that I'm curious to read about and I have no curiosity to try.
Nicola: In your writing, you often re-examine older techniques and update them for a more modern kitchen. How do you balance deliciousness versus intrigue and when do you just go ‘I can't. I'm not gonna do it! Leave it in the past!’
Camilla: I appreciate the no waste ethos and I think there was probably a novelty around that time and an interest in sugar that we don’t have anymore now it’s so readily available. Certainly tastes have changed.
Nicola: Not to lower the tone… but we need to talk about your battle with candying limes. Were there any other fruits you felt didn’t work well, or was it mainly just the lime that flopped?
Camilla: Limes were definitely the big flop. But everything else I’ve tried has gone pretty well. I’ve done lychees—they shrink a lot because they’re so moist, but they’re delicious. I haven’t done a ton of vegetables, mostly peppers, carrots, green and red tomatoes. My friend Natasha even candied mushrooms once!
Nicola: I can’t even imagine what candied mushrooms look like…. Why do you think limes don’t work for candying?
Camilla: I’m still so fascinated by this! I’ve tried every method—baking soda to tenderize them, different boilings—but nothing worked. It could be the varieties…
Nicola: Well don’t give up and let us know! You describe in the book what you are looking for when candied fruit is ‘ready’ - it's this glossiness. It's no longer kind of translucent. Are there any fruits which are harder to judge? What about the darker fruits like cherries and strawberries, do they get the same glassiness as a piece of pineapple?
Camilla: They should… It is a bit like telling when jam is done. You might not get it right the first time. You might overdo it a little. I always say it’s better to undercook it because you can cook it more if needed. That’s the beauty of learning anything new—you need to repeat it over and over, gradually increasing your skill and noticing the subtle differences.
Nicola: So, what happens when you over-candy a fruit? Does it just get tough?
Camilla: Yeah, peel especially gets tough, and then the sugar can start to caramelize. I once did it with Pears, and the syrup was so thick it was like pulling them out of molasses. But, I mean, they’ll last forever!
How can we argue with a book that will teach you how to make immortal fruits? I know I’m hooked on Nature’s Candy; you should get your copy here! And you can follow Camilla on Instagram here: https://www.instagram.com/camillawynne/
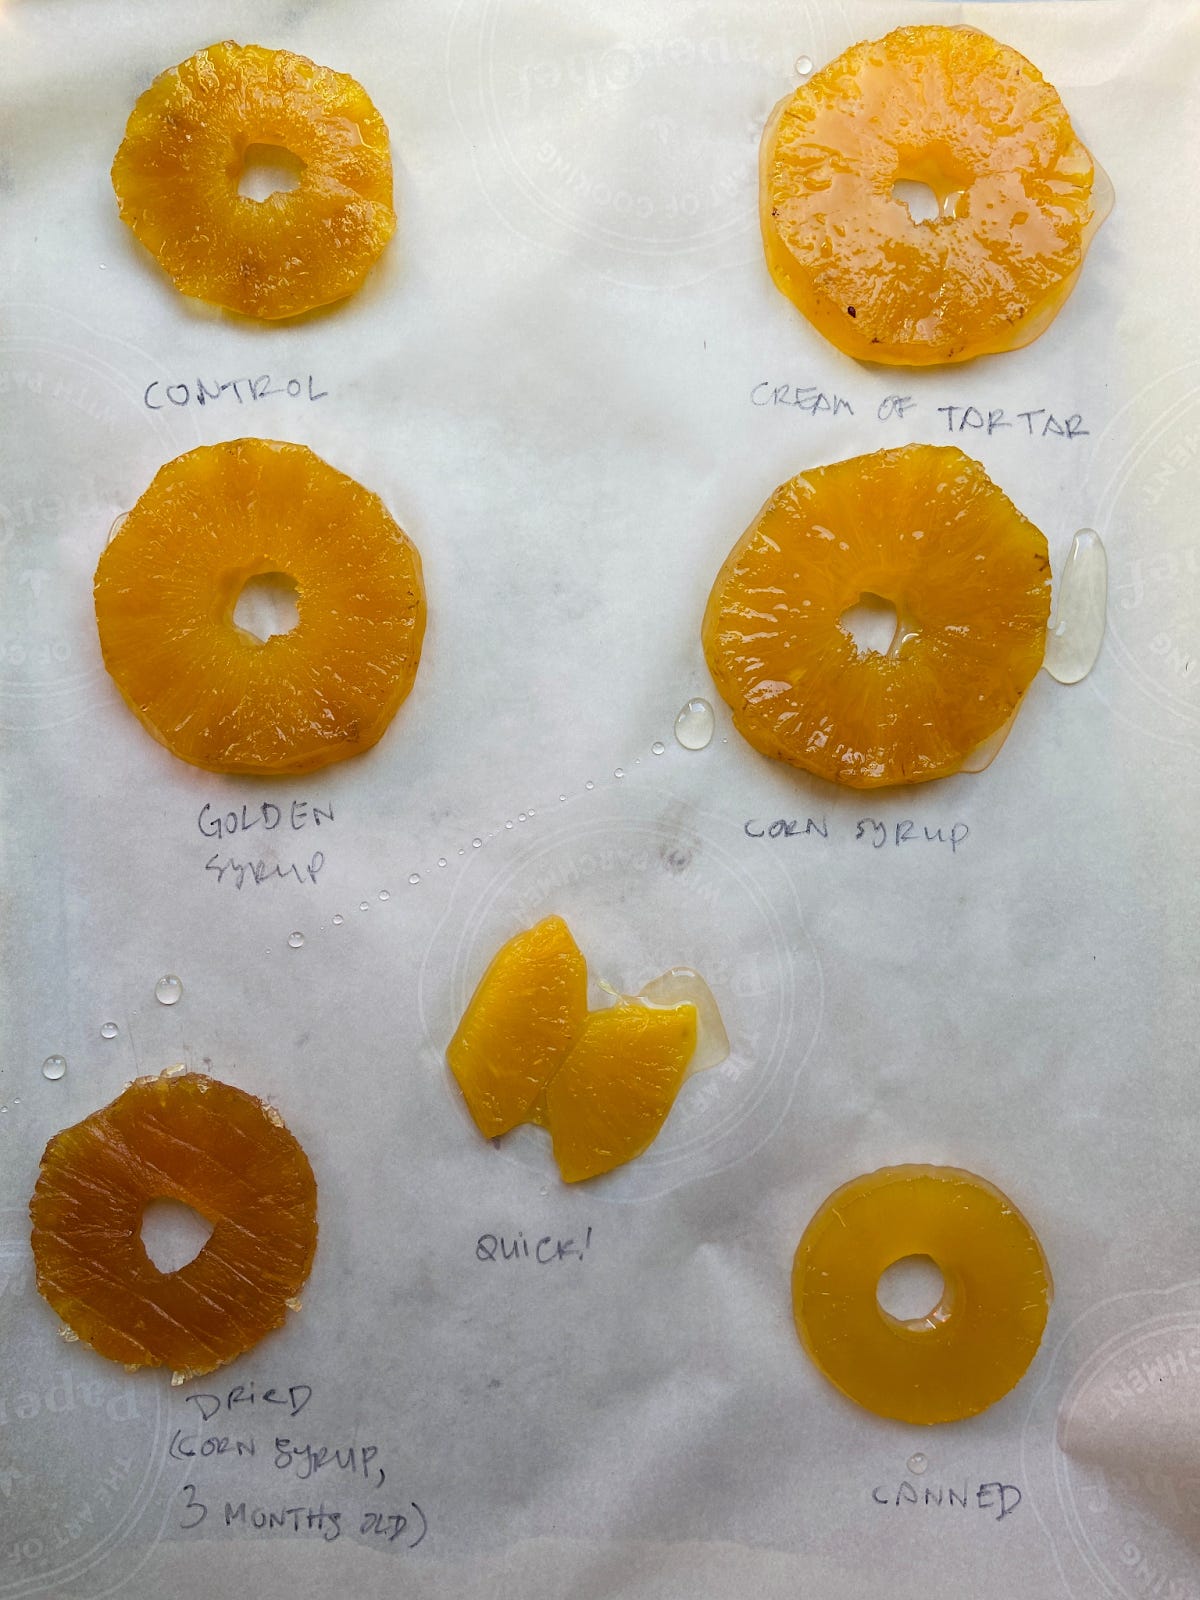
While you’re waiting for it to arrive… I’m thrilled to share Camilla’s All Purpose Candying method below (and if you want to get into the testing details and see some of her different methods in action on Pineapple, read this newsletter here).
Over on KP+, I’m very excited to share her recipe for banana split blondies. Gorgeously retro and a total crowd-pleaser:
Almost All-Purpose Candied Fruit
aka The Speediest Method for Small Pieces
Excerpted from Nature’s Candy by Camilla Wynne.
Copyright © 2024 Camilla Wynne. Photographs by Mickaël A. Bandassak. Published by Appetite by Random House®, a division of Penguin Random House Canada Limited. Reproduced by arrangement with the Publisher. All rights reserved.
If you’re new to candying, start here. I learned this quick method from the excellent book Tartine by Elisabeth Prueitt and Chad Robertson. It has its limits in that it will only work on relatively small pieces of fruit (if you want to candy a whole fruit or large pieces using a method closer to that of an artisan confectioner, head to page 28). It also won’t make a product that is completely shelf-stable, but you can’t beat it for speed! The final product works beautifully for baking with or serving on its own.
Only use fruit with a strong cell structure that can handle a hearty simmer (not raspberries, for instance; the best method for them is on page 43). Good candidates include pineapples, kiwis, quinces, pears, cherries, apple peels, and thin-skinned citrus like clementines and kumquats (see page 33 for candying thicker-skinned citrus). For a full list of which methods are best for the fruit you have, see the table on pages 56–57.
Because only you know how much fruit you want to candy, I prefer to use ratios. The ratio for the syrup is 1:1 water to sugar by cup, so make as much or as little as you need, depending on how much fruit you have. While I generally prefer to measure by weight, what’s important here is that there is enough syrup to cover the fruit.
For each cup of prepared fruit, you’ll need about 190 mL (¾ cup) water, 150 g (¾ cup) sugar, and 1 tablespoon of glucose or light corn syrup.
Method
To prepare the fruit, peel, core if necessary, and slice about ¼ inch thick. Cherries should be halved and pitted. Clementines can be cut into six to eight wedges. Kumquats can be sliced or quartered.
To candy the fruit, in a medium saucepan, bring the water, sugar, and glucose to a boil over high heat, stirring occasionally to dissolve the sugar. Add the fruit and immediately reduce the heat to a gentle simmer. Cook until the fruit is uniformly glossy and translucent, anywhere from 15 to 45 minutes, depending on the fruit.
Soft fruits like cherries, for instance, will take less time, while dense fruits like quinces will take the longest. Remove from the heat and allow to cool completely in the syrup at room temperature, preferably overnight, before storing, drying, or finishing (pages 59–60).
Storing, Drying & Finishing
So now that you’ve candied all this fruit, what next? You’ve got options. You can store it in syrup, dry it, and then finish it—in that order.
Store it
If I’m not sure how I’m going to use my candied fruit, I store it in its syrup in the refrigerator. This gives me the versatility to just drain it (saving the syrup!—see page 27) and use in recipes as needed, or to dry it for serving in the future.
To store, place the fruit in a clean jar or other airtight container and cover completely with syrup, even if this means filling the jar all the way to the brim with little to no headspace. The more air there is in the jar, the more likely that something like mold will develop (see page 67 for troubleshooting tips). Label and date the jar and store it in the refrigerator, and use a clean utensil when removing any pieces.
Properly candied fruit should keep for at least 4 months this way, and likely longer. If you begin to see mold, cloudiness, or fizziness, check out my troubleshooting section (page 67).
Dry it
Drying is the method I use for serving candied fruit as is, using as décor, using in recipes that can’t handle extra humidity, or storing when I have no room left in the refrigerator.
To dry, drain the candied fruit from its syrup (though don’t throw that syrup away!—see page 27), then use one of the following methods.
At room temperature: This is the easiest, most hands-off method, the one I usually use despite owning a food dehydrator. That said, it’s only a good choice if you live somewhere that isn’t super humid. Place fruit on a wire rack set over a rimmed baking sheet. Depending on the temperature and humidity of your home and the moisture content of the fruit, it can take 1 to 3 days to dry this way.
In the oven: This is a good option if you’re in a hurry to dry your fruit but don’t own a food dehydrator. Preheat the oven to its lowest temperature (likely 150°F to 170°F/65°C to 75°C). Place fruit on a wire rack set over a rimmed baking sheet. Check the fruit every hour or so—it can take anywhere from 2 to 7 hours depending on the fruit, but you don’t want to overdry it.
Using a food dehydrator: This is the best method for drying quickly—it could take anywhere from a couple of hours for fruit chips to overnight for larger pieces. Its low temperature (135°F/57°C) is best for candied fruit and is gentler than the oven, but more powerful than room temperature.
No matter which method you choose, fruit should be dry but still pliable, and
if you intend to finish your fruit with a sugar coating, make sure the fruit is still tacky (otherwise the sugar won’t stick!). Once dry, if not serving immediately, store candied fruit in an airtight container. Candied fruit is stable at 75 Brix (that’s a measurement for the concentration of sugar; see page 9), but you probably don’t have a refractometer (the tool that measures Brix) at home, nor are these methods likely to result in candied fruit that saturated. Still, properly candied and dried fruit should keep at cool room temperature for at least a few months. If you’re storing a very humid fruit for a long period, consider keeping it in the refrigerator, just as extra insurance.
Finish it
You can serve candied fruit as is or finish it with a coating of glaze, sugar, or chocolate.
With glaze: A dip in concentrated sugar syrup will create a shiny protective coating. Prepare a syrup by boiling 200 g (1 cup) sugar and 85 mL (⅓ cup) water until the sugar has dissolved. Set a wire rack over a rimmed baking sheet. Use a fork to dip dried candied fruit into the hot syrup, then place on a wire rack to dry overnight.
With sugar: For a sparkly finish, dry the fruit until tacky, then roll it in sugar. You can use granulated, superfine, or flavored sugar (page 62). If the candied fruit is too dry for sugar to stick, dip the fruit briefly in hot water before coating, then let dry completely. [Editor's note: Now would also be the time to add citric acid to your coating!]
With chocolate: Dip dried candied fruit in tempered chocolate (page 64) and let set before storing somewhere cool and dry.
Finished candy can keep in an airtight container at room temperature for at least a couple of months if properly candied and dried.
Beyond using it in your favorite recipes or the recipes in the next section (page 70) of this book (destined to become your favorites!), you can use candied fruit to decorate cakes and other bakes, garnish cocktails, serve with cheese (trust me), eat on their own, or gift in a candy or chocolate box.

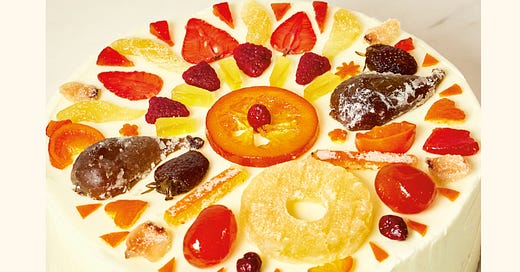


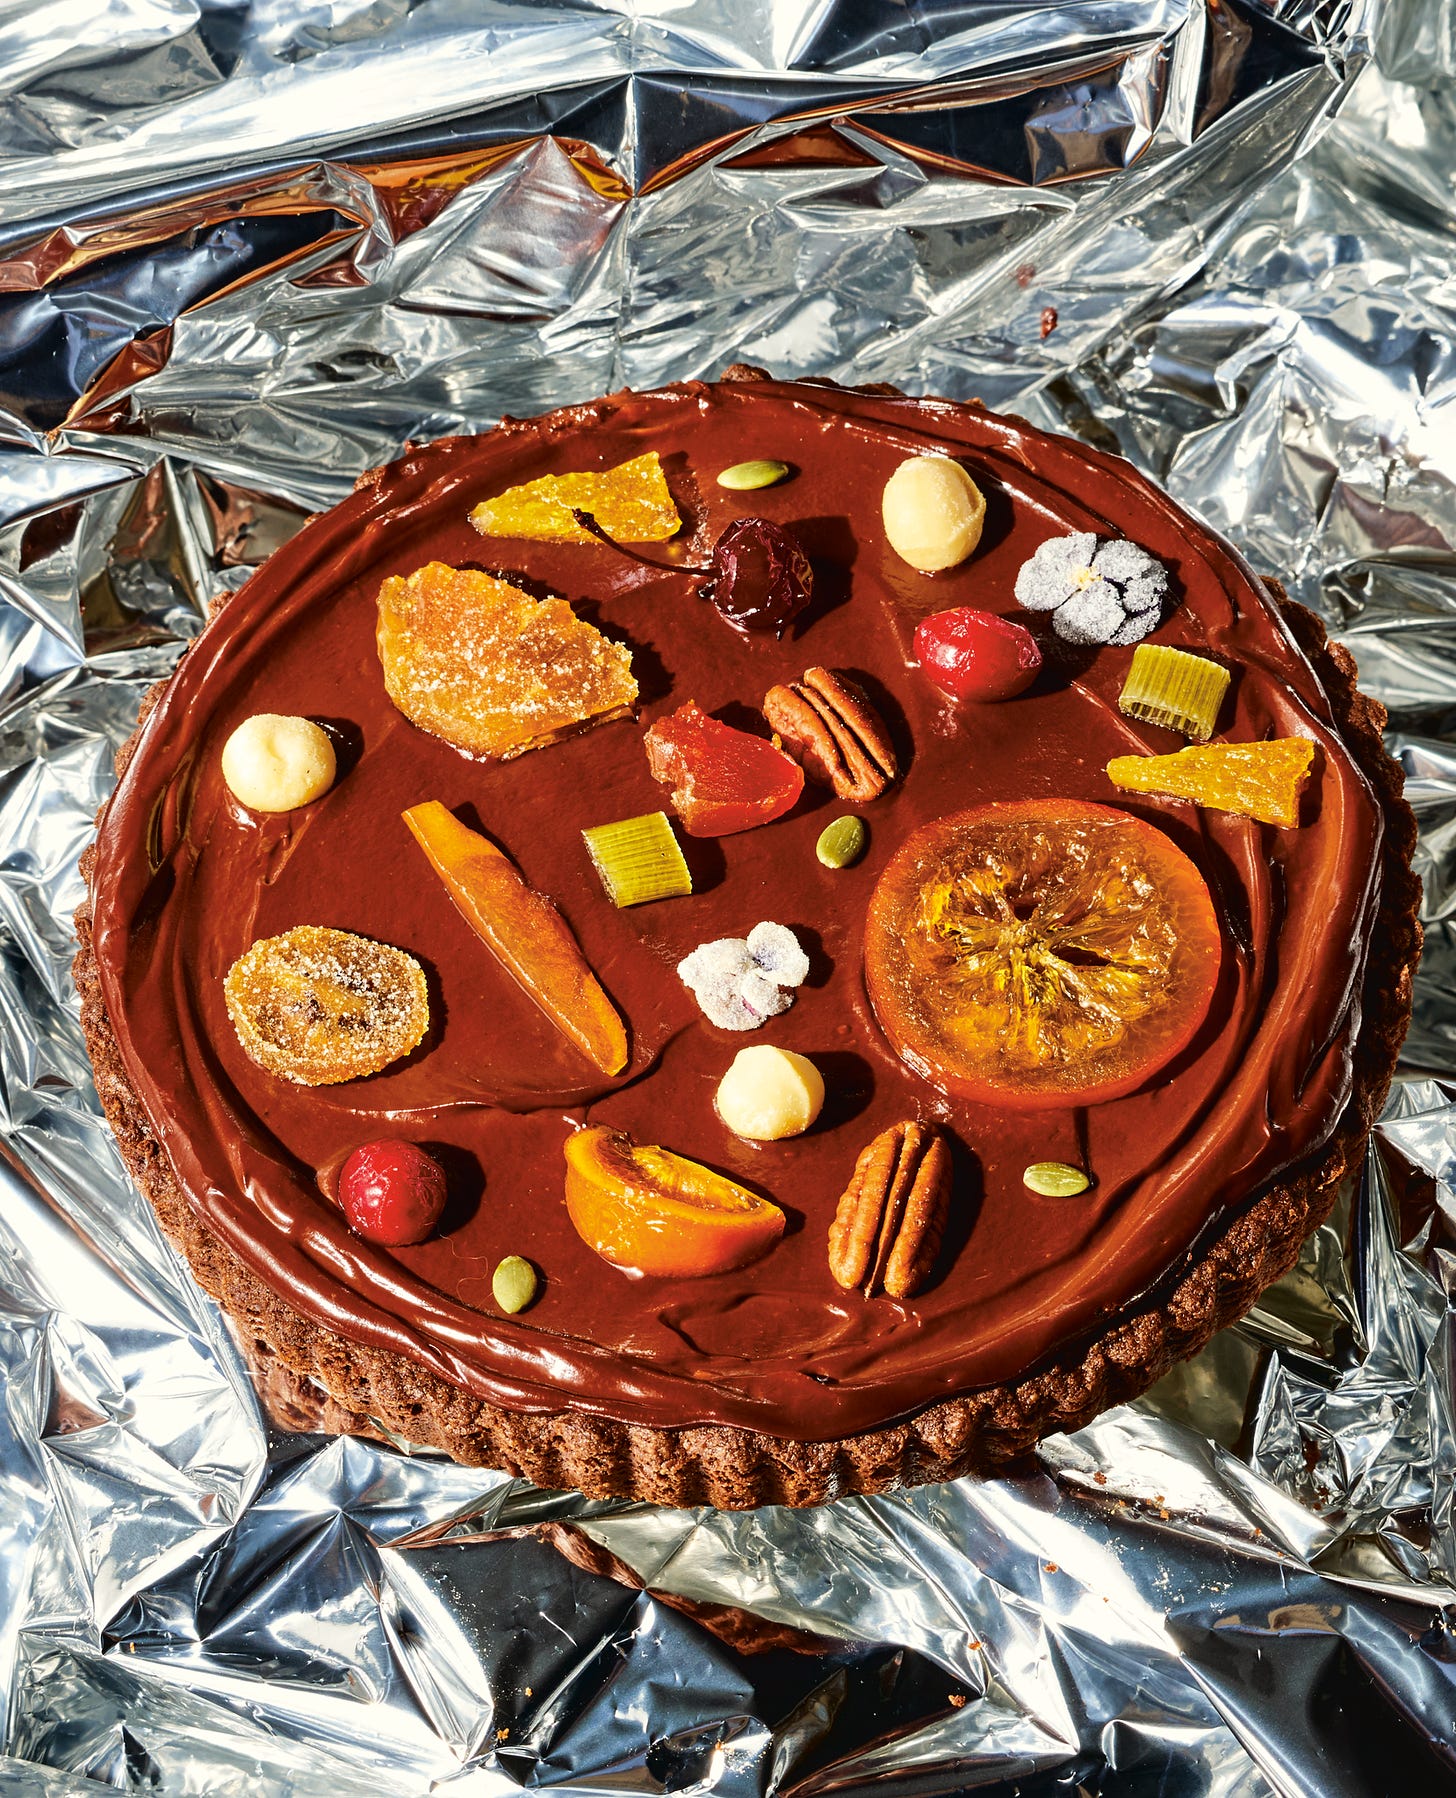
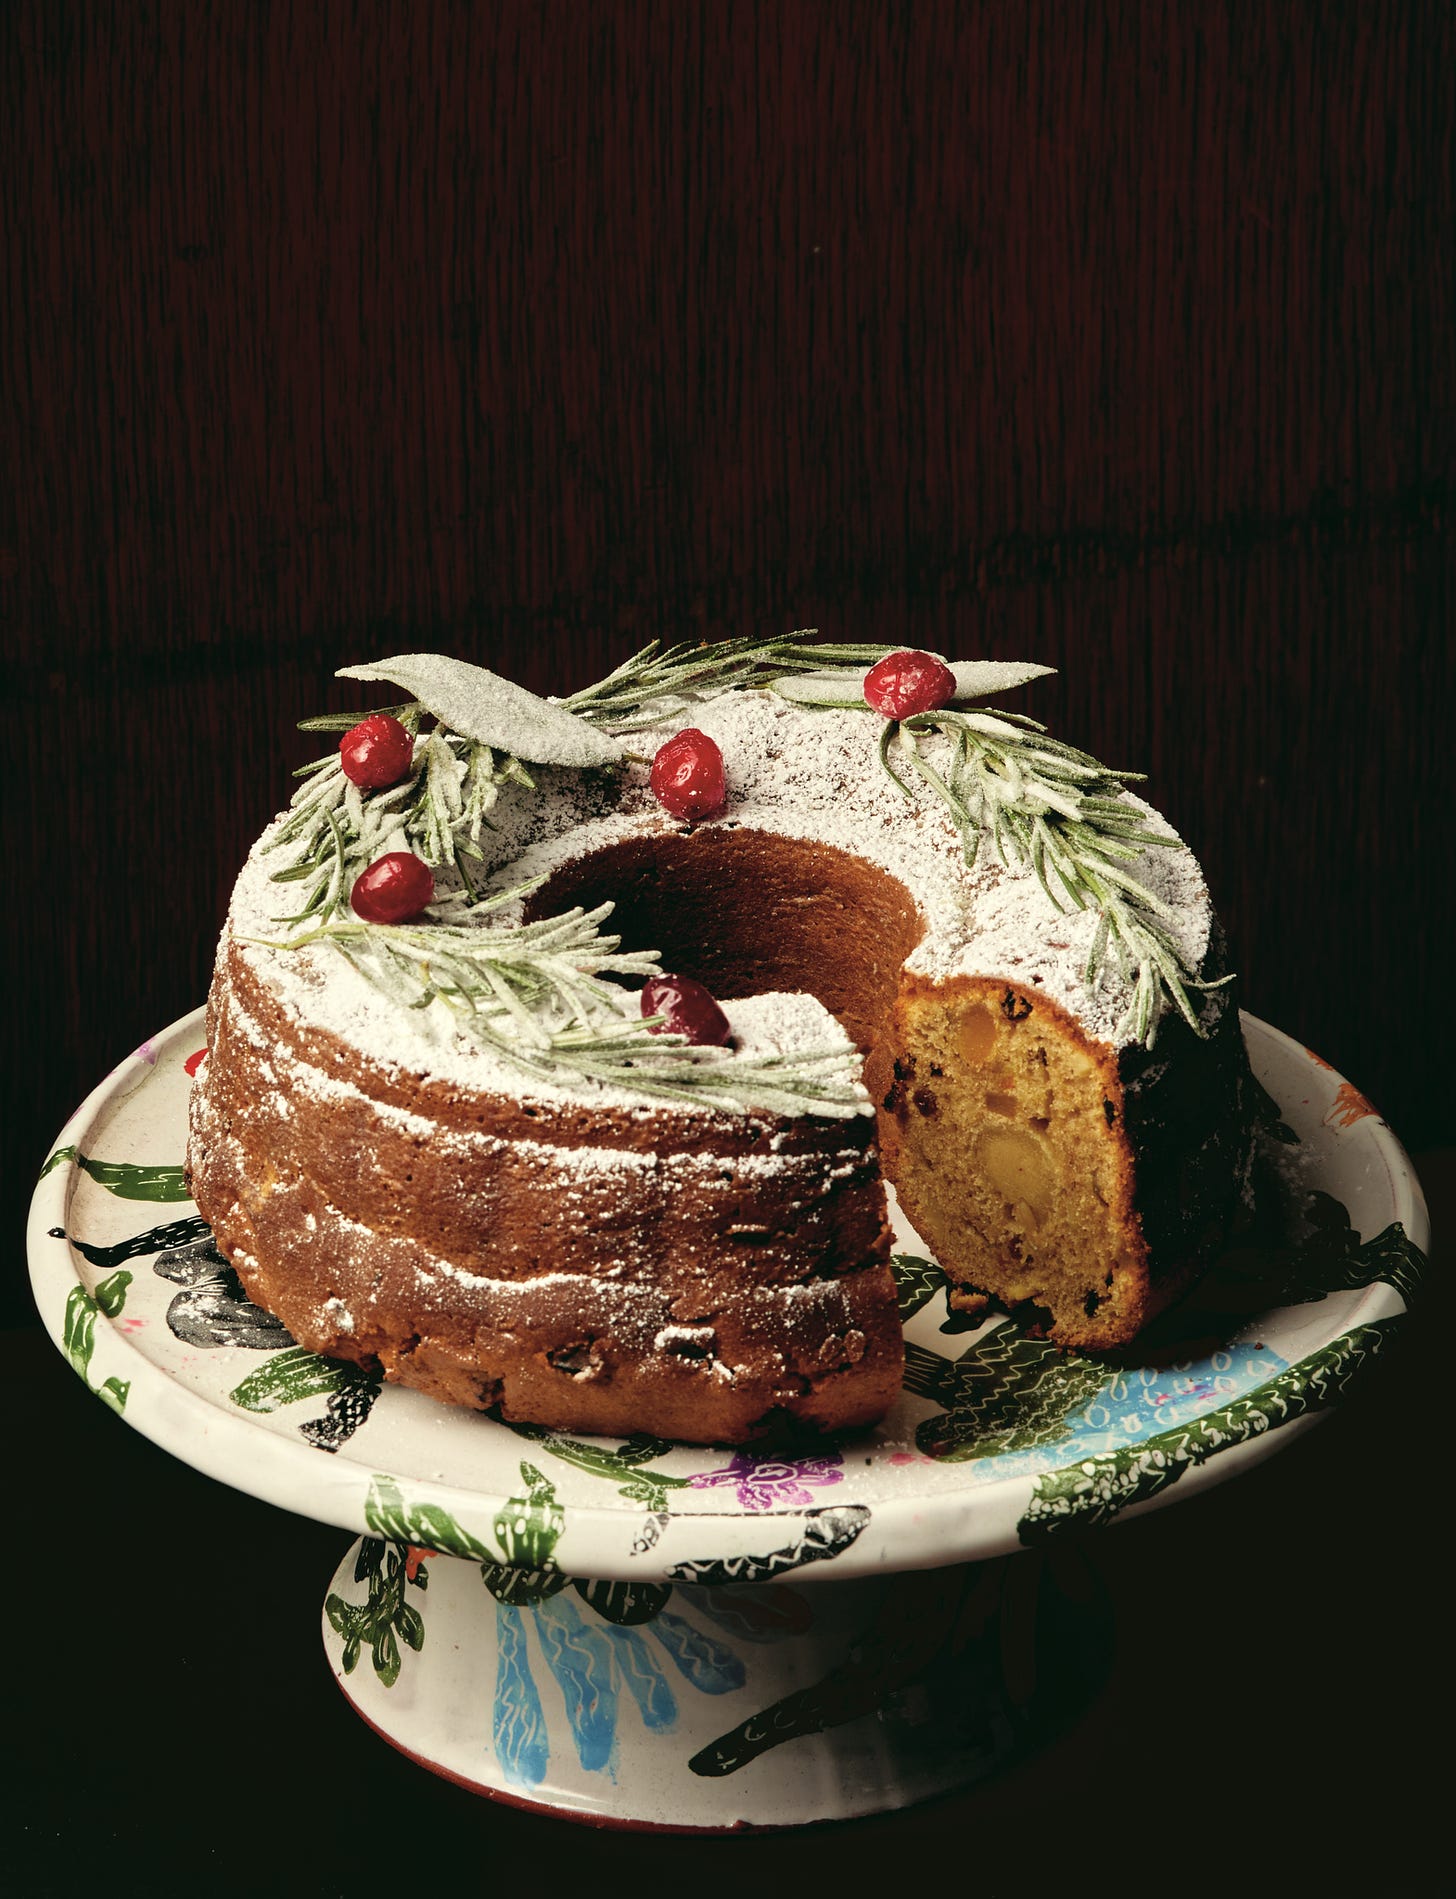
I don’t know why I’d never thought of adding citric acid to the sugar coating before, but this is basically like make tangfastics, right? I am 100% in.
Just got it, fantastic. Also: I sent a dm to your Instagram and (I think) to the correct email for you, Nicola!