Hello and welcome to this very exciting edition of Kitchen Projects. Thank you so much for being here.
Today I have the honour of introducing something new for Kitchen Projects… our very first guest columnist! I firmly believe that knowledge is power, and I’m so excited to be able to invite guest writers to explore new techniques and skills with you (and me!).
Kitchen Projects is 100% reader funded; By joining KP+, you will support the writing and research that goes into the newsletter and get access to extra content, community chat threads, and more. Subscribing is easy and only costs £5 per month:
Love,
Nicola
Introducing our first-ever guest columnist
I am the first to admit that I am not an expert in everything. I’m proud to be professionally curious but I’m always happy to defer to someone who simply knows better than me; It’s been a bit of a dream of mine to invite people I admire to contribute deep-dive newsletters for Kitchen Projects, exploring their area of expertise. And so, I’m very excited to introduce the first EVER full-blown official guest columnist for Kitchen Projects: Camilla Wynne.
If you’ve been following this newsletter, you’ll know how much I adore the recipes of Camilla Wynne, master preserver and author of ‘Jam Bake’ (Read my newsletter about her from earlier this year, here!). Based in Toronto, we’ve become penpals, of sorts, and she has solved so many of my preserving woes. To be honest, Camilla is the only person who has ever made jam-making feel accessible and truly worthwhile and as a result, she has unlocked a world of flavour for me! So, naturally, I’m thrilled that she will be joining us here every now and then to teach us about the wonderful world of preserving.
From jam-making, to candying and many other things involving jars, Camilla will unearth hard-earned expertise and arm us all (me included) with fruit-focused knowledge to take our bakes to the next level. Today’s subject? Candying fruit.
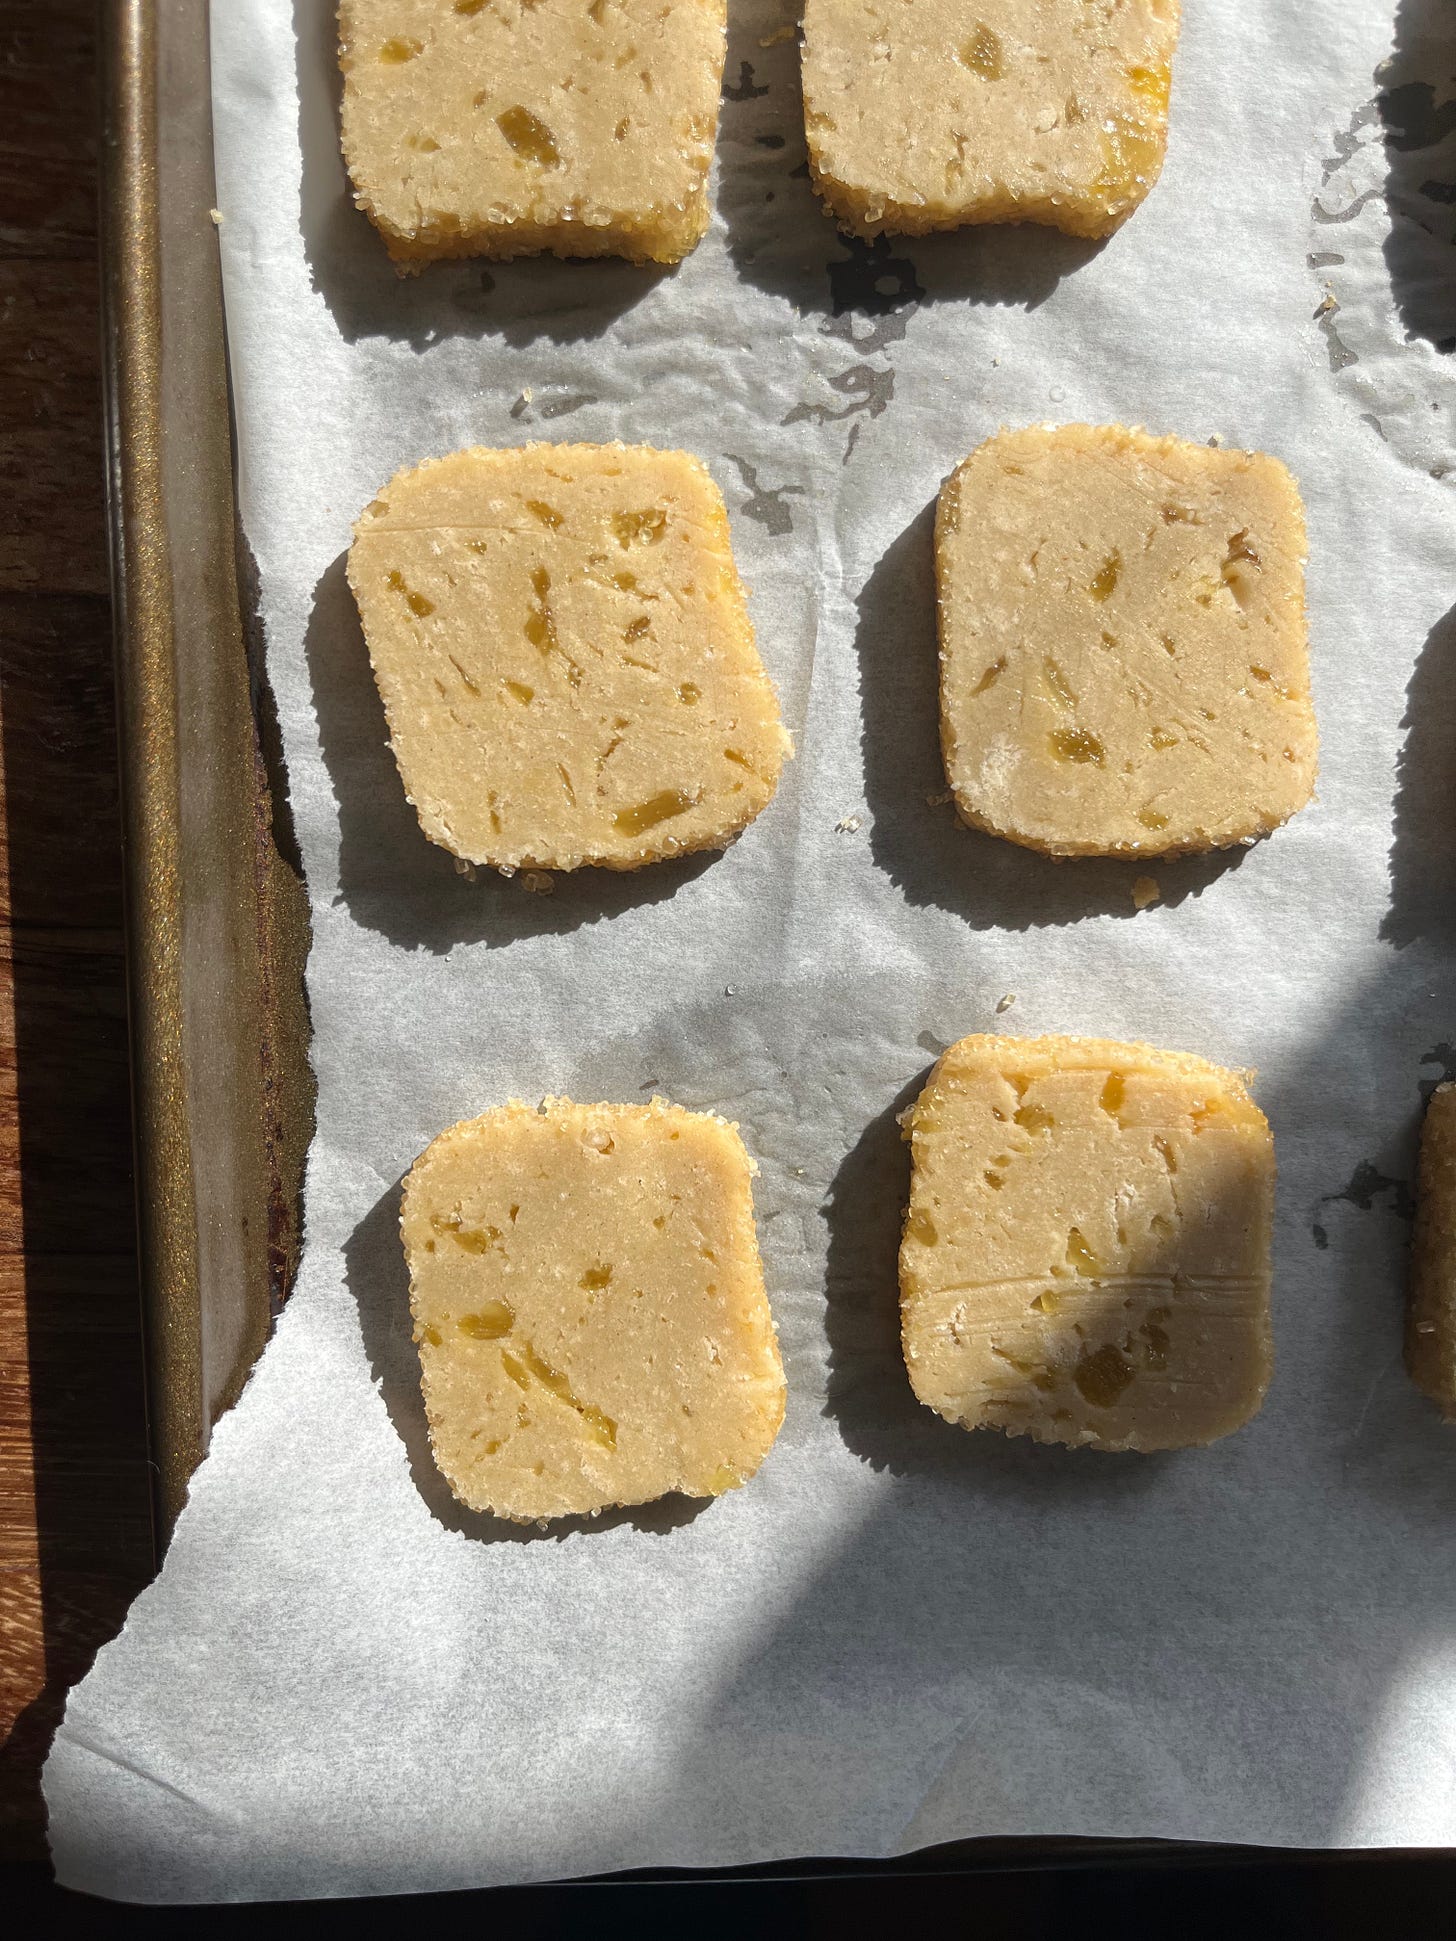
I’ve been a candying cowboy for far too long, and today Camilla will guide us through how to make perfect jewels which you can use in a myriad of ways - decor, gifts, snacking - the world is your candied oyster (though maybe *don’t* try candied oysters?); for KP+ subscribers, I’ve shared a recipe for terrazzo-like candied pineapple shortbreads - the perfect blend of buttery, crispy and chewy:
It’s worth mentioning that Camilla is currently writing her second cookbook ‘Nature’s Candy’ which is all about candied fruit, so I’m grateful for Camilla getting her kitchen all sugary and sticky for our benefit. So, I’ll hand it over to her!
The world of candying
Words and recipe by Camilla Wynne
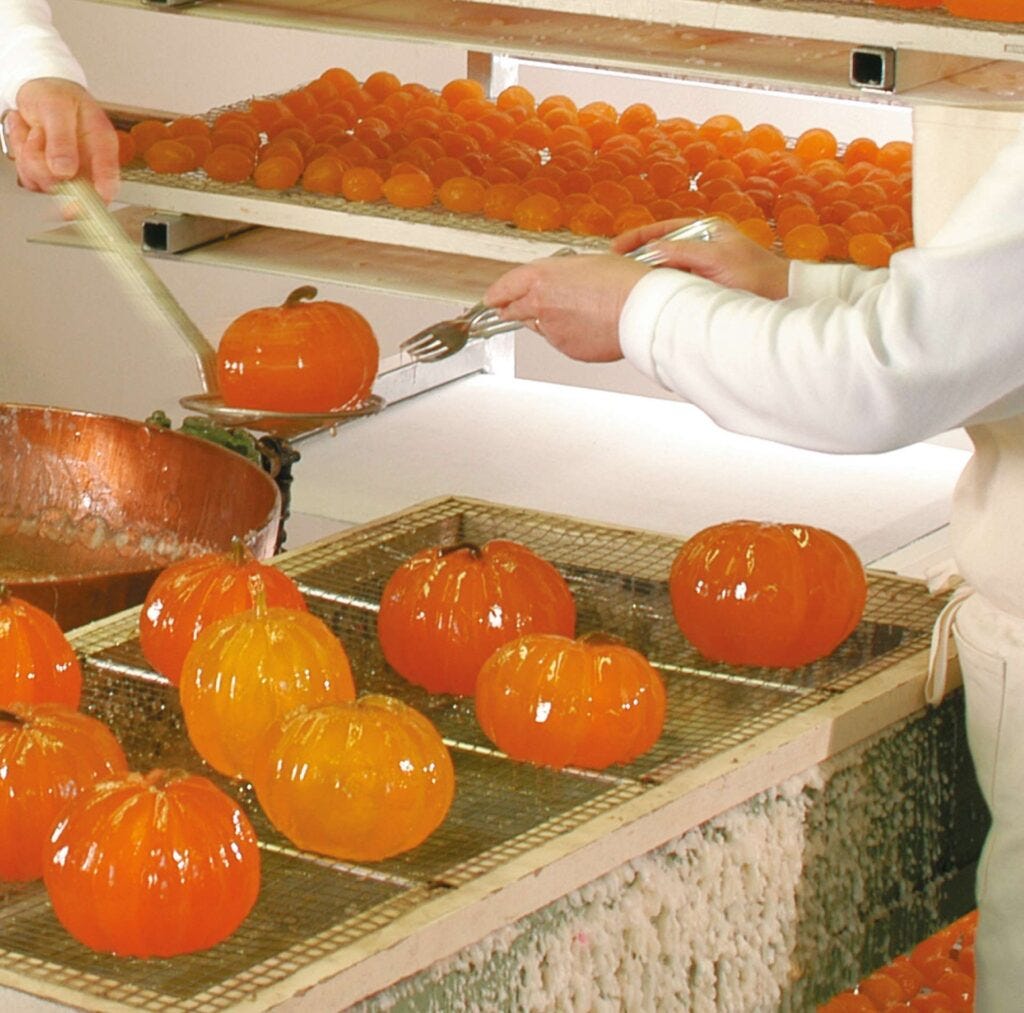
Long ago, when people couldn’t obtain just about any fruit at any time from anywhere, as in modern grocery stores, the fruit was candied so that it might be enjoyed out of season. This practice has spanned centuries and the globe, from fruit candied in honey in ancient China to the wet suckets (candied fruits in syrup) of medieval England that had their own special fork.
With the advent of canning, refrigeration and global trade it’s no longer necessary to candy fruit for preservation, but like many traditional food preparation practices, we’ve developed a taste for candied fruit over the years and have made it a part of many of our beloved baked goods.
Nowadays, people rarely candy fruit at home. I obviously think this is a shame, which is why I’m writing a candied fruit cookbook! While it does require a little patience, the process is simple and the end result can be a versatile baking ingredient or confection in its own right. In most places artisanal candied fruit isn’t available and, where it is, it tends to be very pricey (this is as it should be given the work that goes into it, but still it’s prohibitive). Mass market candied fruit, as much as I loved it as a child, really isn’t of very good quality, bleached and tasteless. (Though there are a few exceptions to this rule, such as Italian amarena cherries, which are both good and affordable enough that I tend to rarely candy my own cherries!
Traditional Methods
The traditional method for candying fruit usually begins by briefly blanching fruit in water to soften it slightly and open up the cell network, making it more amenable to soaking up syrup. Next, the fruit is soaked or simmered in a syrup whose density is gradually increased over 3 to 4 weeks, which results in sugar taking the place of the water in the fruit cells. Finally, the fruit is left to steep in the syrup for an additional month or two, ensuring its total penetration.
This slow (or, as Harold McGee calls it, “tedious”) method helps keep the fruit’s original shape intact by gradually replacing the fruit’s water with sugar. If the fruit was introduced directly into a concentrated syrup, it would shrivel or burst. Sugar also keeps the fruit’s colour vibrant (or at least whatever wasn’t lost in the initial simmer—some fruit sheds a lot of colour this way and are sometimes supplemented with food colouring). Additionally, sugar impedes spoilage by denying nefarious bacterium, moulds and yeasts the water they need to survive and proliferate.
Shortcuts
At this point, it has likely become apparent that candying fruit in the manner of French artisans is not exactly a task one might undertake at home. I can testify that when I have tried, I’ve ended up with a very syrup-sticky kitchen, despite my best efforts, as well as a detailed diary attempting to keep track of the multi-day process.
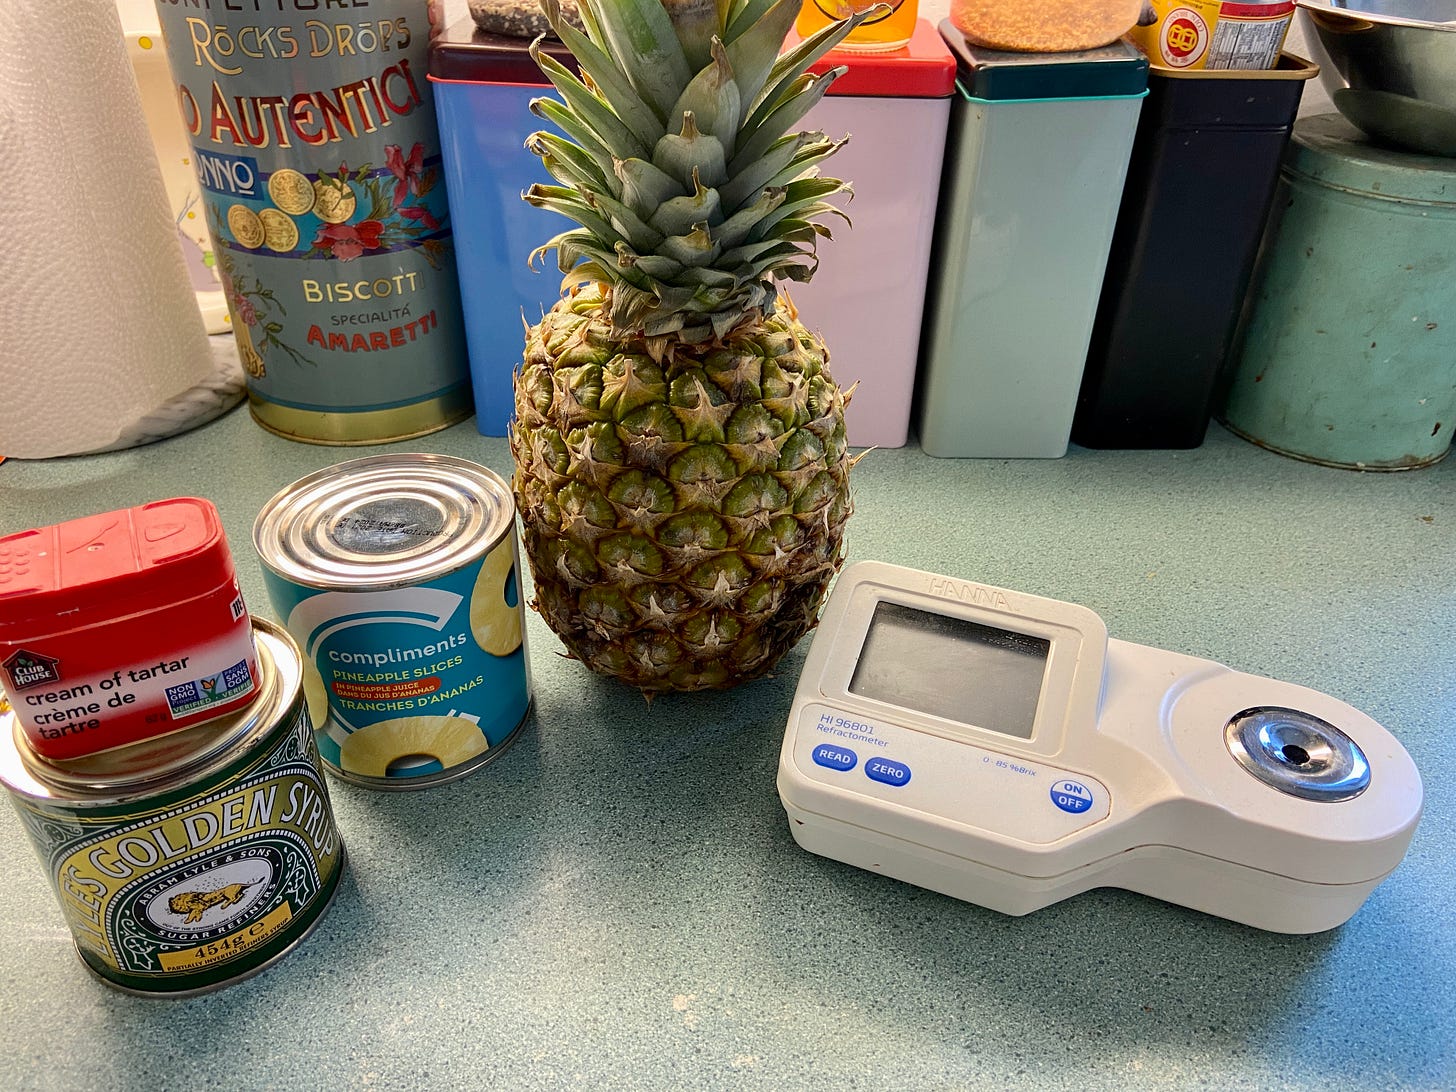
And at the end of it all, every time, I’ve ended up with crystallized fruit. We’ll talk more below about preventing crystallization, but basically, if you’re not using a refractometer, a tool that measures the sugar concentration in a solution, it’s difficult to replicate this process just using indications like boiling times or temperatures.
For this reason, I’ve long candied fruit instead using a quick shortcut method that I learned from the first Tartine cookbook. This method forgoes the blanching and gradual increases in sugar concentration in favour of quickly candying fruit in simple syrup. It only takes about 30 minutes and produces something delicious and useful, but the downside is that it can only be used on fruit sliced no thicker than about 0.6 cm (1/4-inch), as the sugar could not penetrate otherwise in such a short period of time. Additionally, because the sugar isn’t as concentrated (and thus there is more available water) in the finished product, it doesn’t have the same shelf life. The Brix, which is the measurement of sugar concentration in a solution, of pineapple candied using this method was 61.7 degrees, versus 75 for traditional candied fruit. My new method achieves a Brix of 70.8.
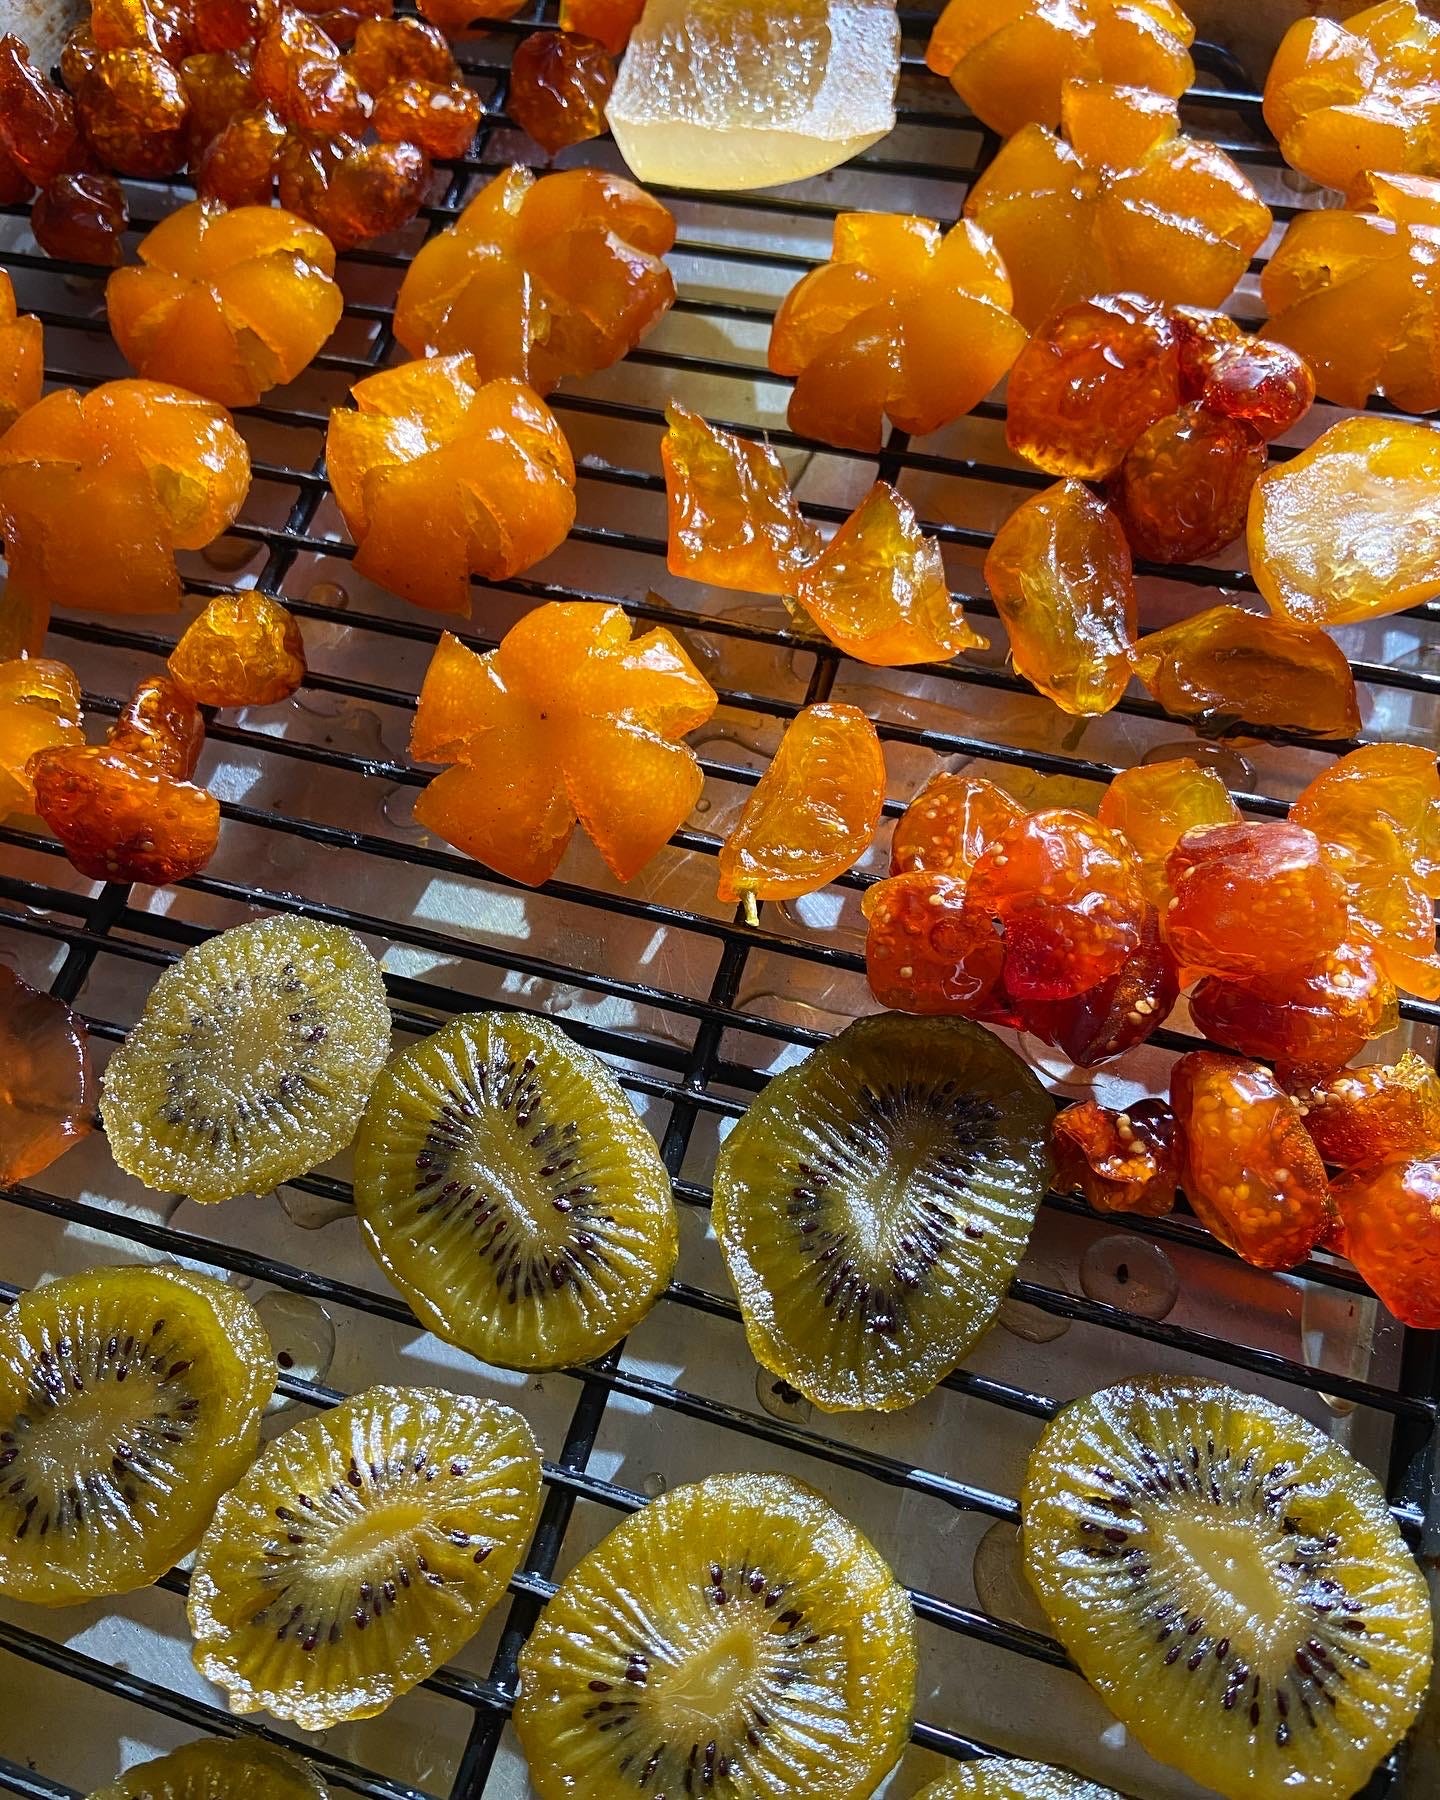
That’s right, happily I’ve come up with a method that is a compromise between the traditional and the quick processes! Instead of increasing the syrup density over a period of weeks, I add the sugar in 3 equal parts over 3 days. Depending on the fruit and its water content, sometimes more cooking time is required to concentrate the syrup sufficiently, but it’s as easy as 5 to 10 minutes of simmering. This allows us to candy whole kumquats and small pears that keep their shape, thick and toothsome pineapple rings and plump, translucent figs.
Preventing Crystallization
While sugar loves and is attractive to water, permitting it to draw said water out of the fruit, it also really loves itself. Sugar in solution is basically always looking to get back to crystal formation, which isn’t ideal when we’re trying to candy fruit, whose high concentrations of sugar make it a likely occurrence. Crystallized candied fruit can look variably like it’s bloomed with some unpleasant white substance or else like it’s grown stalagmites.
It’s thus important to add an ingredient to our syrup to help disrupt sugar crystals' formation. The best tool in our arsenal is an invert sugar, which bond to the surface of sucrose crystals, impeding their bonding to each other. My preferred invert sugar is glucose syrup, but it’s not readily available to home cooks (or if it is, it’s stupidly expensive). Instead, I recommend inexpensive light corn syrup, which is watered-down glucose and glucose-fructose with a little vanilla flavouring and salt. However, Nicola tells me neither are readily available in the UK, so I decided to try using golden syrup, an invert sugar common in the UK but with more colour and flavour than light corn syrup.
Some recipes will call for adding acid to the sugar and water instead, which when heated should break the sucrose down into glucose and fructose, thus preventing crystallization. Unfortunately, I’ve never found the amounts very precise (a pinch or knife’s tip is often called for), and find the method far less reliable.
The tests
I decided to try my method on pineapple using different crystallization inhibitors. Pineapples tend to be firm but not hard, so not too juicy, making them an ideal candidate for candying. I had one control, which had nothing added besides sugar and water, then to the others, I either added my go-to light corn syrup, golden syrup or my acid, cream of tartar.
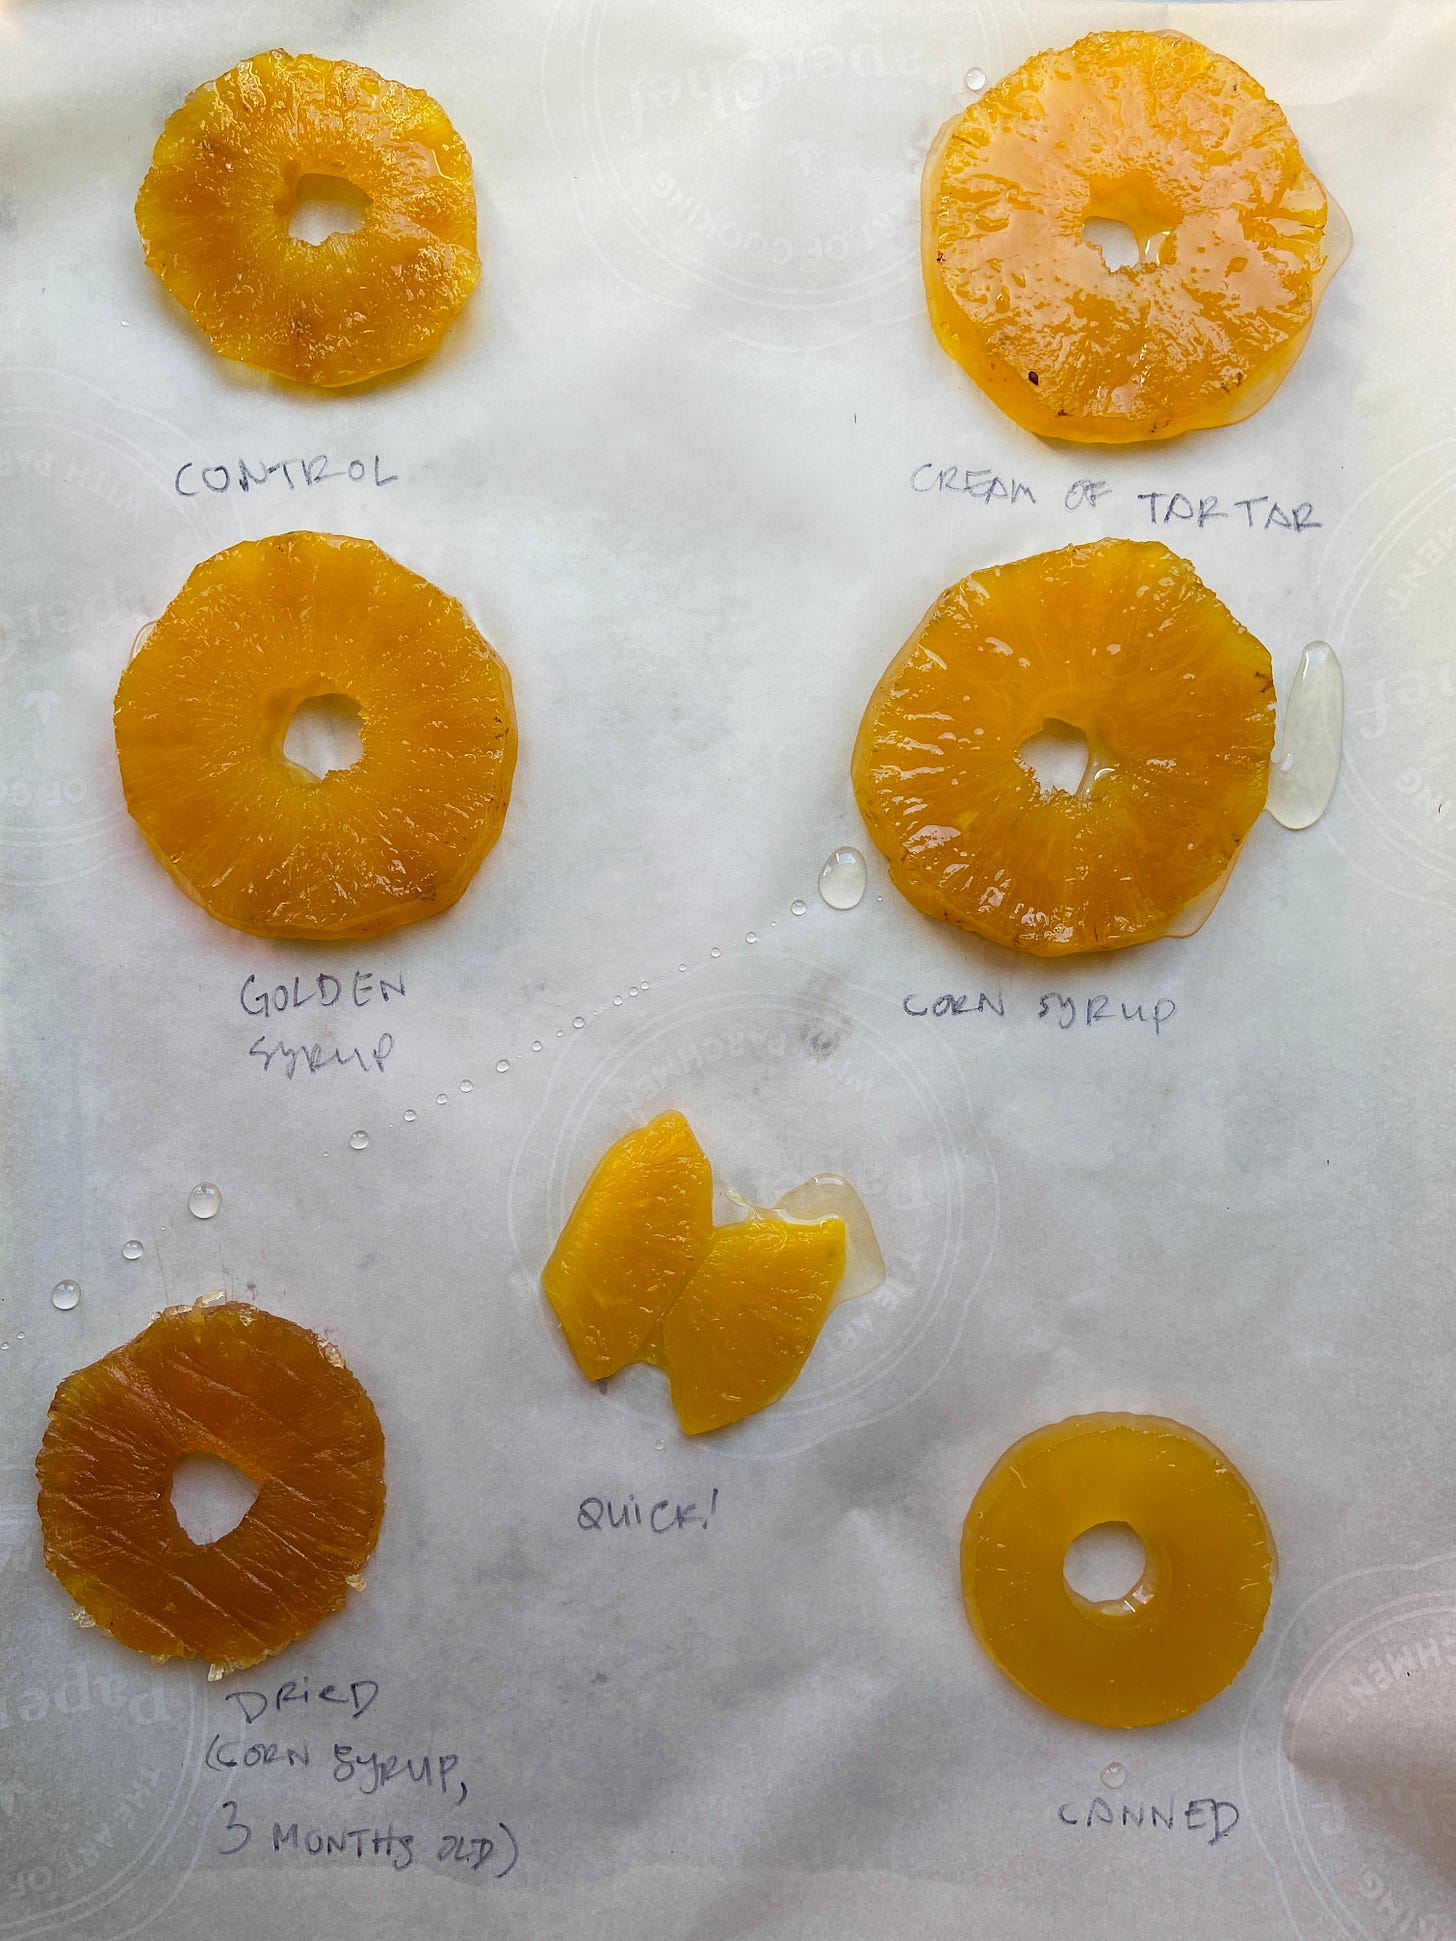
If this were a perfect experiment, I would have used the same size pot for each batch and the same burner, but alas, I am not so well-equipped. But taking into account that differently-sized-pot margin of error, the good news is that none of the pineapple crystallized.
With time, however, I expect the control to do so, as the sucrose molecules are inexorably drawn towards one another without any inhibitor to stop them. However, that would only be the case if I left the pineapple in its syrup. If I drained and dried it immediately, it ought to hold well. Good to know in case you ever want to candy fruit without any invert sugar or acid on hand!
That said, without adding invert sugar, the control required one extra day of simmering to be fully candied (and even then had a relatively low Brix of 61.2).
The batch with the cream of tartar, unfortunately, had a wispy white substance floating in its syrup. I’m inclined to guess this is undissolved cream of tartar, since it’s extremely unlikely anything else would develop in that span of time in that concentration of sugar. Next time I would add the cream of tartar on day 1 to assure its proper dissolution, as I can only assume this was the result of adding it when the sugar was already quite concentrated, making it difficult to dissolve (a problem the liquid invert sugars don’t have).
The golden syrup and corn syrup batches looked fairly similar—good news for those in the UK! These were the plumpest and most translucent of the bunch, further reinforcing my belief that invert sugar is the best addition.
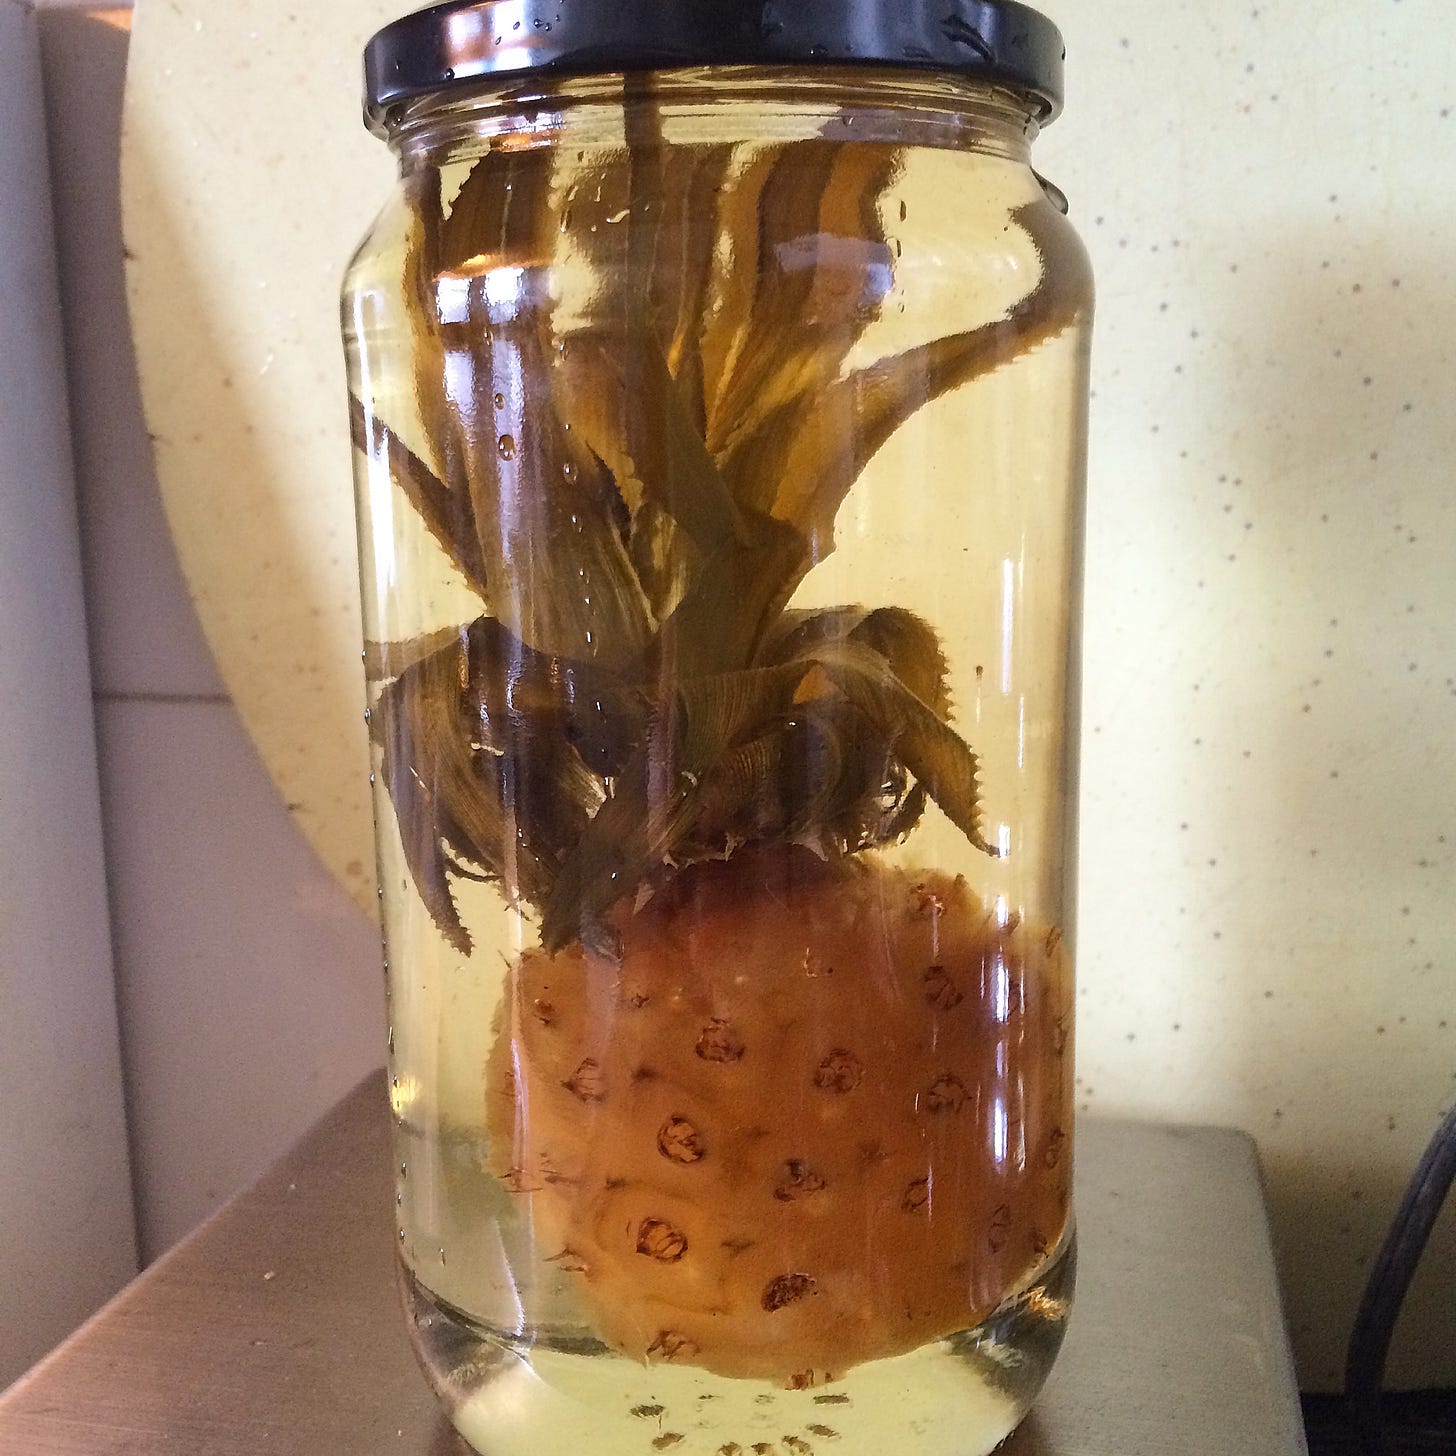
Nicola also wondered whether canned pineapple rings could be candied, which had never occurred to me. I thought how wonderful if they could be—to save time and increase accessibility. I skipped the blanching since they’d already been subjected to heat when canned. The candying took a few more days and ultimately lack the texture and taste of the candied pineapple made using fresh fruit. That said, candy they did, so if that’s all you’ve got on hand, I say go for it.
Candied Pineapple
Peel pineapple and cut into 1.25 cm (1/2-inch) slices. Use a 3 cm (1 ¼-inch) cutter to remove the center.
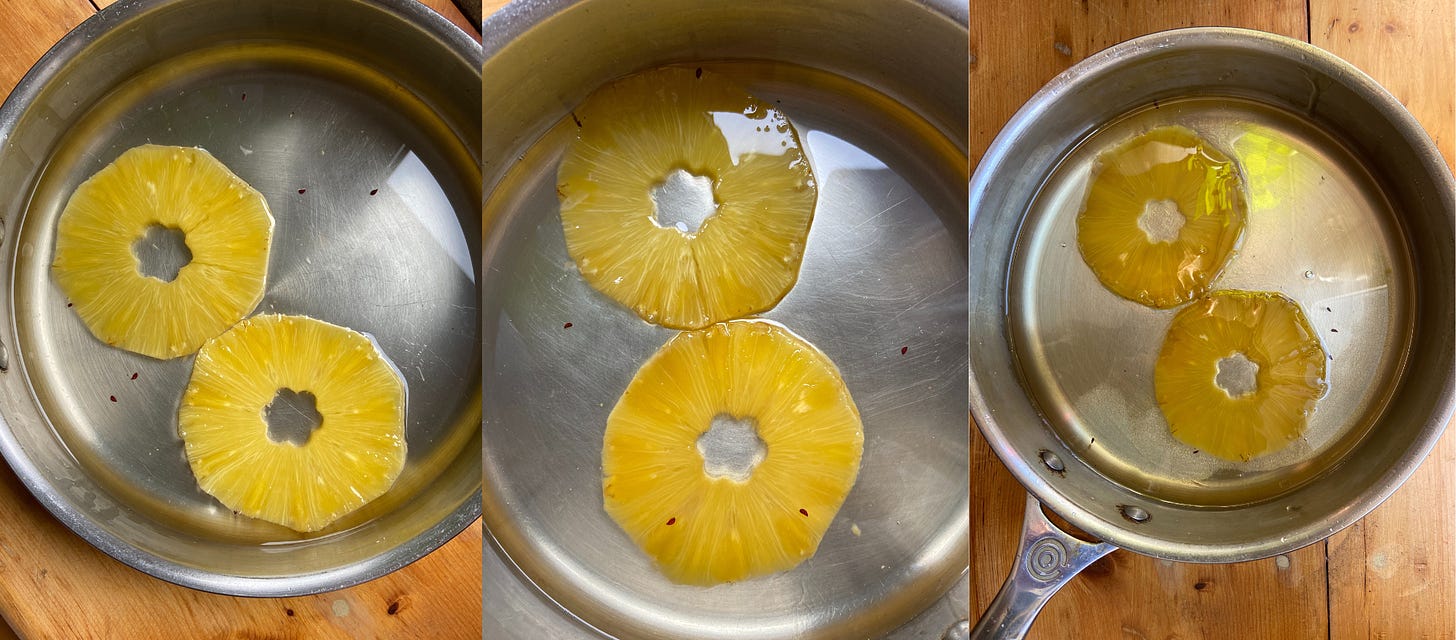
Place pineapple in a wide pan and cover with water. Bring to a boil over high heat then reduce to a simmer and cook for 15 minutes.
Drain off water, then add fresh water to cover, noting the weight. Add 1/3 of the weight of the water in sugar. Bring just to a boil over medium-high heat, then reduce heat and simmer for 10 minutes. Cover and leave at room temperature overnight.
The next day, add the same amount of sugar and simmer again for 10 minutes. Do this again on the third day, adding light corn syrup or golden syrup as well—1 tablespoon per 200 mL water.
The following day (aka day 4), check out the pineapple. It should have gotten more and more translucent, and when it’s done will have no light or opaque spots left. The syrup should also be quite viscous. If this is not yet the case, don’t add anything extra but repeat the 10 minute simmer and overnight rest until it is. Your pineapple might be ready on day 4, or it can take up to 3 additional days of simmering.
Additional Notes
Candied fruit will last longest either packed in syrup in an airtight container with barely any headspace in the fridge, or else dried completely. The best way to accomplish the latter is in the food dehydrator, but it can also be accomplished in a longer timeframe on a wire rack at room temperature. Depending on the temperature and humidity of the room and the thickness of the fruit, this can take anywhere from overnight to a week.
If you’d like to give the fruit a sparkly finish with a roll in sugar, do this only once the fruit is almost dried. You want it to still be tacky to help the sugar adhere, but it will never dry if it’s rolled in sugar when just out of the syrup. Adding a little citric acid to the sugar is an excellent move that restores the fresh fruit acidity to the candy.
If drying your fruit, don’t discard the syrup! It can be used in myriad ways, from cocktails to sweetening lemonade or iced tea, or in pastries that use syrup, like baklava, cakes or yeasted treats like savarin.
This technique works best with firm fruits or thin-skinned citrus, such as kumquats, quince, pears, clementines and cherries, adjusting the blanching and simmering time depending on the firmness of the fruit (and poking any with rinds with a skewer to help the syrup permeate). One day we will explore treatments that help more fragile fruits keep their shape!





So excited to see Camilla's experiments! And SO excited for Nature's Candy! The only problem with Camilla's candied pineapple is that one can eat an entire pineapple in one go which is quite a feat!
As a fan of Camilla’s work, it is so exciting to see her writing on KP. Such an excellent collab!