Kitchen Project #97: All about rhubarb
Everything you need to know about preserving with Camilla Wynne
Hello,
Welcome to today’s edition of Kitchen Projects. It’s so wonderful to have you here.
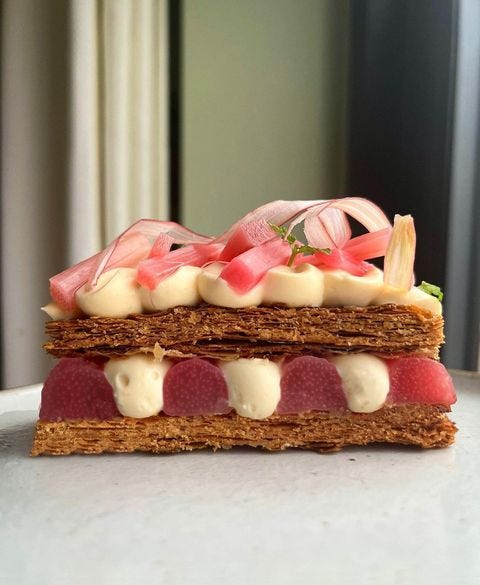
We are in peak forced rhubarb season. We’ve discussed it over on KP+ and I’ve flirted the stuff over here on the Sunday newsletter. But no matter how many amazing recipes there are (crumble cake? mille feuille? rice pudding tart?) the fact of the matter is: Forced rhubarb is fleeting. So there is only one thing to do: Preserve it! And who better to take us through the multitude of ways to do that? Camilla Wynne, of course.
Over on KP+, get the low down on wobbly jelly as well as a very adorable striped version with my buttermilk panna cotta ft rhubarb kombucha. It’s tangy and possibly one of the best things I’ve eaten lately. And as an added bonus, my friends at momo kombucha are also offering a discount to KP+ subscribers and I’ll also send a case to a KP+ subscriber. Because I love ya!
What’s KP+? Well, it’s the level up version of this newsletter.By joining KP+, you will support the writing and research that goes into the newsletter and get access to an amazing community, extra content, the full archive, and more. Subscribing is easy and only costs £5 per month. Why not give it a go?
Love,
Nicola
How to preserve Forced Rhubarb
by Camilla Wynne
Every year, total elation is my first feeling at spotting hot pink, slender stalks of forced rhubarb at my grocery store. After months of (admittedly wonderful) imported citrus and tropical fruits, locally grown rhubarb is a true harbinger of spring. That elation quickly turns to panic, however, as I contemplate the utter brevity of the season. How will I ever get my fill in such little time? The answer, course, is preserving, and there are myriad ways to keep enjoying this very special “fruit” year-round.
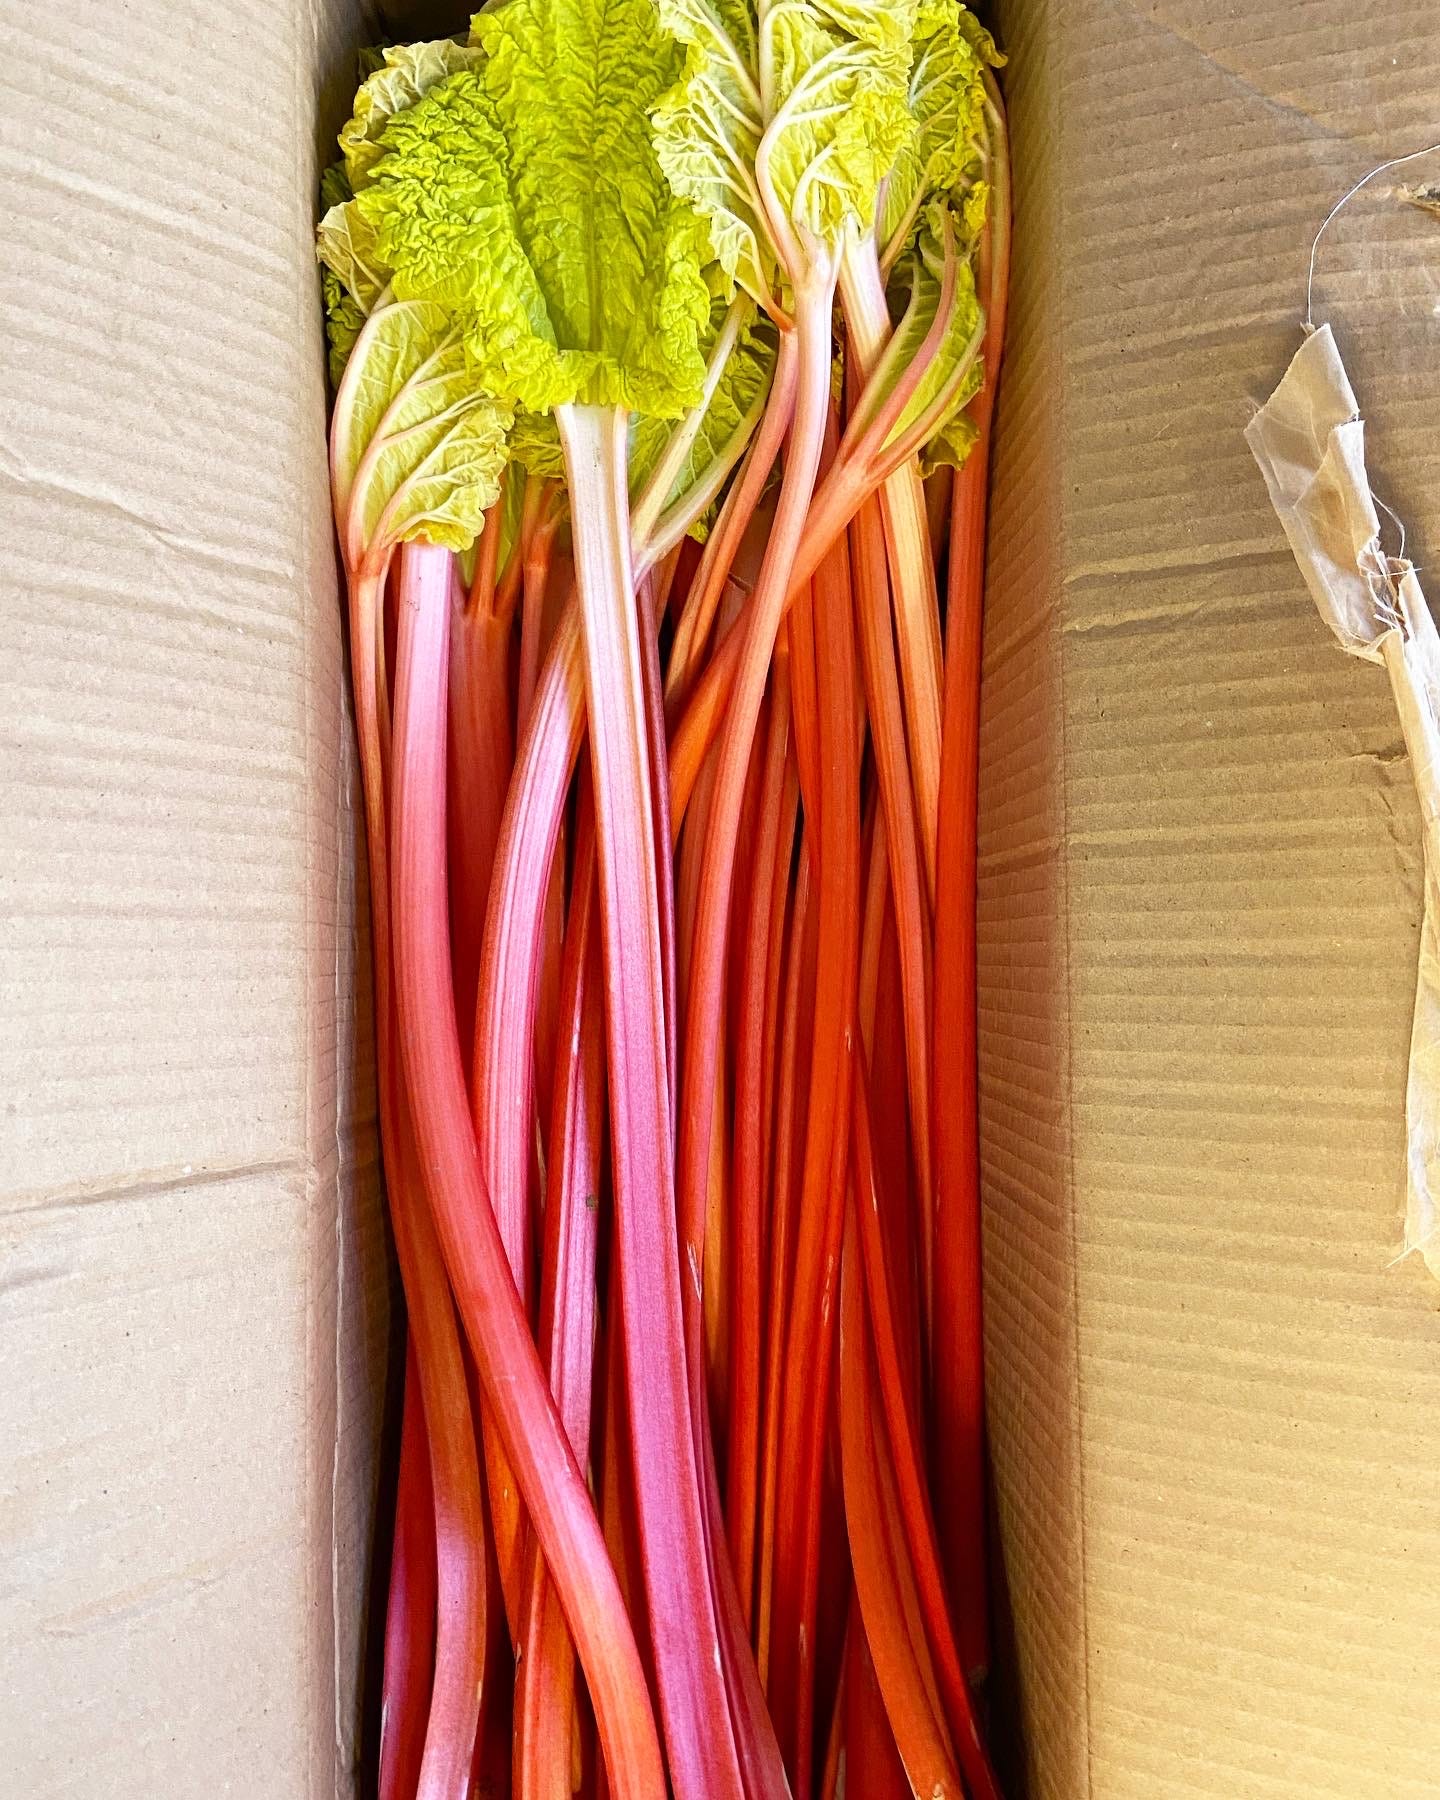
Actually, rhubarb is technically a vegetable, but since we treat it like a fruit, that’s what I’m going to call it. Field rhubarb—essentially rhubarb left to its own devices—certainly has its unique charms, but if you’ve never had forced rhubarb, I encourage you to seek it out. Depending on where you live, however, this might not be easy. Discovered by accident in London in the 19th century, it’s essentially a method for tricking plants into thinking spring has arrived.
Grown in warm darkness (and traditionally very romantically harvested by candlelight), the lack of photosynthesis produces spindly, tender, party-pink stalks with neon yellow leaves. Because it grows so fast—around an inch a day—it also makes a unique sound, as buds pop and then stalks rubs together in tightly packed sheds (listen here)
Sadly, the heyday of forced rhubarb has long since passed. The Rhubarb Triangle in West Yorkshire, England, is the area most associated with the fruit and was given Protected Designation of Origin (PDO) status by the European Commission in 2010. At its 1939 peak the area boasted 200 farms, but today only about a dozen remain, likely on account of increased access to imported fruit. Growing food in an artificially heated environment is also expensive (and not particularly sustainable). I certainly had trouble finding it when I lived in Montreal and would seethe with jealousy when I saw the gorgeous bakes on UK Instagram accounts. Since I moved to Ontario, however—Canada’s forced rhubarb region—I too blithely post images of my spoils. But just as in the UK, our 1970s heyday saw at least 70 rhubarb farms, while today I only know of 2. That said, smaller farms, such as my friends at Aldergrove, are experimenting on a smaller scale with rhubarb forcers, which does give one hope.
I tend to make small batches of all the preparations below, as forced rhubarb isn’t cheap, and I like to transform the case I buy each year into as many different treats as possible. I bake with it, of course (I’m just dying to try Nicola’s rhubarb rice pudding tart), but preserving it means I’ll get to continue enjoying it for months to come. What follows are my favourite means of preserving rhubarb. I don’t bother with rhubarb jelly, since I prefer to use high pectin fruits for jelly, avoiding the need for adding commercial pectin. Nor do I recommend turning forced rhubarb into chutney. The less delicate flavor of field rhubarb is much better suited to pairing with strong flavours like onion and vinegar.
Jam
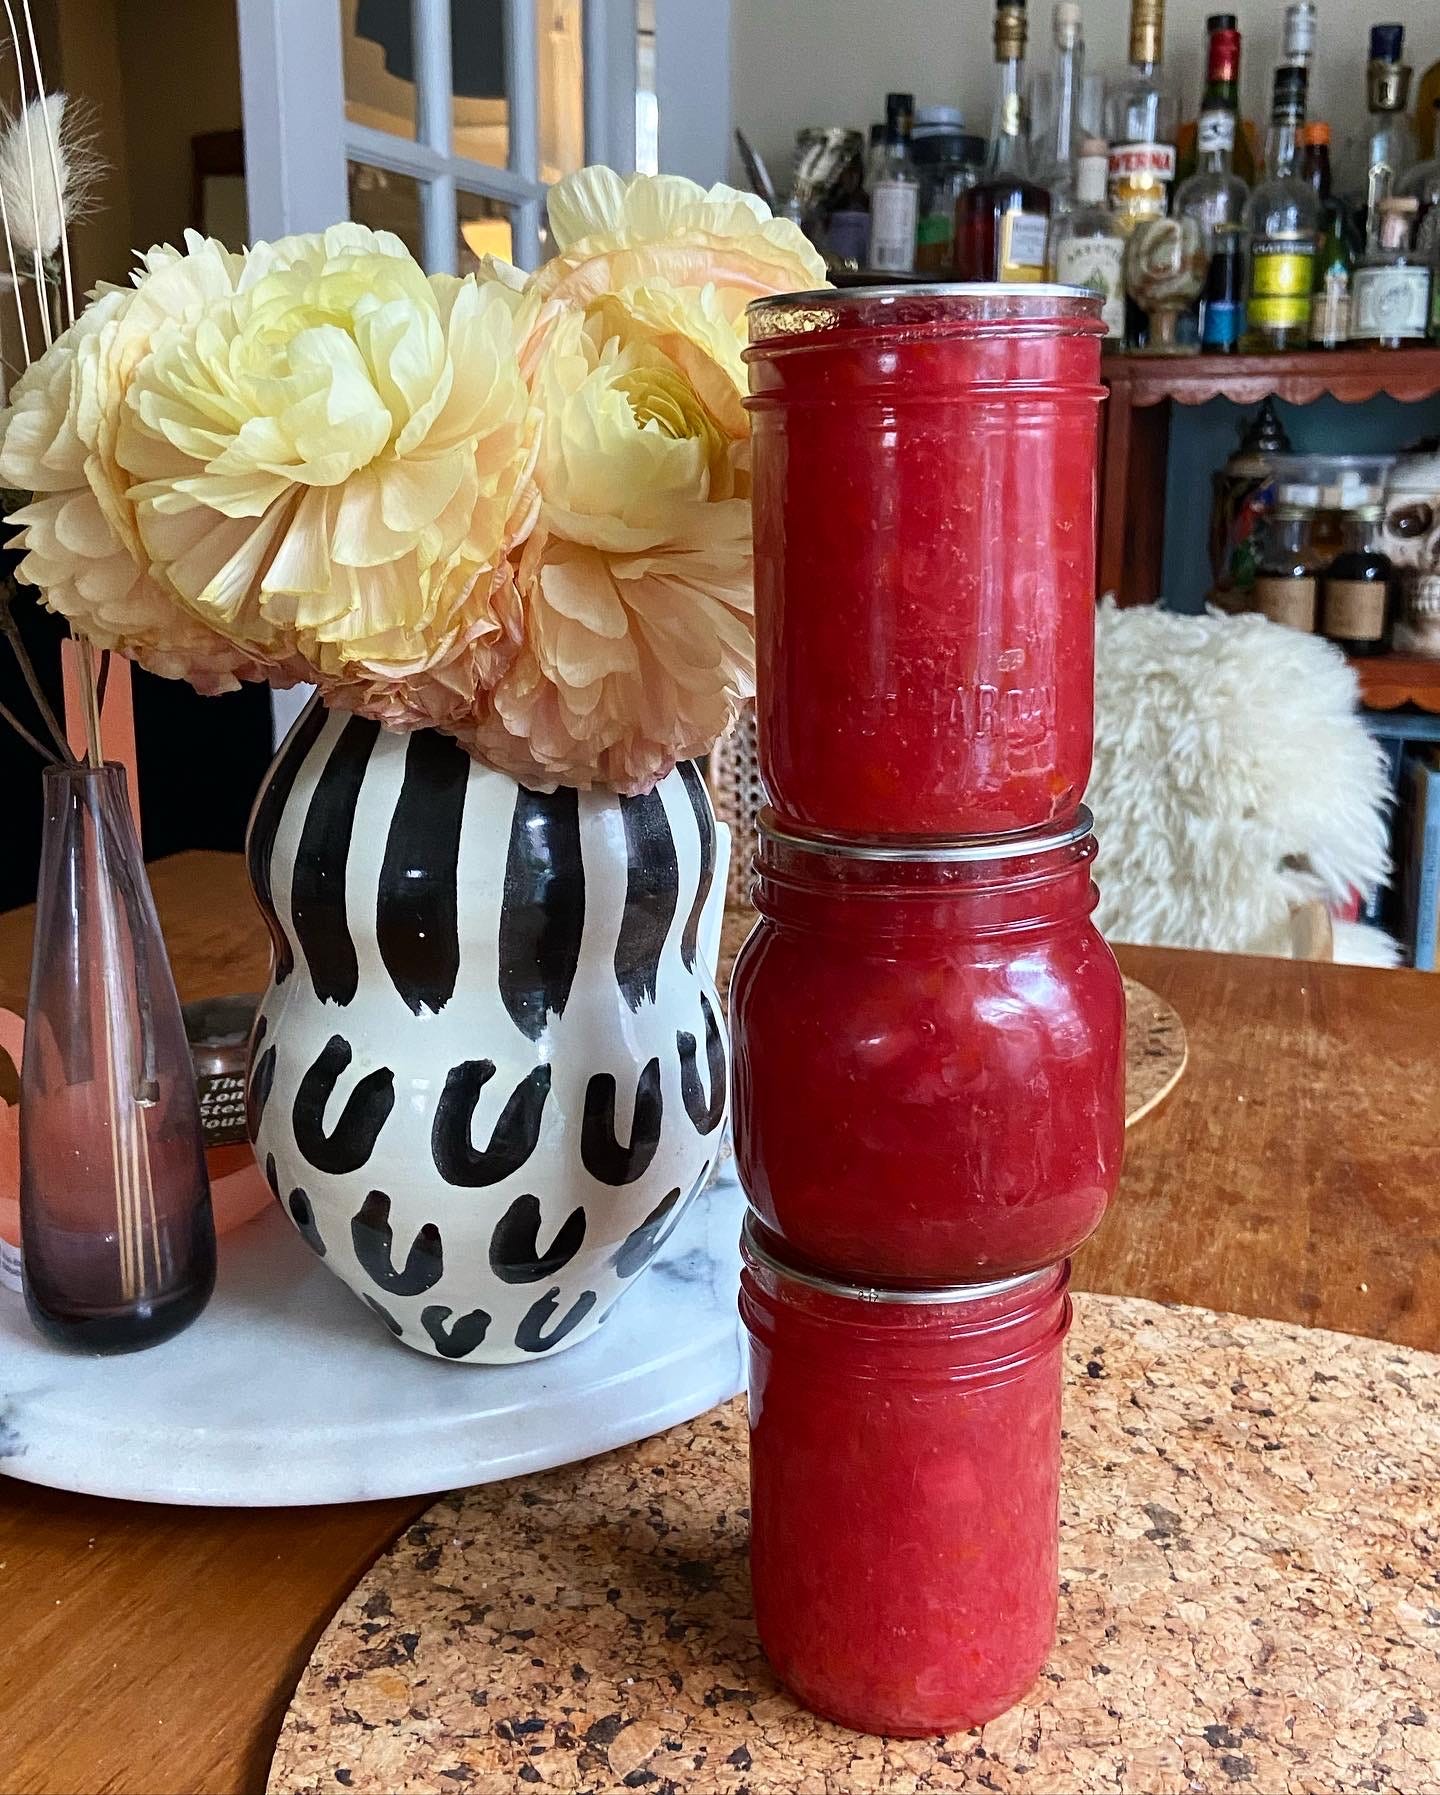
Jam is the most obvious place to start—at least for me, a reformed professional jam-maker. I like to make a small batch of jam every year from about 400 to 500 g of forced rhubarb, which should make about two 250 ml jars, though it’s nice to use smaller jars to increase the perceived yield and spread the love.
Being sweeter, forced rhubarb doesn’t need as much sugar as field rhubarb, which I sweeten at 66%. I dial my sugar back to 55% and add 50 g of lemon juice per kg of fruit as usual, which helps activate the natural pectin. Rhubarb being low in pectin actually means a small batch is ideal, as water will evaporate quickly and it should be easy to obtain a nice set in spite of pectin levels.
Being so high in water and without skin (or much pectin to hold delicate strands together), rhubarb can easily turn into almost a puree when cooked. As the water in the cells expands, it causes them to burst and the mixture to break down. I personally prefer my jams to contain distinct pieces of fruit, so I macerate the rhubarb, sugar and lemon juice overnight at room temperature. The sugar, being hygroscopic, will draw out water from the rhubarb, helping it to keep its shape (and also dissolving the sugar and making it less likely to burn).
Boil the mixture hard over medium-high heat, stirring often, until the setting point is reached. Pour into sterilised jars nearly to the top, then close tightly with new lids and invert 1 to 2 minutes. Check seals before storing somewhere cool, dark and dry, where the jam will last at least a year.
I love a jar of nothing-added, hot pink forced rhubarb jam, which can hardly be called plain, but there are plenty of add-ins you might include for intrigue. For instance:
A scraped vanilla bean or vanilla bean paste
Zest of lime (& sub lime juice for lemon)
Zest of Seville orange (& sub Seville juice for lemon)
Diced candied citrus peel, particularly Seville or kumquat
Ground cardamom or a smacked cardamom pod
Chopped pistachios
Rhubarb Jam recipe
Makes 2 x 250ml jars
500g rhubarb
275g caster sugar
25ml lemon juice
Additional flavours (see above for ideas) if desired
Method
In a large bowl, combine rhubarb, sugar and lemon juice. Ideally, leave the mixture to macerate overnight at room temperature.
Before cooking the jam, prepare clean jars by placing them upside down on a rimmed baking sheet in a 120°C (250°F) oven for at least 20 minutes.
Transfer the rhubarb mixture to a pot or preserving pan. Heat on medium-high and bring to a hard boil, stirring frequently.
When bubbles become larger and more rhythmic and start sputtering slightly violently, and the surface of the jam is glossy and jewel-like, test the set. The jam should slide off the spatula in sheets or clumps or try to cling to the spatula when you bring it to eye level. If you’re uncertain, put a teaspoon of jam on an ice cold plate and place in the freezer for two minutes. Remove and run your finger through the jam. If it has formed a skin and parts evenly, it’s ready; if not, continue cooking a few minutes longer.
When the setting point is reached, remove from the heat immediately pour into the prepared jars to within a ¼- to 1/8-inch of the rim. Wipe the rims if necessary, seal, and invert for 1 to 2 minutes. Flip right side up and allow the jam to sit, undisturbed, for 24 hours.
Syrup
One preparation always on my list is rhubarb syrup, ever since falling in love with the Spring Rhubarb Cocktail from Meredith Erickson’s fabulous book, Alpine Cooking. It’s the kind of recipe where the book falls open to the page on its own, as the spine is so cracked there from use. But apart from that mixture of gin, elderflower cordial, lime and tonic, rhubarb syrup is a wonderfully versatile way to toast the end of winter. It’s lovely just mixed with elderflower tonic or even club soda.
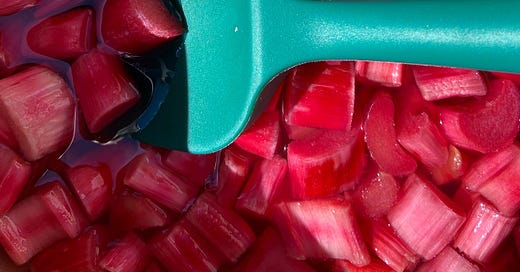
Loosely following Meredith’s lead, I use 100 g each of sugar and water for each 300 g of chopped trimmed rhubarb. Put them all in a pot and bring to a boil over medium-high heat. Reduce heat to a simmer until the rhubarb is soft and broken down, about 20 minutes. Strain through a sieve, pushing down on the fruit to extract as much liquid as possible.
The syrup will keep up to a month in the fridge, especially in a sterilized bottle. For longer term storage, freezing is the easiest option.
Rhubarb Syrup recipe
Makes 400ml plus pulp
600g chopped, trimmed rhubarb
200g sugar
200g water
Method
Place into a pot and bring to a boil over medium heat. Reduce to a simmer for about 20 minutes or until it is completely broken down. Pass through a sieve, extracting as much liquid as possible.
Keep in the fridge for 30 days or freezer 6 months
Fruit leather
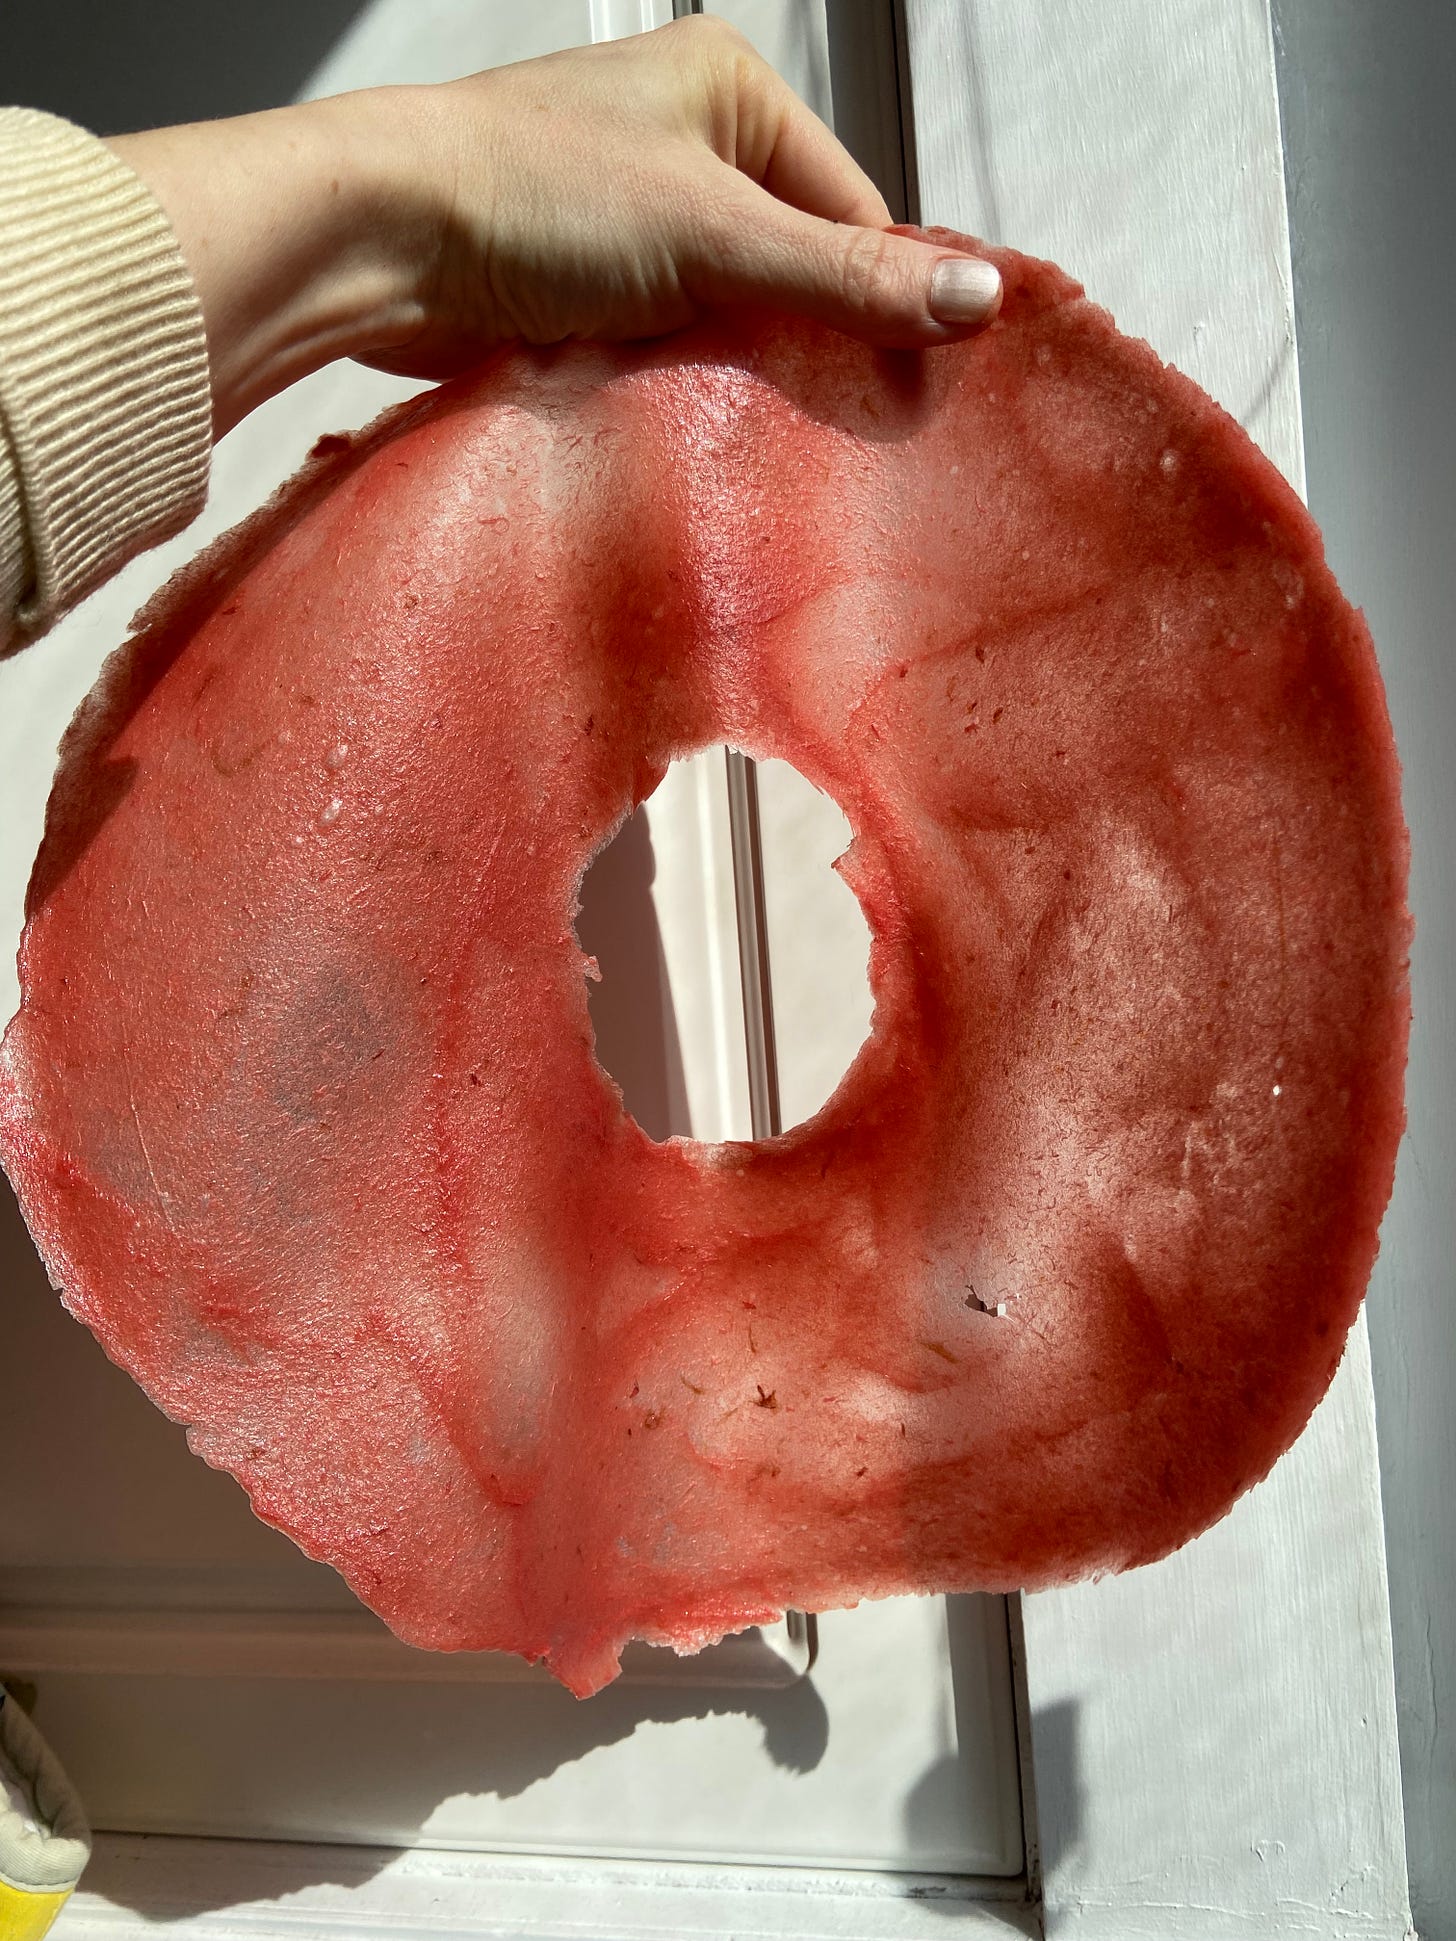
STOP! While that pulp leftover from making syrup might seem spent and destined for the compost, there’s still so much good in it. You could treat it as a kind of stewed rhubarb and eat it on yogurt for breakfast, but I like to make cute pink fruit leather to delight children and adults alike.
If you have a food dehydrator, this is a snap. Puree the pulp in a blender or food processor (or perhaps it’s broken down so much that it’s already nearly a puree). Evenly spread fruit leather trays (or regular trays lined with plastic wrap) with a thin layer of puree, about .75 cm thick. Dry at 57°C/135°F until no wet spots remain, which should take about 6 to 8 hours. It should be pliable like a Fruit Roll-Up!
If you don’t have a food dehydrator, you can use the oven. Set it to as close to 57°C/135°F as you can get (mine only gets down to 170°F), with fan if you’ve got it. Spread puree onto a rimmed baking sheet lined with heavy-duty plastic wrap. Drying will take a little longer in the oven, closer to 8 to 12 hours, but keep a careful eye on it if your oven’s temperature is higher than ideal.
Once cooled, I roll them up in a sheet of plastic wrap or wax paper, then store them at room temperature in an airtight container or resealable plastic bag for up to a year.
On KP-+ this week: Panna cotta + jelly, a love story.
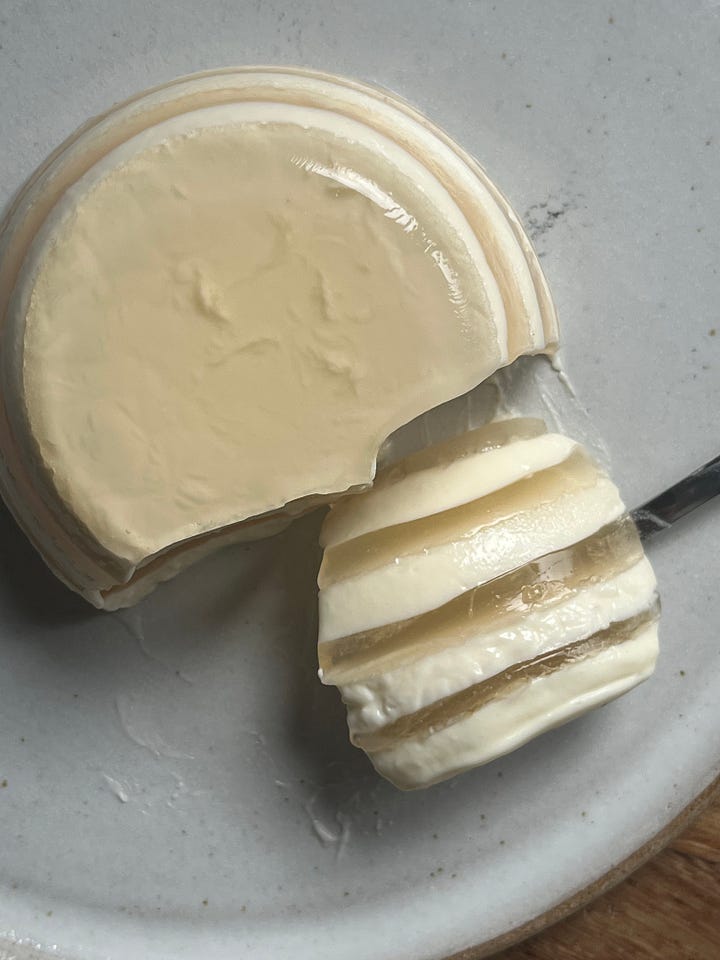
I (Nicola) briefly interrupt this piece to let you know that over on KP+ today, i’m sharing my method for rhubarb jellies (one made with kombucha - left - and one with Camilla’s syrup plus pulp in the middle on the right) and buttermilk pannacotta. Because creative jellies are the best jellies, I’ll share how you can make all these different forms:

Candied
Candied rhubarb is utterly delightful, its long stalks offering many possibilities for whimsical shapes. I generally use it to decorate cakes and other desserts, but it’s also nice to eat on its own when I have some leftover.
Slice trimmed rhubarb as thinly as you can down its length, using a very sharp knife or a mandolin (some vegetable peelers might work as well). Place the ribbon-like slices in a heatproof container, then cover with hot simple syrup. Let sit overnight. The next day, drain and dry, either in a food dehydrator or the oven, at the same temperature as fruit leather (but likely for significantly less time—check often, especially if you want them to remain pliable). You could also let them dry on a wire rack at room temperature, but that will take a few days.
To make spirals, wrap the rhubarb ribbons around the handle of a wooden spoon while they are still warm and pliable, then let them cool that way.
Potted
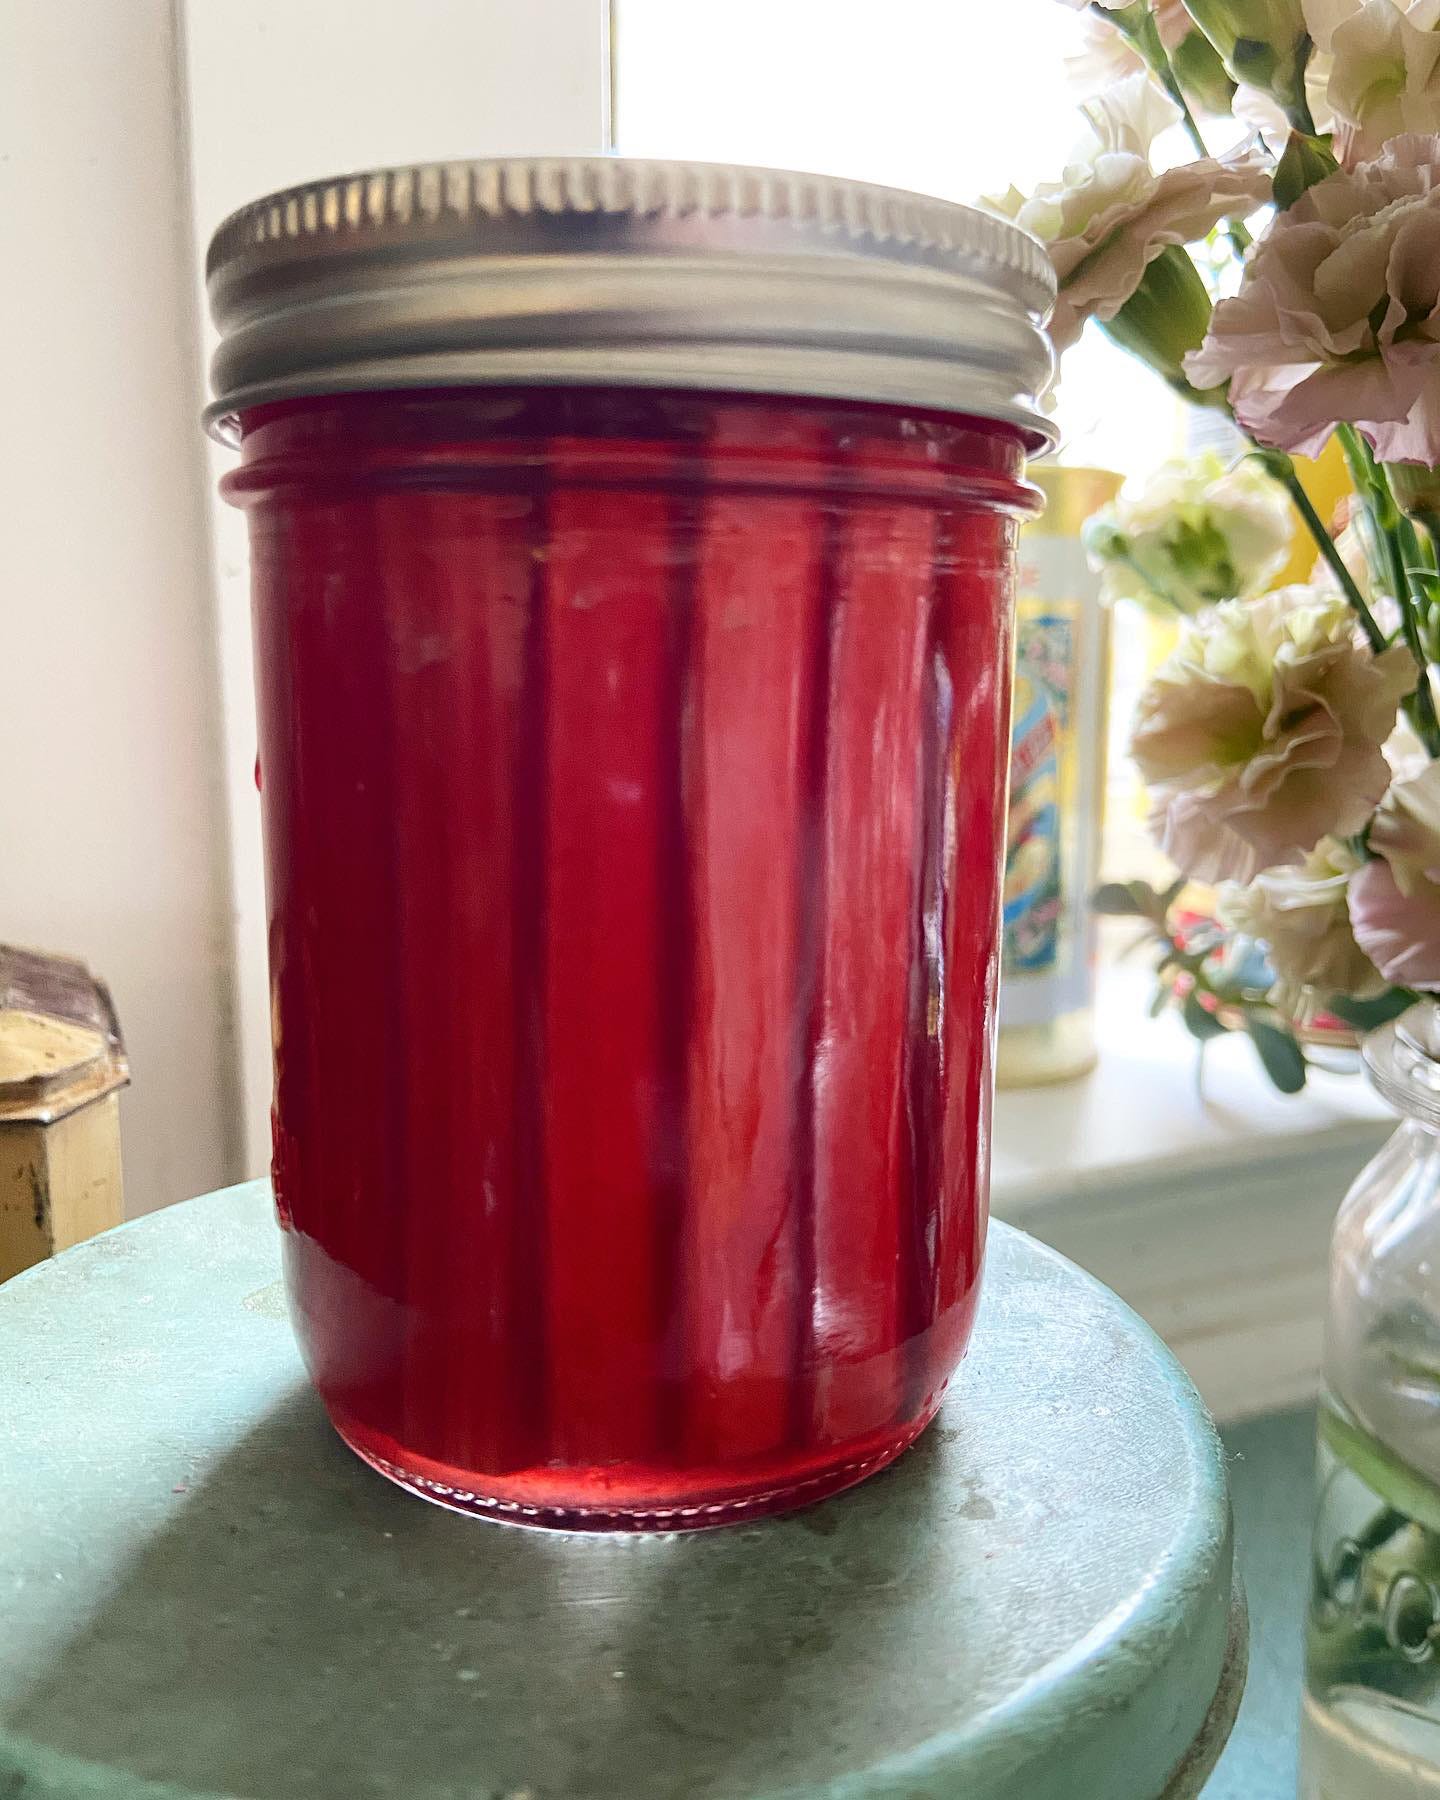
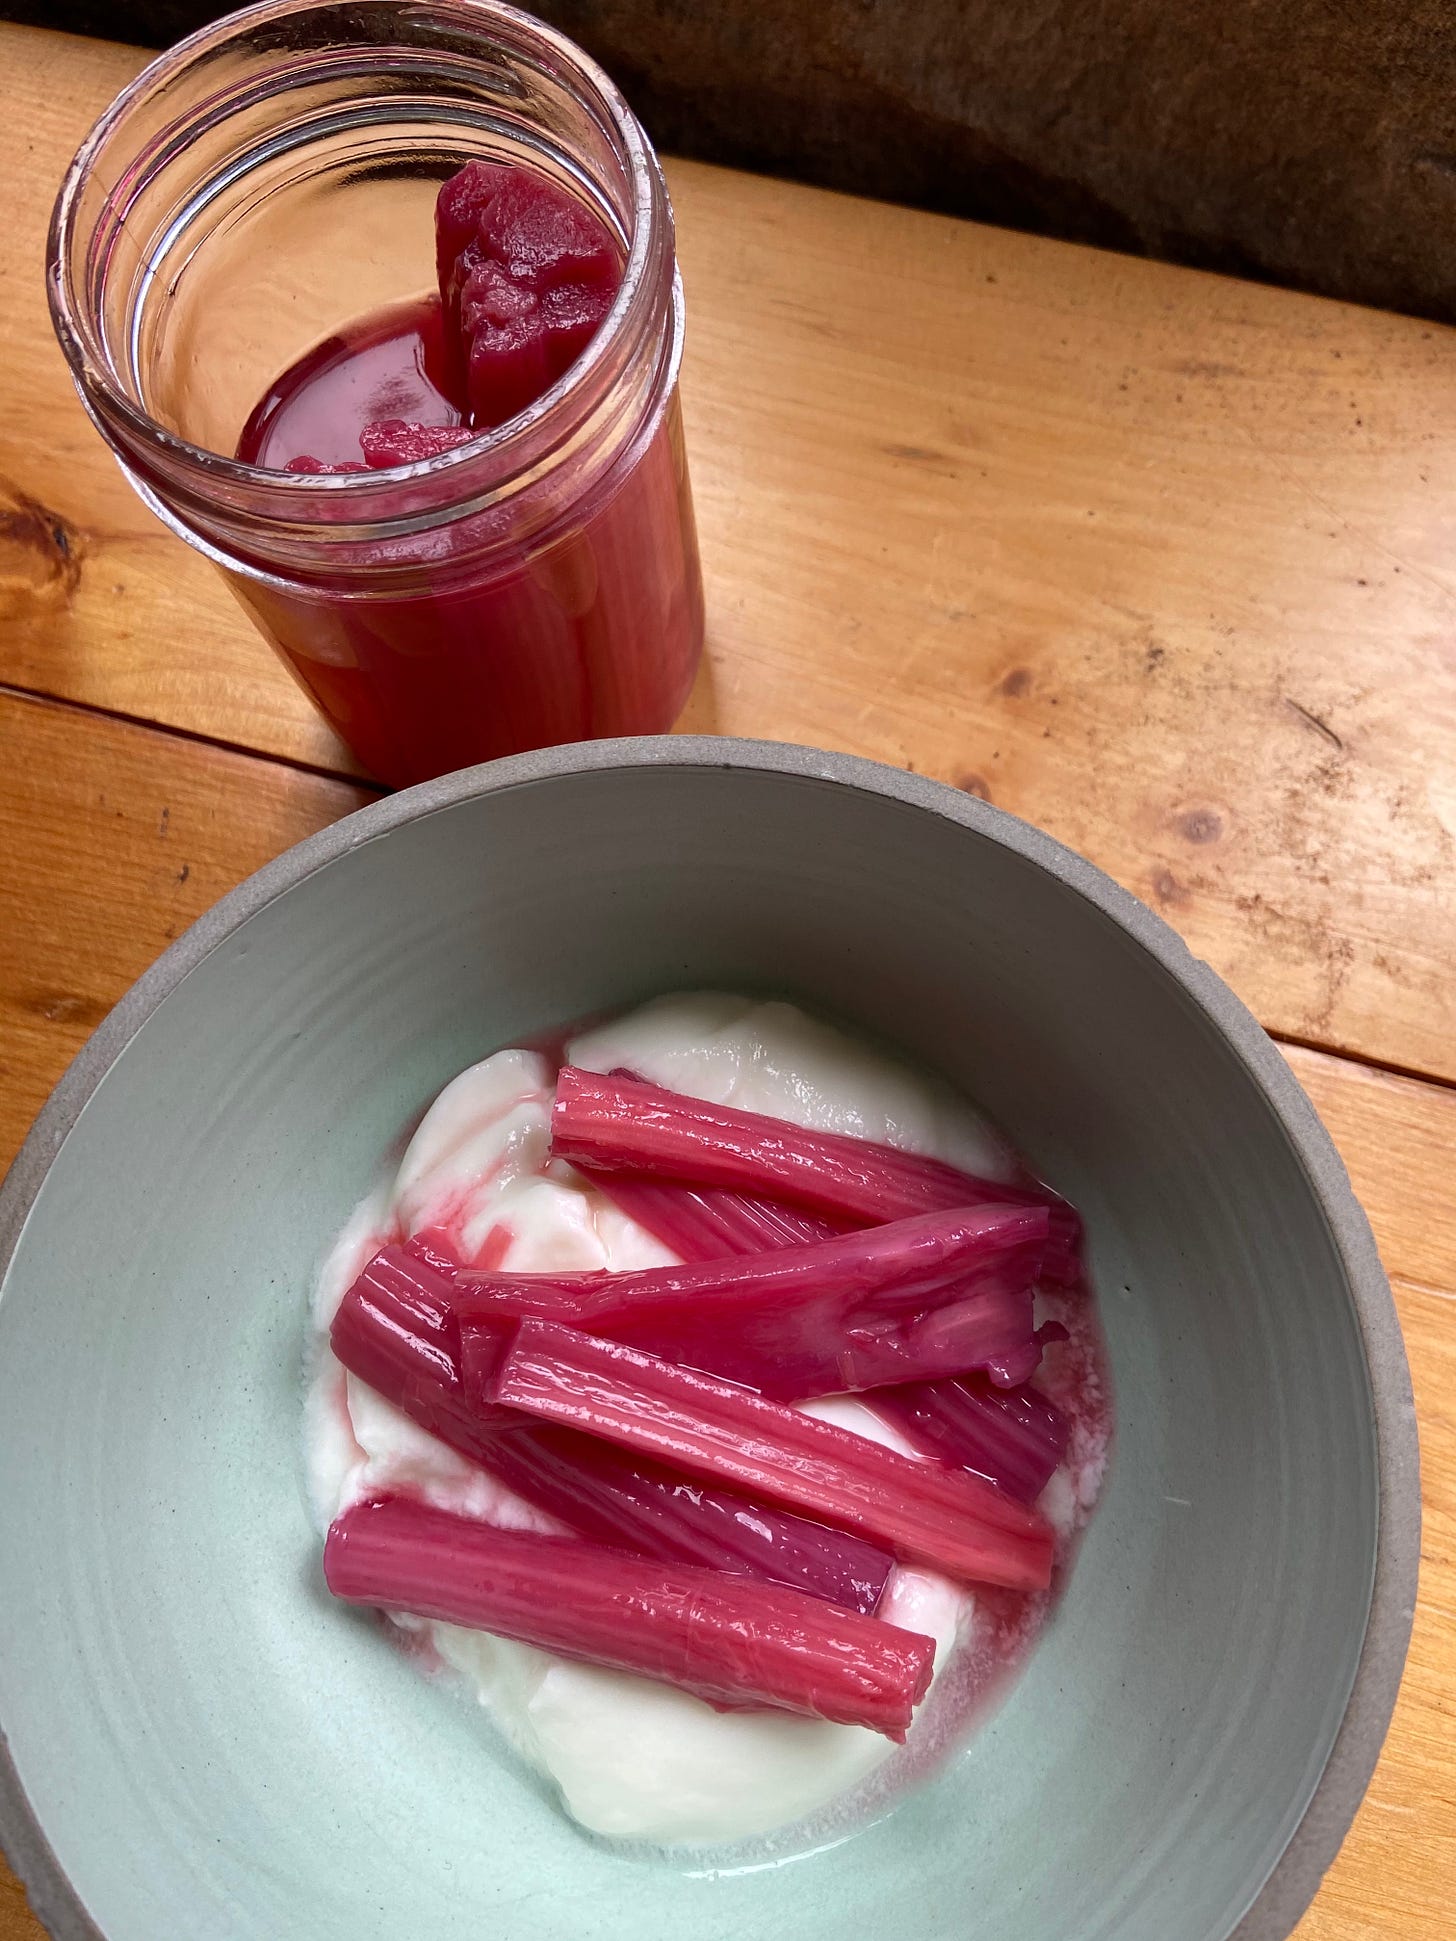
If you love delicate sticks of baked or poached forced rhubarb—for topping rice pudding, yogurt, pound cake, or just eating with custard—this method is for you. Raw packing lengths of thin stalks results in shelf-stable jars of perfectly cooked rhubarb that keeps its shape admirably. It’s cooked just enough to be tender, packed shoulder to shoulder with its friends. The key is to pack the jar so tightly (without damaging the stalks) that you can turn it upside-down (lid off) with none falling out.
As the rhubarb cooks inside the jar, it releases some of its water, effectively shrinking, making it easy to remove when it’s time to dig in. Processing in boiling water (adjusting time for altitude, if necessary), kills any spoilage-causing bacteria, mold or yeast present in the jar, and also halts the deleterious action of the fruit’s natural enzymes.
Feel free to dial back the sugar if you like and flavour the syrup as you wish—all of the jam pairing suggestions above (save pistachio) stand here, especially Seville zest and juice. Having a jar (or many) in the cupboard means you can sleep easy at night, safe in the knowledge that you have enough tastes of delectable forced rhubarb to see you through until next year.
A note on jars: Annoyingly, we use different jars for home preserving in North America than in the UK. North American Mason jars are 3 pieces and must be given a more generous headspace and not sealed as tightly, so that air can escape and produce a vacuum seal. The two-piece jars used in the UK rely on the heat of the contents to create the vaccum, so are filled nearly to the brim and sealed tightly. Either way, use clean jars and new lids.
Rhubarb in Syrup
Makes as many 250 mL (half pint) or 500 mL (pint) jars as you like
Bring a large pot of water to a boil, covered. Turn off heat. There should be enough water to cover all the filled jars by 2.5 to 5 cm (1- to 2-inches) and something on the bottom to protect the jars from the hot metal (e.g. a perforated pizza pan, round cake rack, silicone mat, tea towel...).
Trim slender stalks of rhubarb to just under 1.25 cm (1/2-inch) of the rim of the jar. Pack them upright into clean jars as tightly as possible.
Prepare a heavy syrup using 200 g sugar for every 250 g water. You’ll need about half the volume of syrup as jars.
Pour hot syrup into packed jars. If using two-piece jars, fill to within 0.5 cm (1/4-inch) of the rim. If using Mason jars, fill to within 1.25 cm (1/2-inch) of the rim. Remove any air bubbles in the jar by rapping them on the counter and twisting them gently with the flick of the wrist. Add more syrup if necessary to reinstate the headspace. Wipe rims with a damp paper towel if any syrup has gotten on them, and seal with new lids. For two-piece jars, seal as tightly as possible; for Mason jars, seal just until you feel resistance.
Place jars in water bath, cover and bring to a boil over high heat. Reduce heat to medium and start timer for 15 minutes. When the timer goes off, turn off heat, remove lid, and let jars sit in water for 5 minutes. Remove jars from water to a wire rack, keeping them as upright as possible (a jar lifter is a great tool for this!). Let cool, undisturbed for 24 hours before checking seals. Label and store somewhere cool, dark and dry, where they will keep at least 9 months.
Be sure to keep up with Camilla via instagram @camillawynne







This is great, I haven’t tried forced rhubarb before but will try find in the shops before the season goes. I thought Riverford would have it so have been looking but can’t seem to find. Quick question for the jams, do I just have to flip and leave in a regular mason jar? Do I have to do a water bath or any extra preserving step or will it be okay just like that if I let it sit 24 hours?
Hi Katie, the only issue with the larger headspace is that the jar might not seal. After 24 hours (upright! the flip is just for 1-2 minutes), check the seal. If it's sealed, great! You can put it in the cupboard. If not, pop it in the fridge where it should last at least 3 months if not longer.