Kitchen Project #23: Spring onion babka
Milk bread tests and flavour deep dives. Let your picnic dreams come true
Hello!
Welcome to another edition of Kitchen Projects. Thanks for being here on a bank holiday and everything. You rock.
This week, we’re exploring one of my favourite flavours ever: spring onion. If that doesn’t make your heart explode with excitement then GOOD – because you’re about to be converted.
BTW, if you’d like to support the newsletter and get access to all the extra content then I’d love you to join me over on KP+! Here’s what’s happening there the moment:
KP+ Chats: NO LOITERING. I’m overwhelmed by the amazing chats and conversations taking place on this thread. Not sure what to do with an ingredient? Let the KP+ gang help you.
KP+: What’s Cooking. Since it’s officially May, the seasonal cooking thread is about to launch so you can tell me what you’d like to learn more about on Kitchen Projects and what recipes you’d like to see in May
Bonus recipe: My ginger spring onion oil recipe will come out next week along with my Dad’s very easy veg cooking method that you’ll love
Subscribing is easy! Just click here and you’ll get access to the whole archive, too:
Alright, let’s get on with this week’s newsletter...
Love,
Nicola
Real (tasty) estate
I was just minding my own business when suddenly a concept appeared in my mind and started to take up a LOT of real estate: spring onion (aka scallion for any US readers here) pancake babka. Mind explosion.
Before we get into this, have you ever had spring onion pancakes (aka Cong You Bing)? If you haven’t, I urge you to get to your kitchen now and whip up a batch. They are good at any time of the day – essentially, spring onion pancakes are thin crispy unleavened flatbreads with flaky layers of sesame oil and spring onion throughout. Although they appear in Dim Sum regularly in the US, I don’t see them a lot in London.
When I used to work night shifts at Little Bread Pedlar, I often used to make myself spring onion pancakes for dinner when I got home at 10am. The flakiness, the crispy edges, the burnt spring onion bits, all dragged through chilli oil... absolute heaven. I’ll work on creating a classic version for you, I’ve always had great results with this recipe.
Bringing it to life
I wanted to create a recipe that brought all the energy of the spring onion pancake and fuse it with a fluffy bread. A slice-able, transportable cousin of the spring onion pancake. Fortunately, a swirly bread and shaping technique already exists: enter the babka.
Guys, is this fusion cooking? I’m haunted by fusion cuisine restaurant menus and the continuous white-washing of Chinese food over the years. It’s been a constant source of frustration. Although I admit I’m borrowing a shaping technique from Eastern Europe, I’m pretty confident the final product does justice to both of its origins, although perhaps with a bit of a wink.
Before we go any further, I just want to say that this edition is dedicated to one of my subscribers, Rach, who asked on a previous recipe: “Would it be possible to… babka this?” Which has now influenced a whole new line of conceptual thinking: “Can it be babka’d?” YES. IT. CAN!
Spring onion adventures
Growing up, on my Dad’s command (he was born in Shanghai, grew up in Hong Kong and eventually emigrated to the UK in the 60s), there were a few things we always had in the fridge without fail: Chinese leaf, ginger and spring onions.
These three ingredients were laced and dotted through the meals he would cook. Given my ever-expanding pantry, I’m constantly impressed by his ability to flavour such a range of dishes with what feels like such a small starter kit. In recent years, I’ve tried to catch on more of this minimalist technique and hover watchfully behind him when he is cooking, trying to establish if that was one tablespoon or two of soy sauce, or trying to quantify how many grams of sugar was in that 3-second pour.
Spring onions, I think, are overlooked. There are two epic garnishes, or condiments, or store-cupboard oils (I have no idea what to call them) with spring onions in the Chinese canon that I love. The first is usually served with poached chicken: finely diced ginger and spring onion which has been sizzled in hot oil then left to cool. You can also add a bit of sesame oil here but remember to never heat sesame oil up too much – the flavour will pretty much evaporate and disappear.
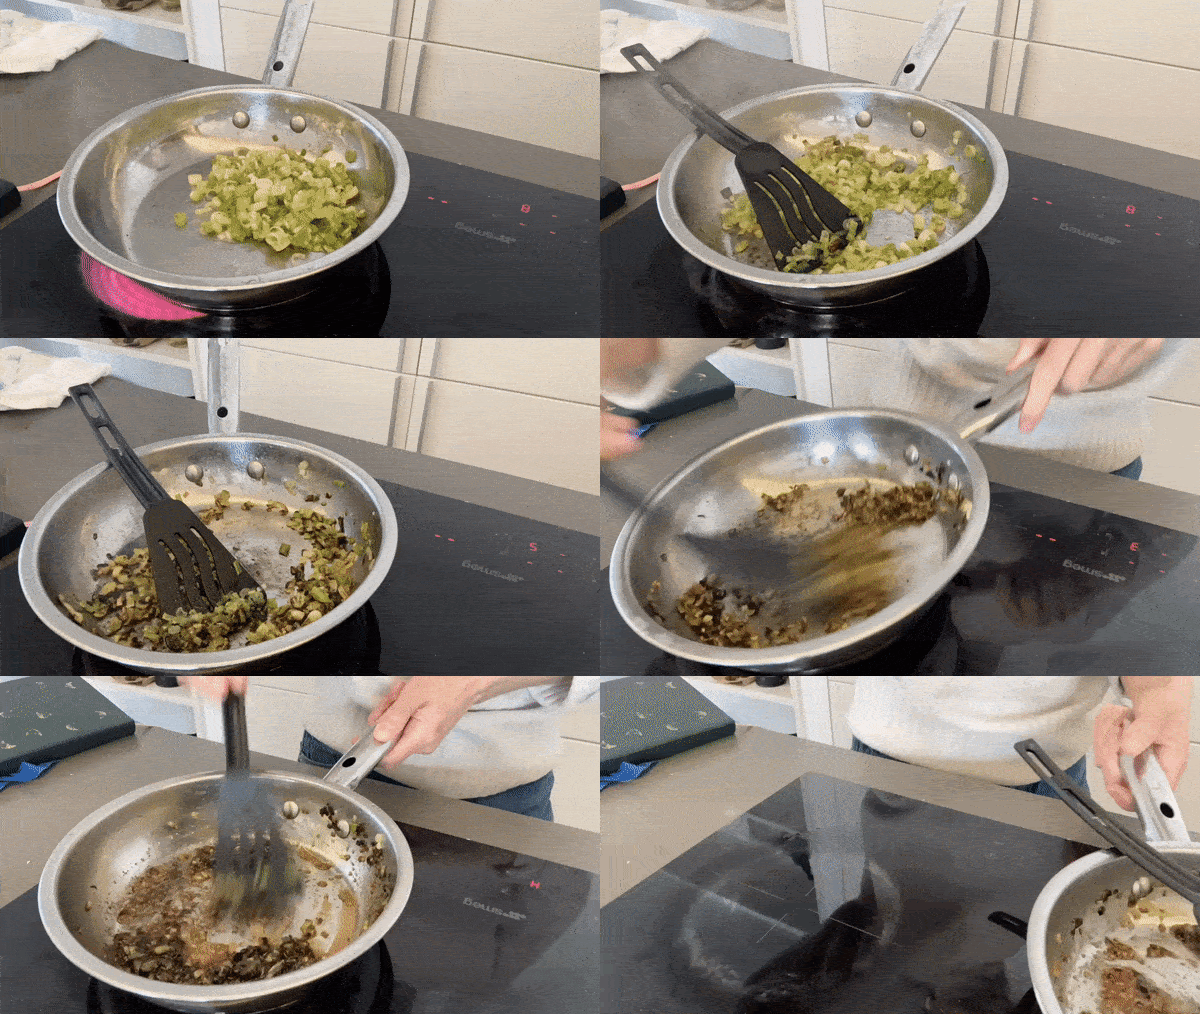
The second epic spring onion dish is one that I’ve only ever eaten at home with my Dad – burnt spring onion oil. He starts by cooking diced spring onions over a high heat with a little vegetable oil until they turn totally charred and dark brown and black in spots. Then, he flavours with soy sauce and sugar until it “tastes right”. The oil is then served with cold noodles. It is intense, refreshing and packs so much flavour. And yet the process is so simple. The oil is fragrant, sweet and salty.
I was conferring with the wonderful Lillian (who runs Shanghai Supper Club) who confirmed that this oil is “absolutely a stable to keep in your larder” – throw it on hot or cold noodles for a quick meal, serve as a garnish to roasted or grilled meats and veg, or even dip dumplings in it. No matter how you use it, you’ll be rewarded.
But what about the bread?
To bring my dream spring onion bread to life, I knew there was only one base recipe in the running to achieve my dreams of fluff, squish and flavour: milk bread. This, after all, is more of a picnic loaf than it is a true babka. And that’s what makes it so delightful.
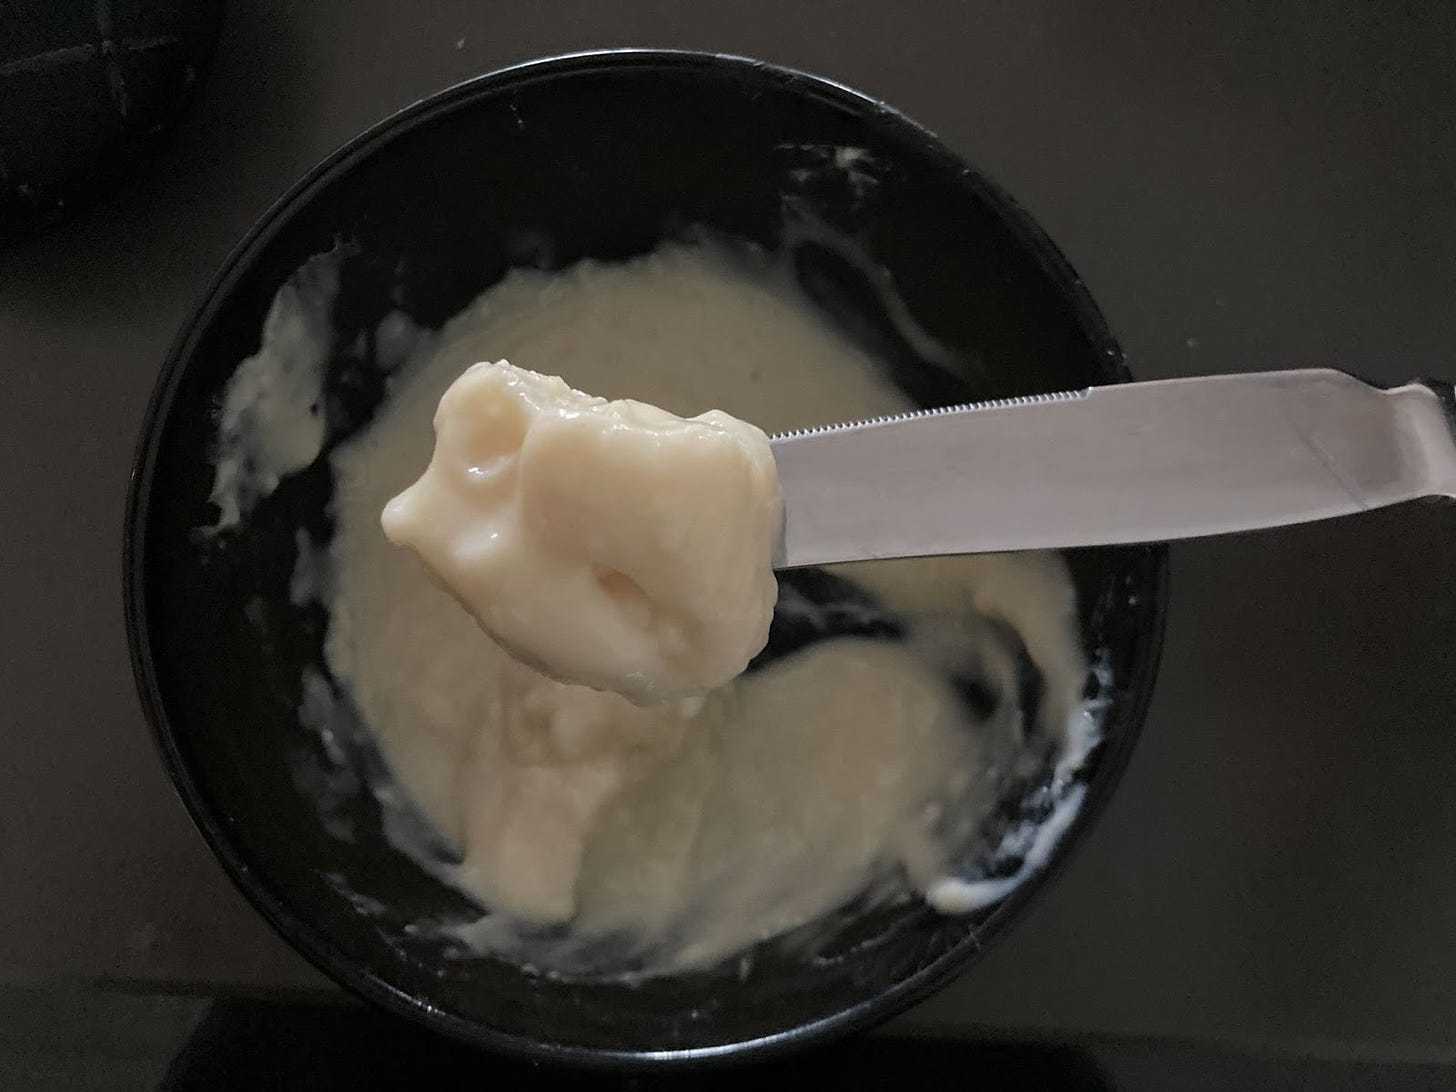
Recipes including the tangzhong technique (aka water roux or pre-gelatinized flour) have exploded in the last few years. And for good reason – it genuinely improves your bread so much.
To give you a quick overview, tangzhong is a method whereby you pre-cook some of the recipe’s flour and liquid together until it thickens. The idea is that you are gelatinizing a portion of the flour. This technique was pioneered by Yvonne Chen in the 1990s with her book The 65 degree bread doctor – she found that by using this technique, you could introduce a higher proportion of hydration into bakes in a stable way, as well as improving oven spring and texture.
I first dipped my toe into the whole tangzhong thing after eating an absolutely insane sweet bun at the Arome pop-up last year. We were offered a ‘Gula Melaka Coconut Shokupan Bun’ and I was overwhelmed with how soft and tender it was. No offence to most buns but they are usually DRY. This bun was so fluffy it would have been infuriating if it wasn’t so delicious. I applied the tangzhong technique to my next batch of cinnamon buns and was delighted at the results. Thank you Alix!
Tangzhong tests
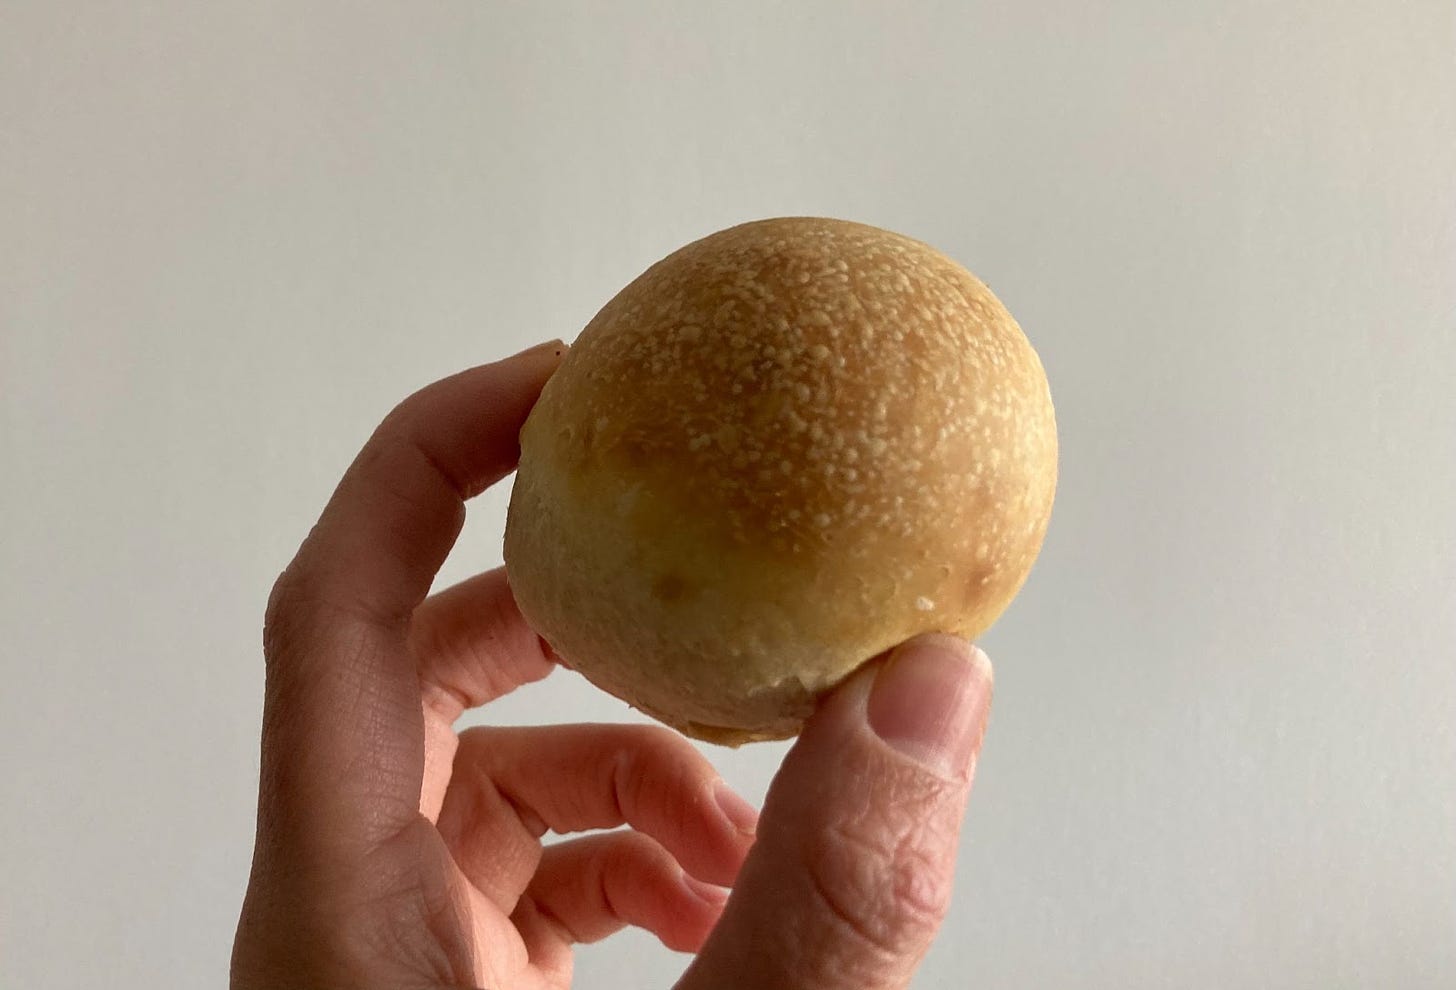
This week, I’ve adapted my recipe from the Puff School course which has always been super reliable for me. Although I’ve made it so many times, there are a few niggling things I’ve never *truly* tested. For example, does the tangzhong actually need to be cooled down before using it? I’ve always danced around the topic, sometimes using it warm, sometimes waiting for it to be chilled. Thanks here 100% to Erin at Cloudy Kitchen who uses the tangzhong immediately in her burger bun recipe and inspired these tests.
I made a batch of tangzhong and set half aside the cool. The other half I added to a mixing bowl and added the rest of the recipes liquid ingredients to bring the mix down to a temperature that wouldn’t kill the yeast. I mixed the dough and let it proof. I then mixed an identical batch using the cooled tangzhong. Both batches were shaped, proofed and baked.
The results? Negligible. I accidentally over-proofed the first dough which meant it was a slightly less delicious batch, but the texture/shelf-life was ultimately identical. Dang. That being said, I do generally cook my tangzhong ahead of time and let it hang around for when I need to use it, so even though I know it doesn’t make a difference. Apologies right here for anyone who has followed my previous milk bread recipes and spent hours waiting for tangzhong. I am *officially* sorry.
How long is too long in the fridge?
As well as this, I did want to stress test the dough a bit – one of the most frequent questions I get asked is “how long can I leave my dough in the fridge before using it”? I usually answer 2-3 days, as this is the time frame that has ingrained my mind from working in bakeries, but I’ll actually try to answer it now.
One issue I had for the dough was storage. Although I think my fridge is cold, I was finding that overnight the dough was continuing to prove and I arrived at my fridge to find a puffy, fermented splodge of dough. I think that most home bakers will struggle with this – the temperature of my fridge seems to fluctuate so much especially since I seem to open and close so often during the day.
By day two, the dough definitely was giving off some alcohol by product fermentation smells but was still in good shape. It baked up just as expected
By day three, the dough smelt so fermented – it smelt like a bar. The yeast had clearly gone into overdrive. However, once baked, the alcohol had all evaporated and the flavour was good. That was a big surprise.

By day four, this dough was EXHAUSTED. I shaped and proofed it and, instead of a beautifully squishy bun, it gave me a hard rock of a roll. Kind of cute still, but not what I was after. The taste was nothing to write home about and I would never have believed it was milk bread if I hadn’t actually been the one to make it in the first place. Bread that is over-proofed is dull and hard and the crumb is challenging to eat. The texture is just… broken.
Shaping milk bread
To achieve the beautiful fluffy and ultra tear-able milk bread, it’s all in the shaping. For traditional loaves, the dough is rolled out thinly and rolled up into a sausage shape then placed in a tin. This is repeated for the rest of the dough. Although the spiralled dough proofs into itself so much that there is no discernible swirl pattern, the shaping does result in a crumb that tears gently in a number of directions, which would not be achievable if you were to just ball it up like a normal dough.
I was super excited when I realised that the babka style shaping would have the same effect – rolling the dough out thin and then back up and shaping it together will give you a similar result. Milk bread heaven.
Bringing the recipes together
So here I was with a batch of milk bread dough made and two options for the spring onion oil. I rolled up my sleeves and started testing them out.
Babka 1: Ginger/Spring Onion oil
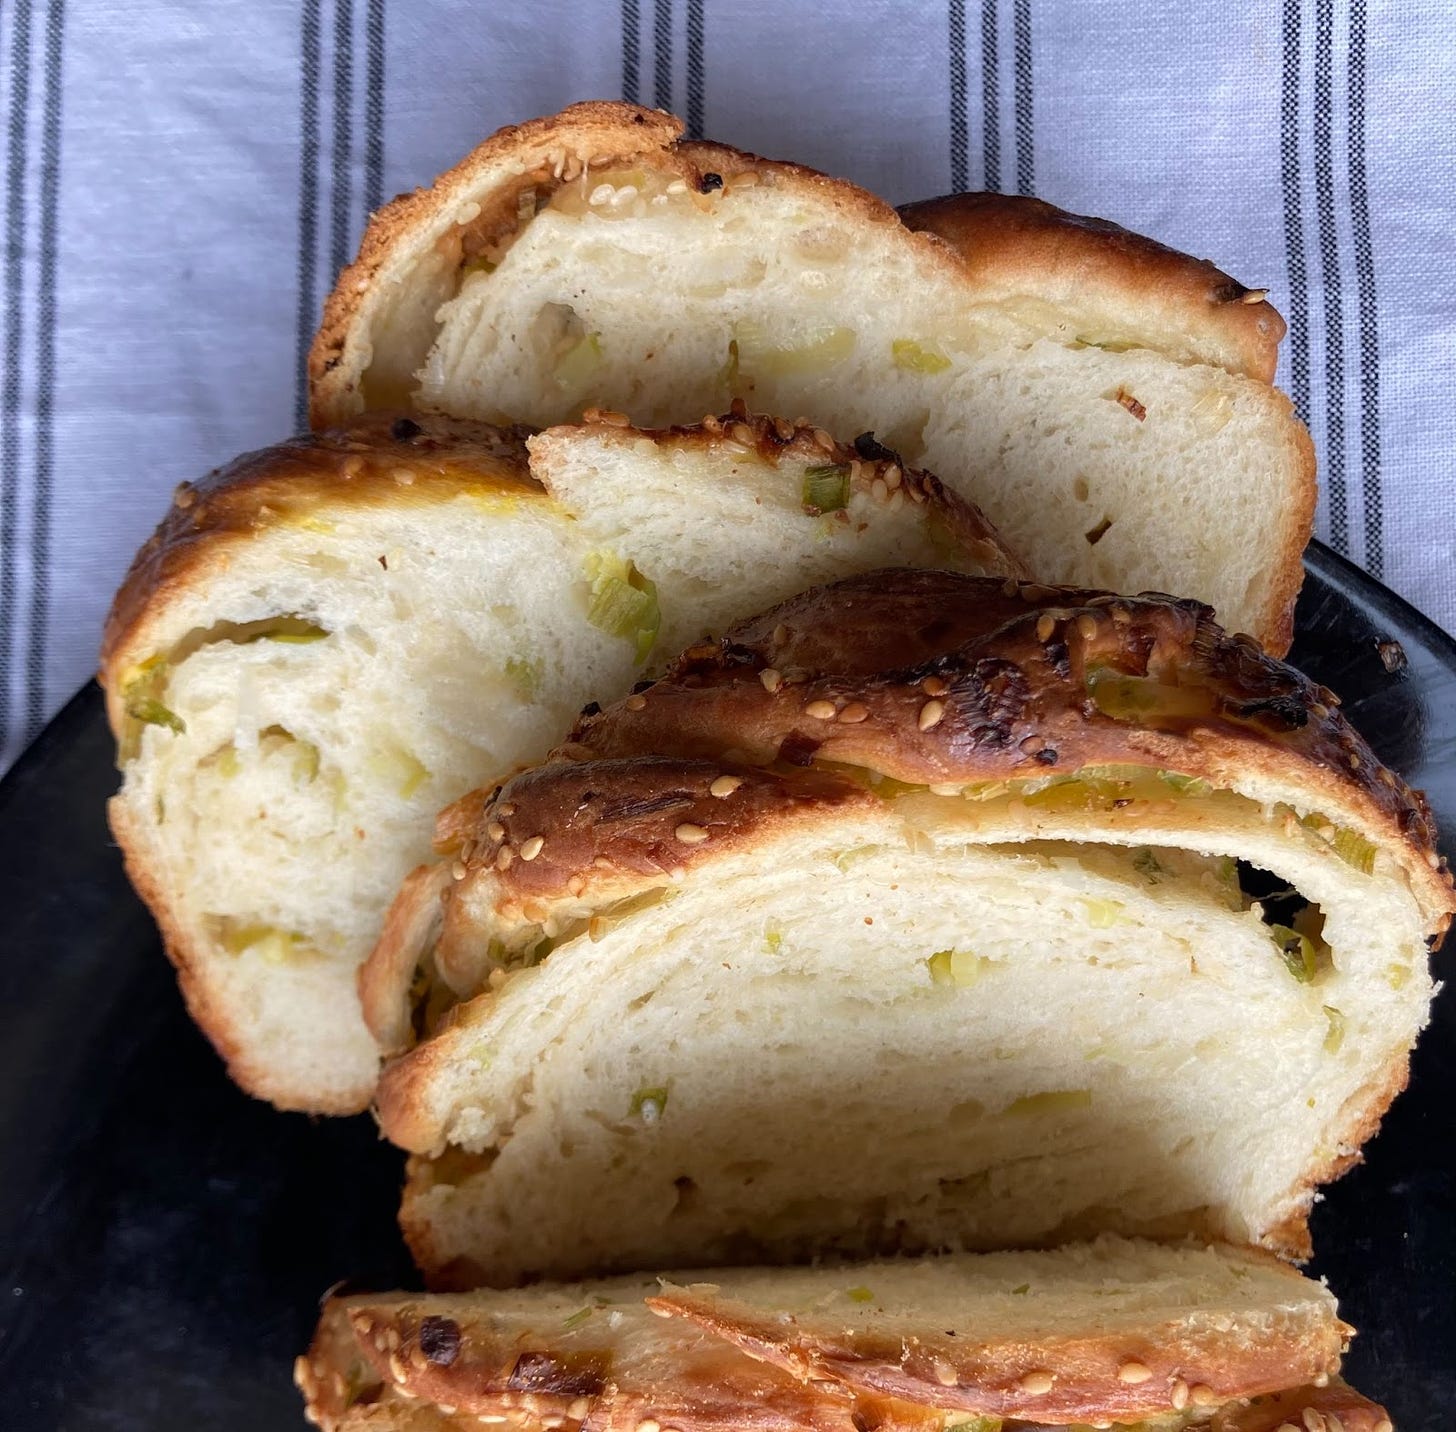
For the ginger/spring onion oil, I decided to flavour the oil with ginger by heating it in the oil and then pouring the fragrant sizzling oil over the diced spring onions. The traditional condiment normally has very finely chopped/grated ginger in the mix, but I was concerned at how the ginger would behave in the oven. Burnt ginger is not so delicious, unfortunately, whilst burnt spring onions are. So, transferring the ginger flavour into the oil would give me the profile without leaving me with unwanted crunchy bits.
Foolishly, I didn’t consider that the dipping oil might be a bit (aka a lot) too oily to be a babka filling. I spread the oil, sprinkled with sesame seeds and rolled it up. When I sliced down the centre of the babka it was like a pipe had burst. Except the pipe was filled with oil. It was so slippery and impossible to wrangle. As it proofed, it was literally swimming with oil. It wasn’t too noticeable once it had baked but it was a bit OTT.
For attempt two, I halved the amount of oil which made the sauce much easier to handle and it worked much better. The flavour was still there.
For both of these, although really delicious, I was disappointed with the lack of definition in the cut through. Ugh. I know. Aesthetics aren’t everything but I did want the full dramatic babka effect as otherwise. For attempt three, I sprinkled five spice powder on top of the dough before rolling up. Ahh. Much better – you could definitely see more layers. Although it was subtle.
Babka 2: Burnt spring onion oil
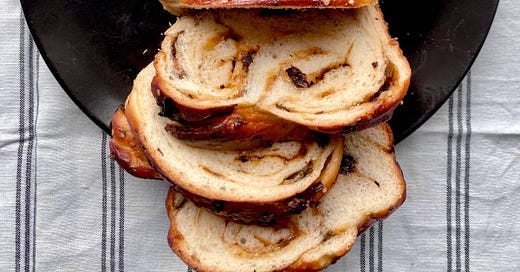
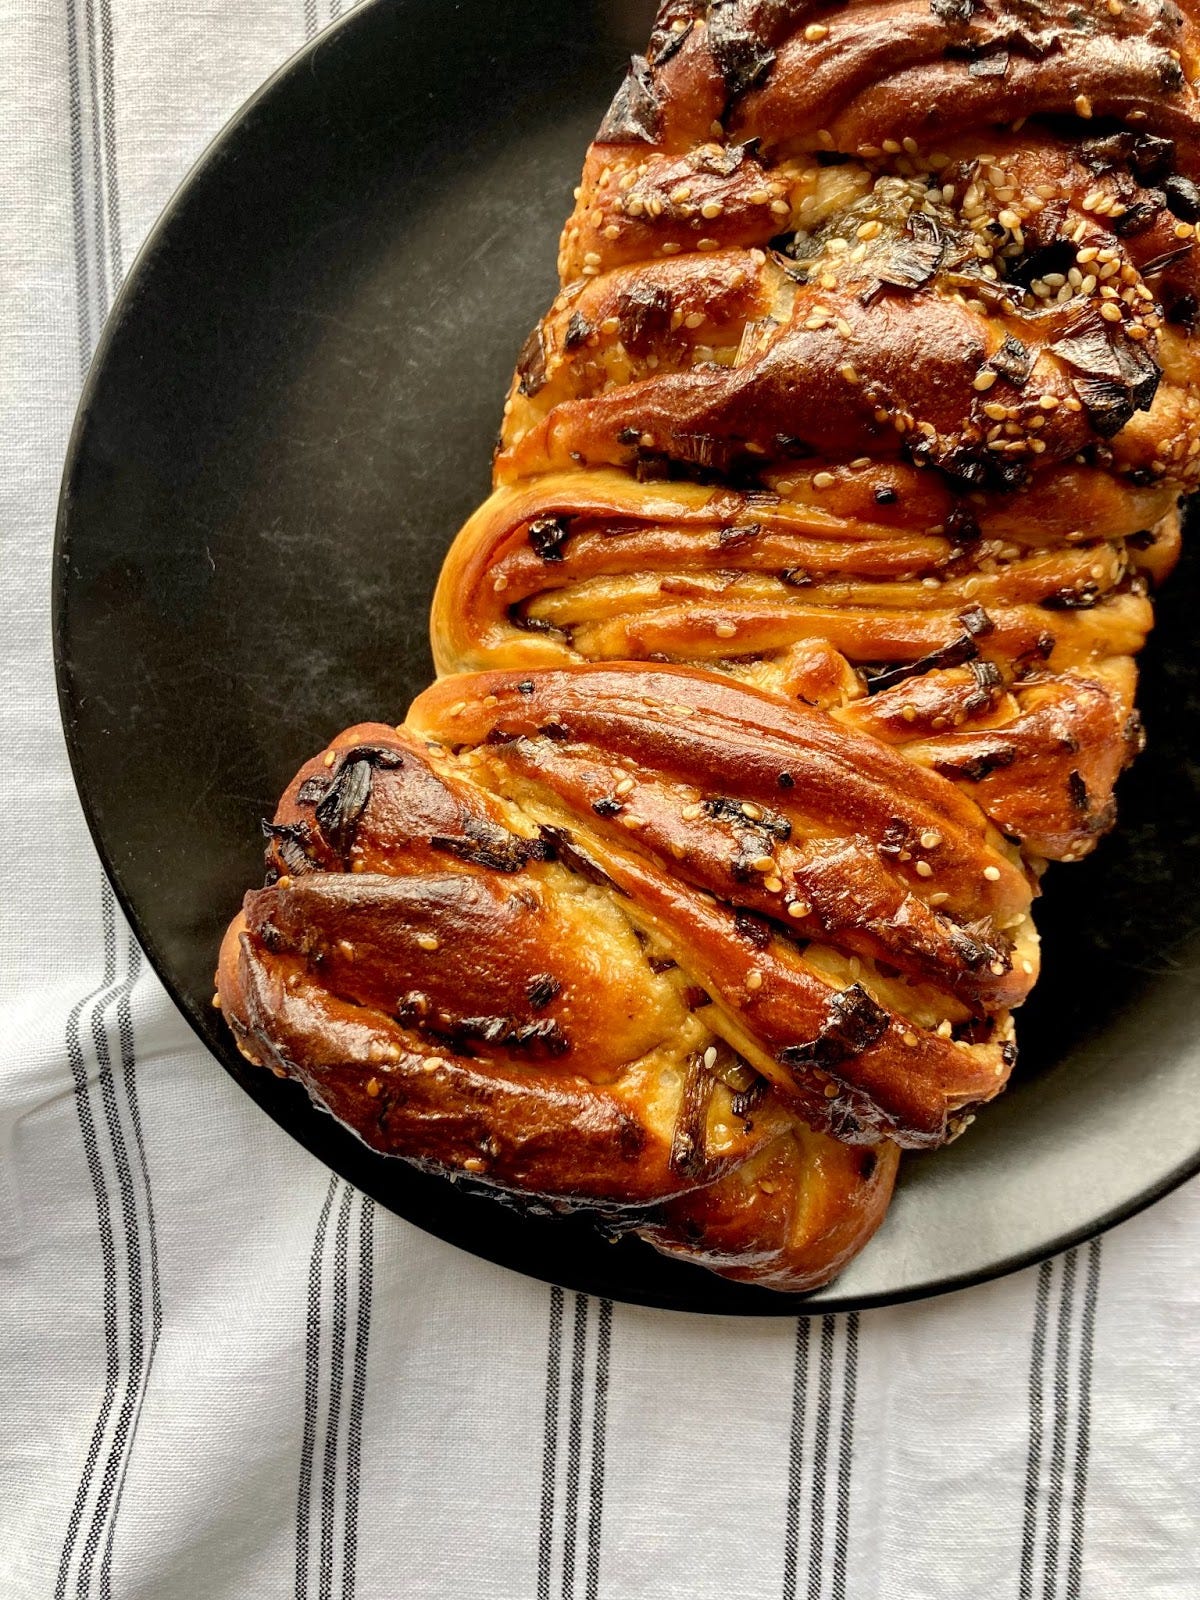
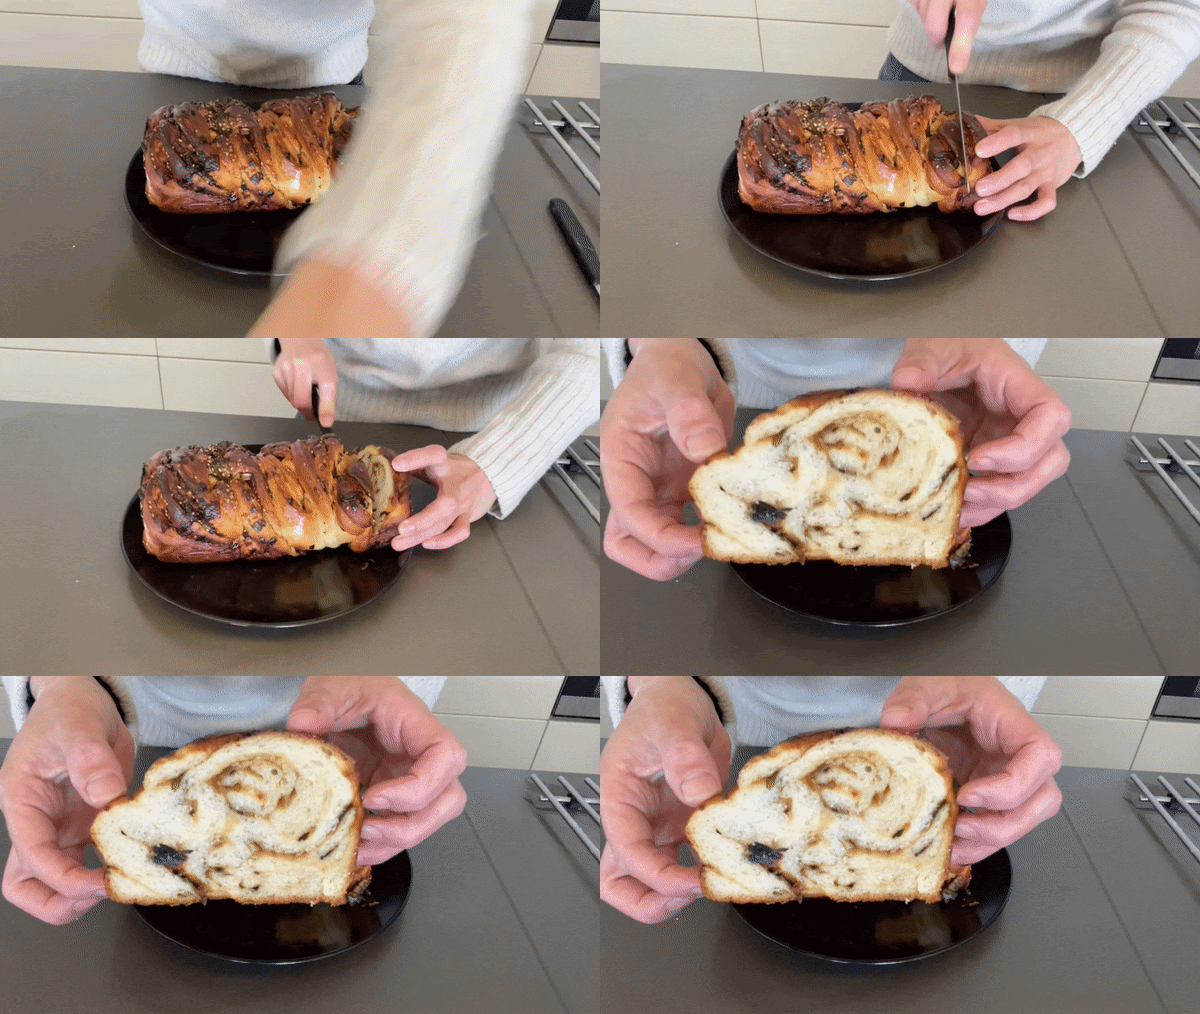
Although I used some of the ginger oil for the dough itself, this babka was all about the burnt, salty sweet spring onion oil. And, oh God. It was good. I spread it all over the rolled out dough and, since it was less oil based, it behaved much better. There was much less slippy sliding than with the ginger version. Also, it baked up beautifully and the dramatic swirl gave me unbridled joy.
The results
Although my original vision was very much in the spring onion/ginger condiment camp, my mind was changed during this process. Both are insanely delicious and will be your new picnic BFF, but the salty sweet energy of the burnt spring onion version, along with its dramatic swirling qualities, just has the edge. I’m so excited to share this recipe with you, it almost hurts my heart. I can’t wait for you to fall in love/put it on everything!
I’ll be sharing the ginger/scallion version over on KP+ next week along with my Dad’s veggie cooking technique, too!
Shaping babka
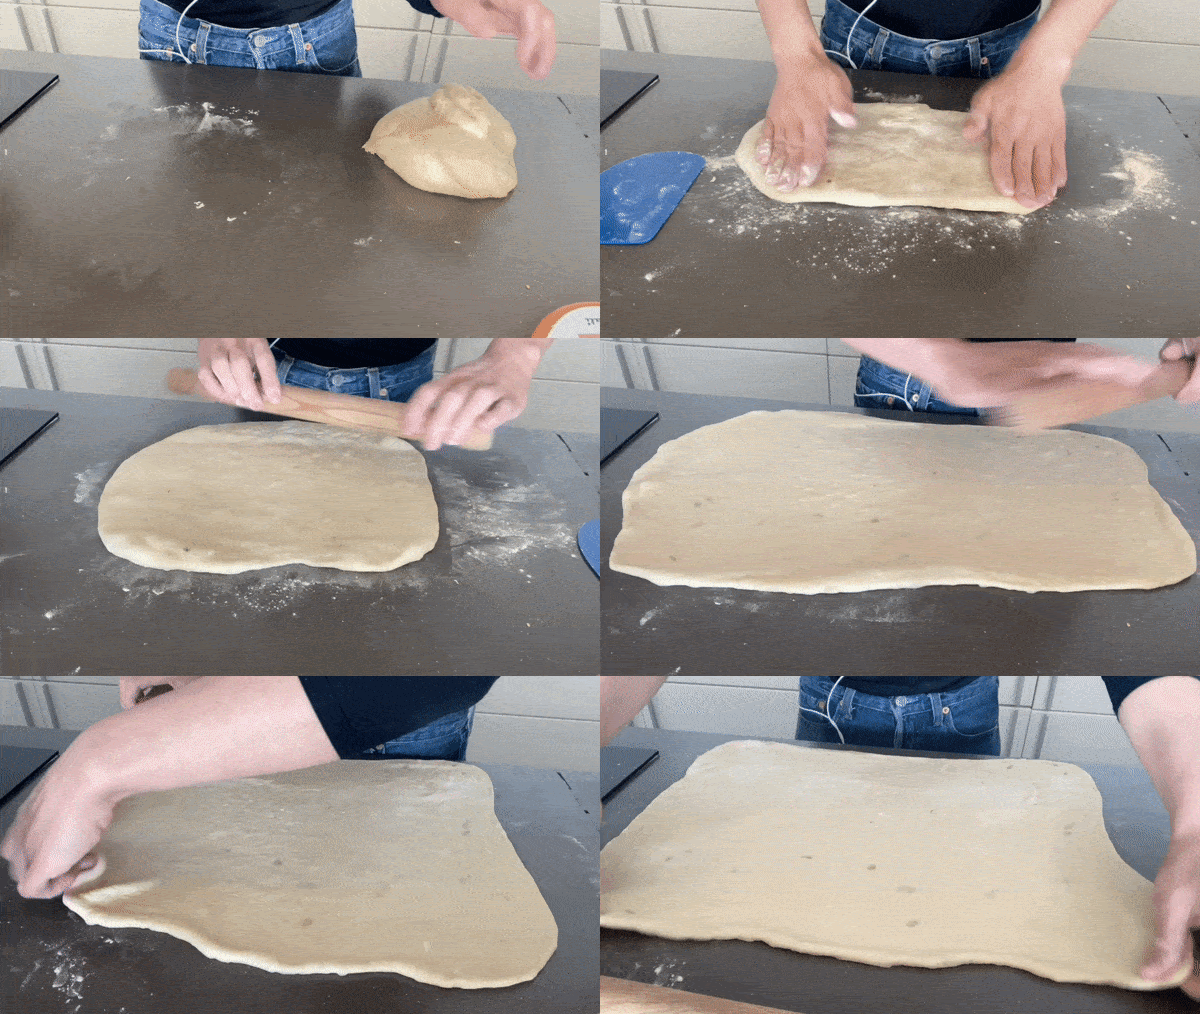
I am not a babka expert. However there are a few things I’ve realised whilst making them in the last few years. Firstly, you need to roll the dough WAY thinner than you think. This is the only way to actually get a good proportion between the dough and filling and achieve that ultra zebra-y stripe. I mean, just look at Talia aka Painted Dog Bakehouse’s babkas – the layers are so thin and beautiful. Just extraordinary. Although I don’t go that thin with the milk bread (it doesn’t like to be stretched as much as this. Enriched/buttery brioche style doughs are a lot stretchier/happier to be pinned), I do take some inspiration from this to *try* and achieve layers. If you want to see an example of how thin it goes, I particularly enjoyed this behind-the-scenes video from the Russ and Daughters bakery in NYC.
The other babka shaping kernel of knowledge I’ve learnt over the years is – when it comes to final shaping you need to twist it firmly – but not too tightly. If you do go too tight and then proof it, it’ll bust apart during the proofing or baking process, almost like you’re suffocating the poor thing. So, be firm but remember – bread needs to breathe, too.
Using the dough immediately vs. cold
For this recipe, I tested out shaping the babka immediately after bulk fermentation and also shaping it after a night in the fridge. Both methods worked well – the cold dough was slightly easier to work with. Whenever I’ve worked in bakeries and on shaped doughs, we always used to chill anything that is going to have a filling inside it (cinnamon buns etc) so if you have a reliable fridge then I can recommend it if you want to break up the process a bit.
Proofing milk bread
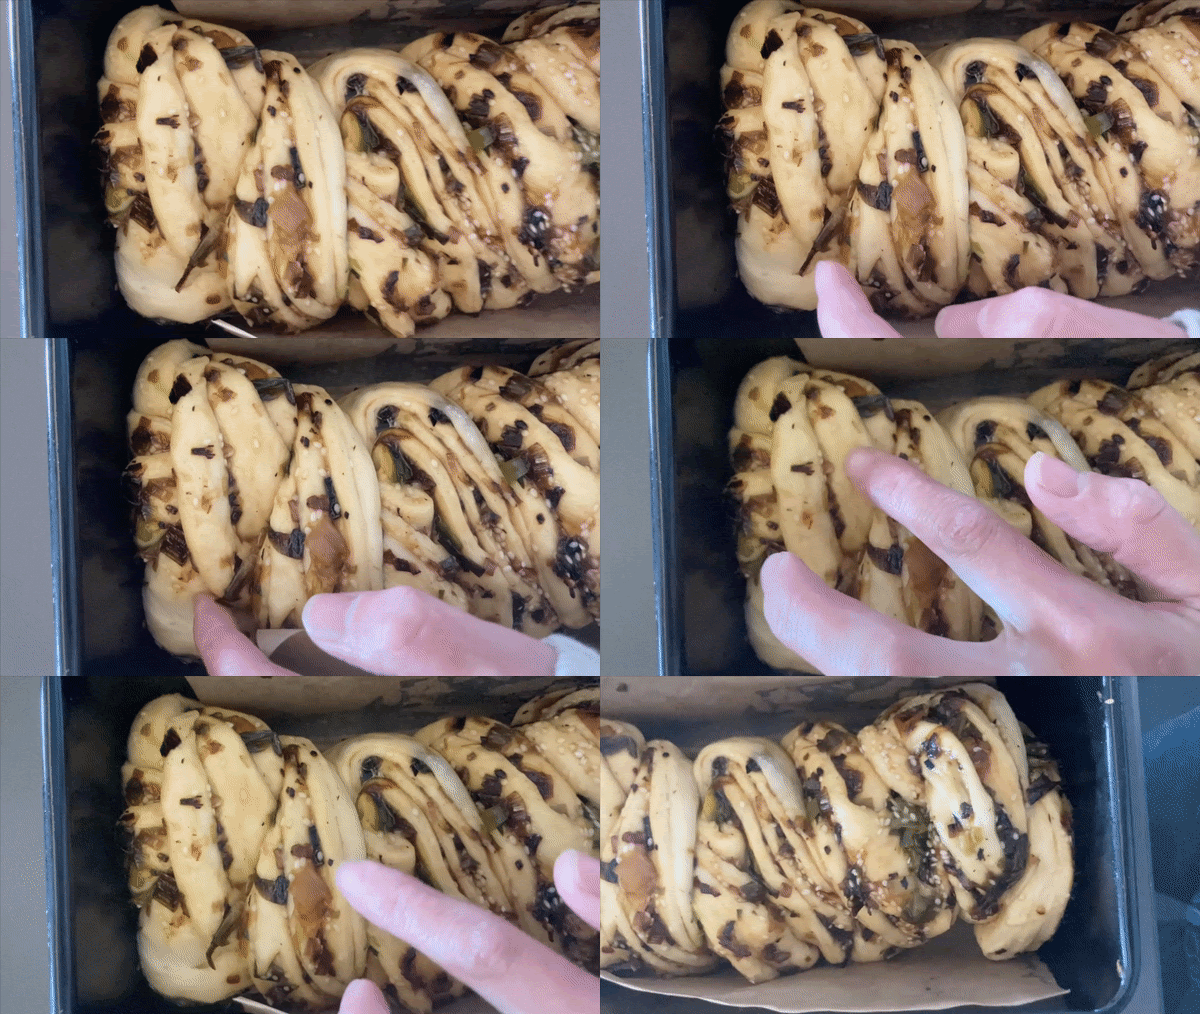
Milk bread is quite explosive. I prefer to err on the side of ‘just’ proofed rather than pushing it to the max like I would some breads. You can experiment with this, but I found that the texture was not significantly improved by pushing the bread to be as puffy as possible. That had a rather negative impact on the visual appearance of the loaf as the layers busted apart.
Babka sizes
It’s impossible to make a small batch of babka. Sorry (or you’re welcome?). Fortunately I accidentally ordered a 2lb (bloody huge) loaf tin which meant I was able to bake the babka as one gigantic loaf. So, this recipe makes two 1lb tin size babkas or one giant 2lb tin babka. You get to decide!
You do get an extraordinary amount of BREAD for such a small recipe. It shocks me every time how bloody giant the thing turns out, considering the quantity isn’t that much. Prepare to be impressed.
Ok, let’s make it.
Burnt spring onion oil milk bread babka
Once again, due to length restrictions, I’ve had to remove most of the GIFs, so please check the web version for these
Makes 2 x 1lb loaf tin size babkas OR 1 x 2lb babka
Dough recipe
Tangzhong:
50g water
50g milk
20g bread flour
Rest of the dough:
55g milk
50g egg (1 egg)
5g dry yeast
230g bread flour
25g sugar
5g salt
20g soft butter
To finish
Egg for egg wash
20g sesame seeds (doesn’t sound like a lot but they’re so light!)
Burnt spring onion oil
The spring onions reduce by approximately half in weight so just be aware of that if you are making bigger batches in the future
250g chopped spring onions (about 2-3 bunches)
+ a little vegetable oil to fry
60g light soy sauce
40g sugar
10ml sesame oil
Burnt Spring Onion oil method
Heat a little vegetable oil in a saucepan. Add spring onions and cook until completely charred and dark, about 10-15 minutes. Keep an eye on them and keep them moving
Once the desired colour has been achieved, take off the heat and add the light soy sauce. The pan should bubble
Stir in the caster sugar and sesame oil. Check the taste! Depending on your spring onions, you might want to add a little more sweet or saltiness to suit your preference
Set aside to cool
This keeps for a long time. Keep in the fridge for at least a week, but I think two weeks would be grand too if covered and sealed
Tangzhong method
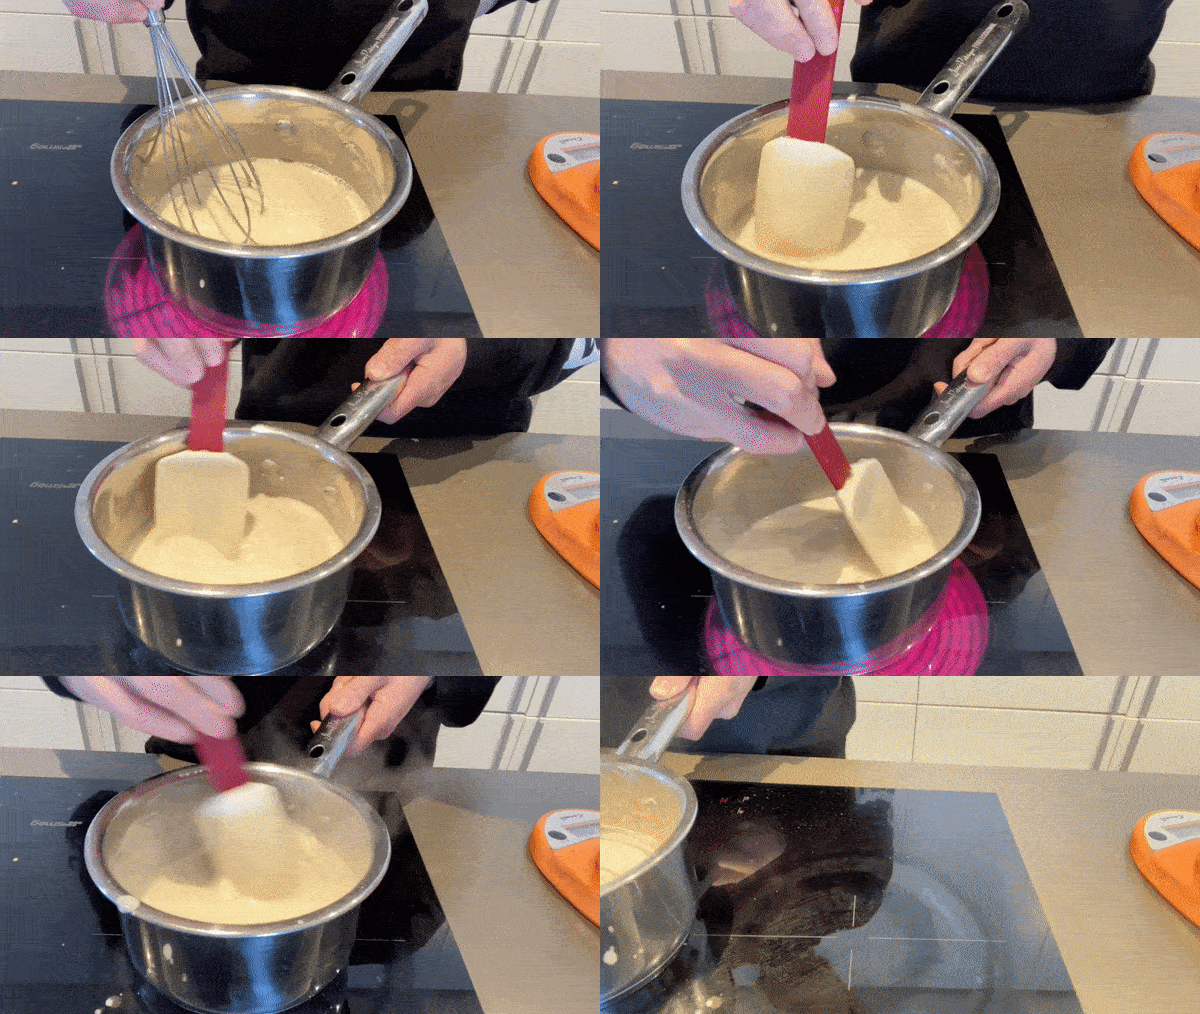
Off the heat, whisk the milk, water and flour together
Heat on a medium temperature, whisking/stirring all the time until it thickens
Take off the heat and either cool to room temp and store in fridge (up to 3 days before it oxidises and goes grey, yucks) or use immediately in the recipe below
Milk bread method *using a mixer*
If using the tangzhong immediately, whisk the cold milk in to cool it down slightly. If you need to bloom your yeast, you can do it in the milk/tangzhong mixture, otherwise continue on with the recipe. If you are using the cold tangzhong, bloom your yeast (if required) in warm milk and then whisk in the rest of the liquids
To the milk/tangzhong mixture, whisk in the egg. On top of this, add the dries and fat
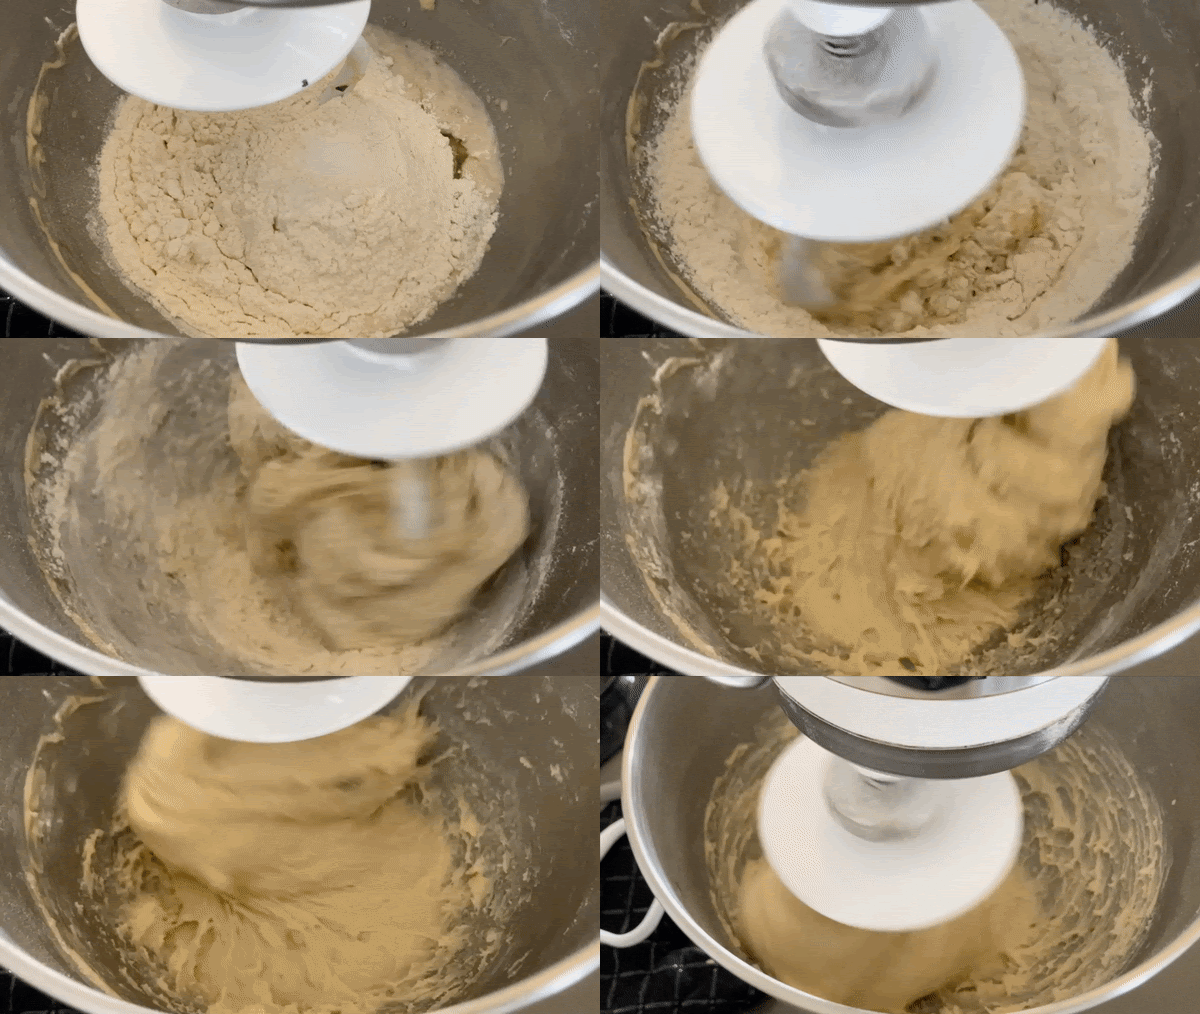
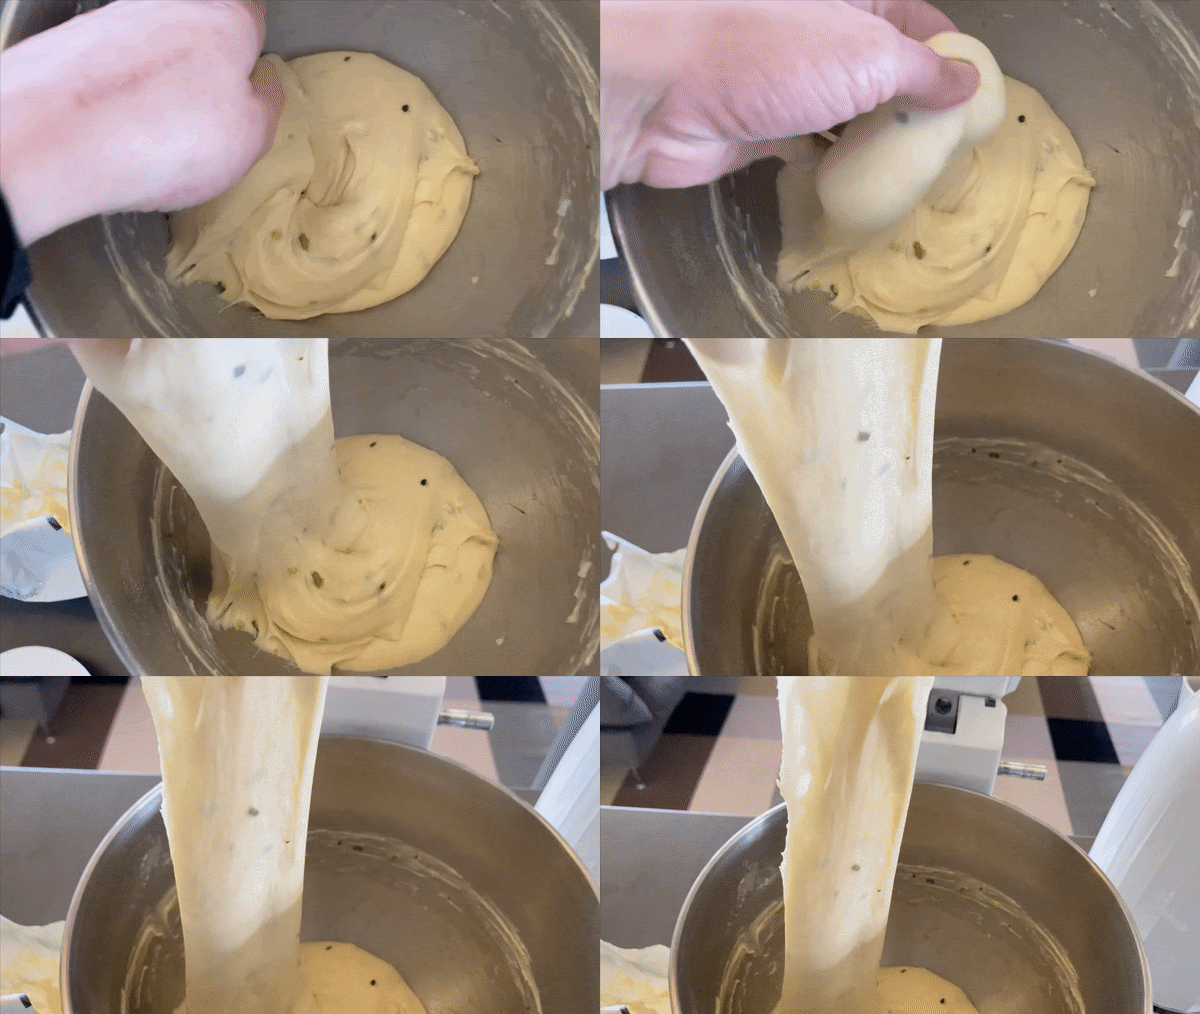
Mix on a medium speed for 5-7 minutes until well combined. Rest for 10 minutes. Mix on a higher speed until full gluten development has been achieved
Bulk ferment until the dough has doubled and is ultra puffy
At this point, you can press it down and put it into the fridge and shape the next day OR you can proceed immediately with shaping
Shaping the babka
Using as much flour as you need (don’t be shy) roll out the dough to a very thin rectangle, approx. 50cm x 40cm. It really does go super thin – just a few millimeters. If it springs back, just keep on it! You might want to occasionally check that it isn’t sticking so lift it up and sprinkle more flour in, if you need
Spread 150g burnt spring onion oil all over the dough, followed by the sesame seeds
Roll up the dough tightly. If its sticking, use a dough scraper to help lift it and encourage it into shape
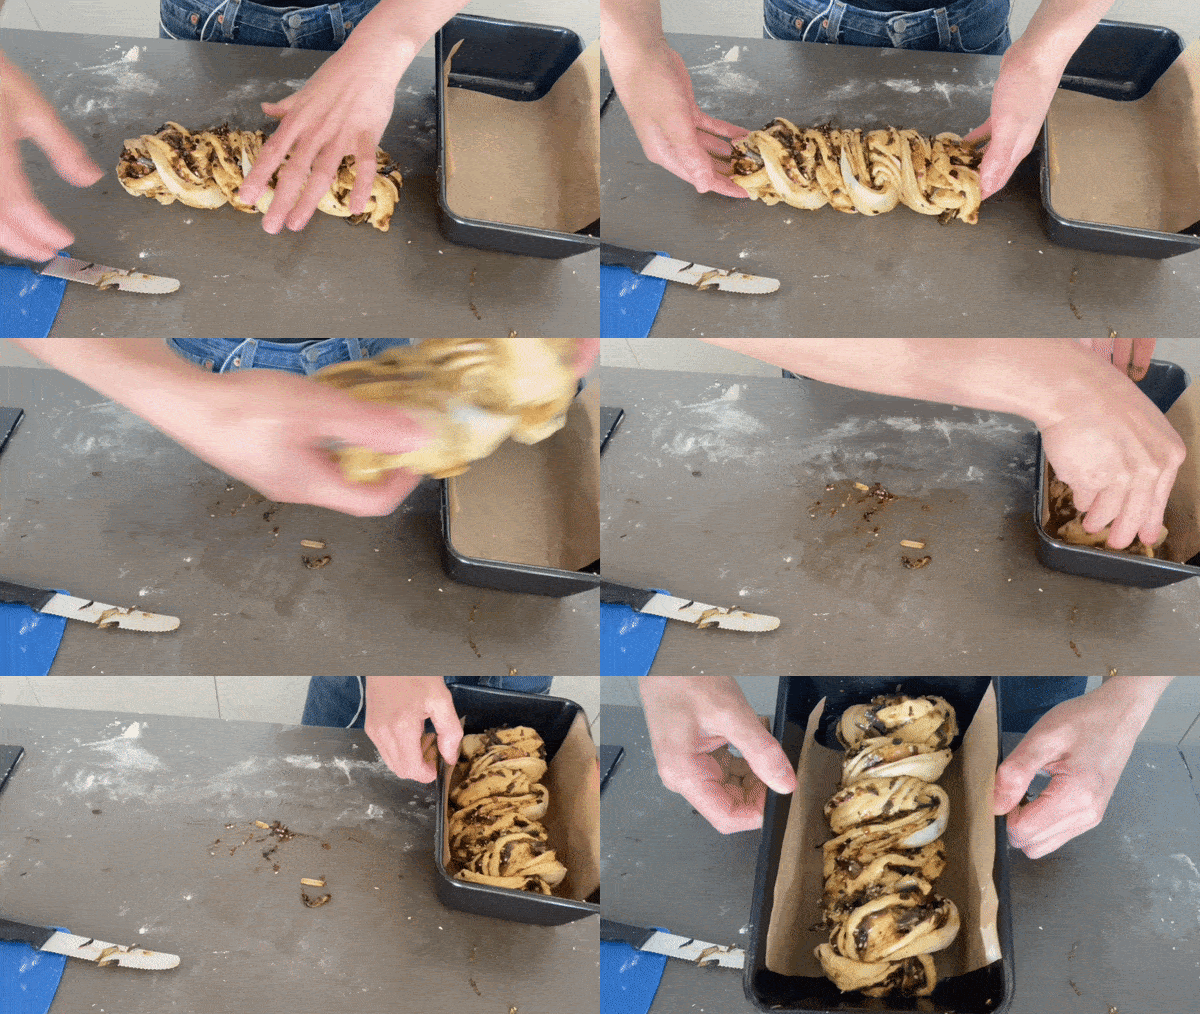
Using a sharp or serrated knife (I like serrated) cut the dough log down the centre, revealing the layers. I usually leave a bit at the end to hold it all together then cut that at the end to finish it off
Alternate the dough strands to create a twisted shape – almost like a plait
If using 1lb tins, divide the dough in half, shimmy slightly to reduce the width and place into a tin
If using the 2lb tin, shimmy the dough to the right length from either end (I know, it looks so long, you can’t believe it will fit but it will) and place into the tin
Proofing
Proof for 1 hour until puffy. It might happen sooner than this! You don’t need to go OTT with the proofing for the babkas
Baking
Pre-heat oven to 170c fan
Egg wash the proofed babka
Bake for 30-35 mins (large size), 25 mins (smaller size). The best thing to do is TEMP YOUR BABKA and check it is about 90c inside
Leave to cool





Gosh I can imagine a couple of slices of this would be ace in a toasted breakfast sandwich!
Love this idea!! Will def try this next time I find time to make babka :p
A side note on flaky scallion oil pancakes and dimsum: in China they are rarely seen together too because the former is a northern dish whereas dimsum is from Canton (my hometown :D)... so the pancakes aren’t actually a type of dimsum, but a main/side dish in other provinces.