Kitchen Project #120: All about Whipped (not) Cream
Airy... but no dairy?! A new edition of Baking Remix with Brian Levy
Hello,
Welcome to today’s edition of Kitchen Projects. Thank you so much for being here.
I’m utterly thrilled to introduce you to a brand new edition of Brian Levy’s Baking Remix on today’s newsletter. This week, Brian’s figured out how to make the airiest non-dairy whipped cream ever. You’ll learn SO much about what whips (and what doesn’t, vegan or not!) and why in the process.
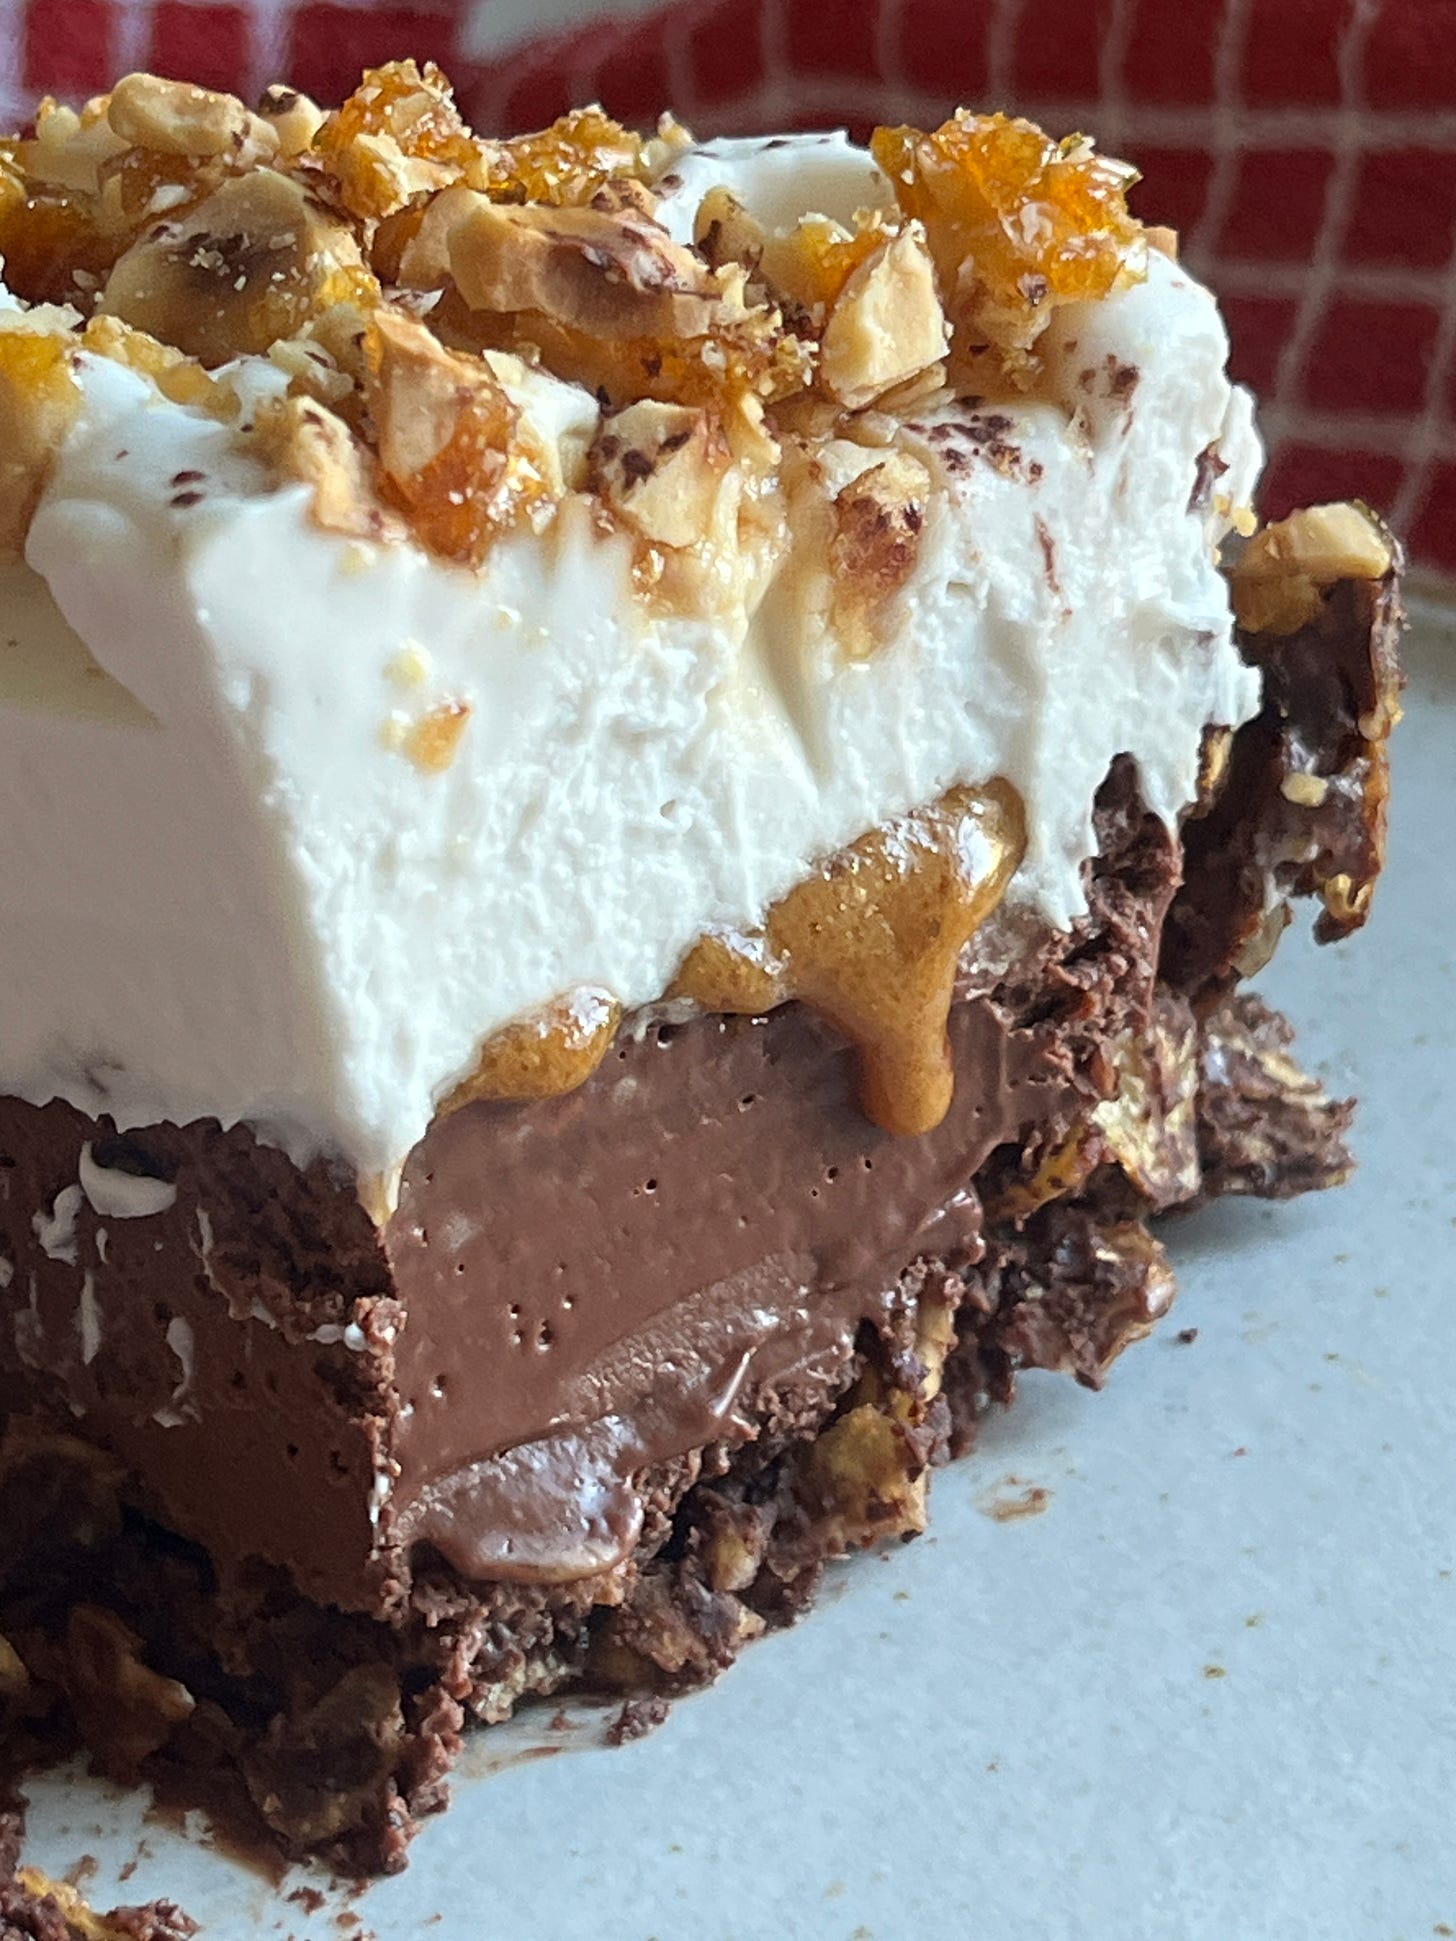
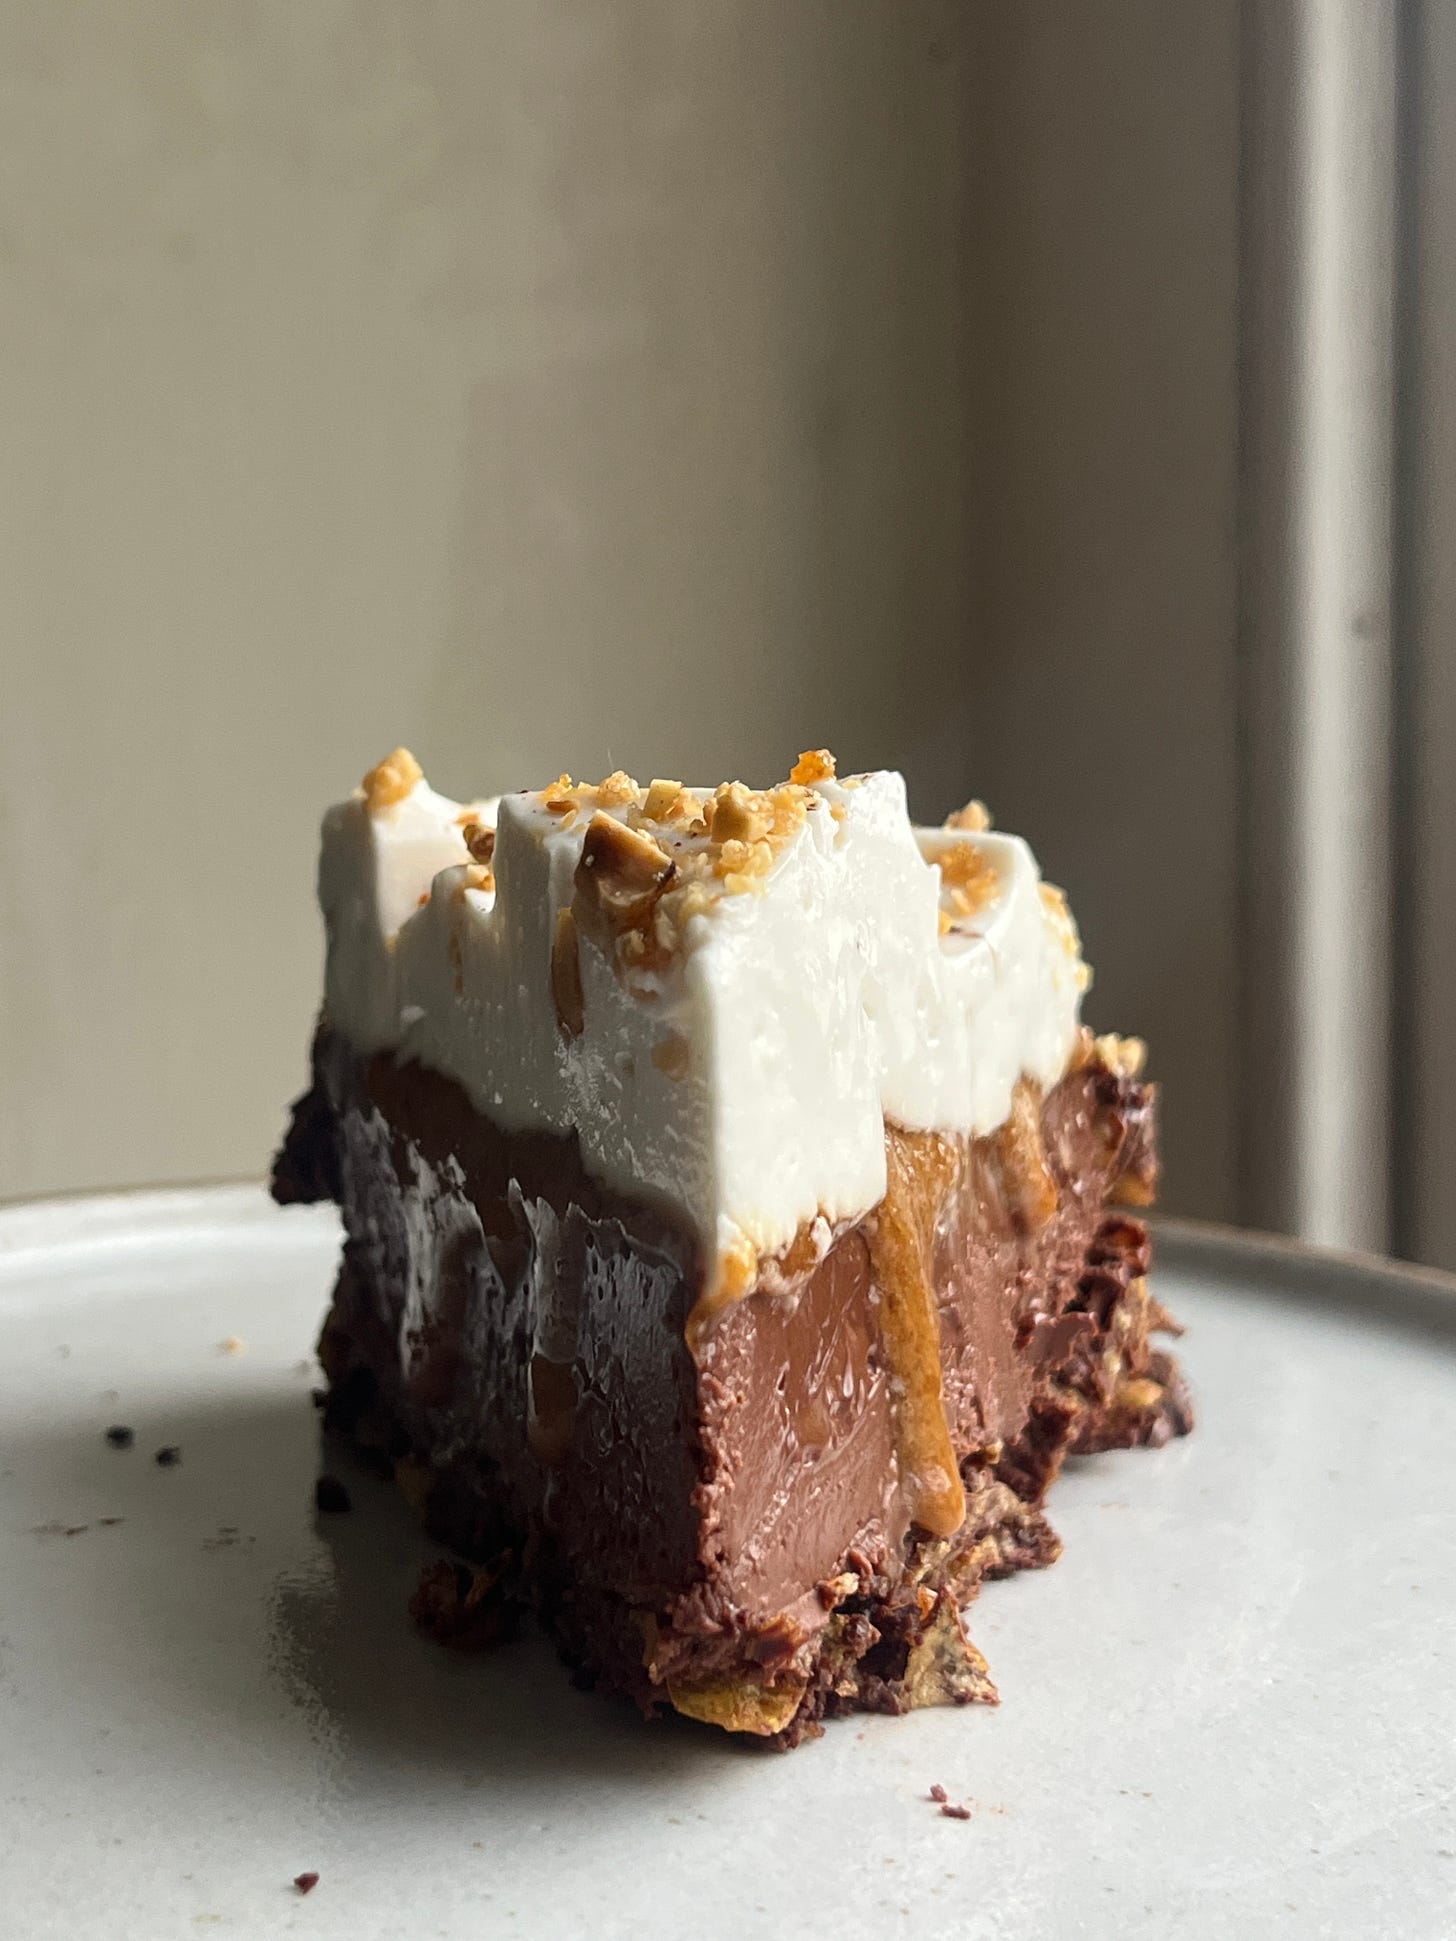
Inspired by Brian’s recipe, I’ve developed a plant-based & gluten-free friendly pie for thanksgiving which I’m sharing on KP+ - a chocolate hazelnut praline cream pie. I’ve also shared how to use traditional dairy ingredients to make it, too! Click here for the recipe.
What’s KP+? Well, it’s the level-up version of this newsletter. By joining KP+, you will support the writing and research that goes into the newsletter (including the commissioning - and fair payment - of all the writers), join a growing community, access extra content (inc., the entire archive) and more. Subscribing is easy and only costs £5 per month. Why not give it a go? Come and join the gang!
Love,
Nicola
PSST… I’ve written a book!
SIFT: The Elements of Great Baking is out next May and is available to pre-order now. Across 350 pages, I'll guide you through the fundamentals of baking and pastry through in-depth reference sections and well over 100 tried & tested recipes with stunning photography and incredible design. SIFT is the book I wish I'd had when I first started baking and I can’t wait to show you more.
Worth the whip: Perfecting non-dairy whipped cream
by Brian Levy
In my decades on this planet, I’ve heard of some pretty wild aversions—from people who don’t like chocolate, or garlic, or cold cinnamon-flavoured foods—but I’ve yet to come across anyone who has anything against whipped cream. Well, anything other than the fact of it being a dairy product, which is exactly what I address with the research and recipe herein. But the taste, the texture of whipped cream—is there anyone who can resist its seductive spell? It’s the perfect foil for a rich chocolate pot de crème, or a tart and flaky citrus pie, or a wine-poached pear; simple and elegant, simultaneously rich and weightless, complementary without overwhelming.
Whipped cream is a foam, a collection of gas bubbles trapped and suspended within another substance. To achieve this foam, we must start with a dairy cream containing an optimal proportion of milk fat: 30 to 36 percent (Note: “optimal” is subjective here; feedback from Nicola has made me realise that I’m partial to the whipped cream with which I’ve grown up. The fact that it’s on the lower end of the milkfat content spectrum gives it a lightness, an airiness that I prefer. But after much discussion with Nicola, I’m questioning whether I’ve been hoodwinked into this preference by a stingy American dairy industry!). In the U.S. we buy this base ingredient as “heavy cream” (around 36% fat) or “whipping cream” (around 30% fat). American “heavy cream” lies at the mean point between British “single cream” (18% fat) and “double cream” (48% fat), according to BBC Good Food.
As Claire Lower explains, when this cream—a natural emulsion of fat, water, proteins, sugars, and other trace elements--is whisked with enough vigor and time, its fat globules are disturbed in such a way that they restructure themselves around the air that is simultaneously being integrated into the cream. The milk fat (which, as we know from butter and ghee, is solid at room temperature and even more so at lower temperatures) holds on tight to the bubbles of air and to its adjoining fat-coated bubbles, thus forming a sponge-like network about double the volume of the original liquid cream.
What about temperature?
I should underline here the importance of temperature for the formation and stability of a solid cream foam, not least because it also applies to the vegan version of whipped cream I eventually landed on (detailed below). I’ll let Harold McGee take it from here, as he clearly sums up “The Importance of Cold” in On Food and Cooking:
Because even mild warmth softens the butterfat [or, I extrapolate, other fat] skeleton of a cream foam, and liquid fat will collapse the air bubbles, it’s essential to keep cream cold while it’s whipped. It should start out at the low end of 40-50℉/5-10℃…Ideally, the cream is “aged” in the refrigerator for 12 hours or more before whipping. Prolonged chilling causes some of the butterfat to form crystalline needles that hasten the membrane stripping [required for formation of fat-globule walls around air pockets] and immobilize the small portion of fat that’s liquid even in cold cream… [Warmer cream] leaks bubble-deflating liquid fat from the beginning of whipping, never rises very high, and more easily becomes granular and watery.
With a dash of vanilla extract and a pinch of sugar (rendering it what the French call crème Chantilly), whipped cream is a most versatile garnish for desserts. And its structure’s stability can be extended with the addition of some gelatin or milk powder (Also, the higher the fat content of the original cream, the longer it will retain its foam structure). It’s no wonder that this fatty-but-light fluff caught on with upper-class Europeans in the 16th century, when it was unsweetened, and gained more fancy fans in the 17th and 18th centuries, when more tinkering—including the addition of sugar--was done.
Airy non-dairy: What to whip?
Back when I was researching vegan whipped cream options for my book, I didn’t find too many. The proverbial holy grail was a plant-based silky-smooth fatty liquid emulsion–white in color, with a fairly neutral but delicious flavour–that could, of course, be whipped to perfect soft or stiff peaks. My more recent scouring of cookbooks and the internet turned up only the following, for which I’ll share details and my critique below:
Coconut cream. This is the fatty portion of canned coconut milk that solidifies when the can is chilled. It can also be found as its own canned product, though less easily. I’d say it is the go-to vegan whipped cream base, and I do like it, but it has major drawbacks: its coconut flavour is unavoidable, it never gets quite as light as I’d like it to, and you can never completely count on it to successfully whip into shape. To that last point, while I do think that they have become more standardised and reliable, coconut milks and creams vary in their fat-water ratio and thickeners/stabilisers content, which makes their behavior somewhat unpredictable–certainly less predictable than that of dairy cream.
Aquafaba. Just no. The delight of whipped cream is in its paradoxical aerated unctuousness. Aquafaba, the term coined around 2009 for the water in which chickpeas or other beans have cooked, is undeniably useful for making vegan meringues; the proteins, starches, and vegetable gums left behind by the boiling beans make a fine foam capable of mingling with sugar, but it has nothing like the silky mouthfeel of whipped cream’s milk fat.
Soy milk & coconut oil. I came across this concoction at the School Night Vegan site. It intrigued me, as it looked nothing short of perfect and seemed, with just two imperative ingredients, simple to make. It was the closest existing thing I found to the recipe of my own I’d been tinkering with, similarly balancing flavourless solid-at-room-temperature fat with water, some protein, and some type of binding agent (the latter two from the soy milk). As you’ll see below, I I was curious about whether this recipe would work any differently with other plant-based milks, namely almond and oat.
Learning from the store-bought vegan options. Assuming that billion-dollar brands have plenty of time and money for research and development, I like to look at the ingredients they end up using in their successful products. The industrial vegan whipping creams I looked at contained all or some of the following ingredients: water, coconut oil, sunflower or canola oil, fava or lentil protein, binding gum (acacia, locust bean, guar, or xanthan), sunflower lecithin, a little sugar, cornstarch, coloring and flavouring.
Trusting my past self. Strange as it is to admit, another source I consulted was my own book. I knew that I’d put tons of time into developing my plant-based milk and vegan butter and that in the end I’d landed on products that taste delicious, include only fairly wholesome ingredients, and work well in all kinds of recipes as substitutes for their dairy counterparts. The plant-based milk gets its creaminess from cashews and coconut cream, while the vegan butter gets its body from a mix of oils including cacao butter, coconut oil, fluid vegetable oil, and pea protein. I figured that somewhere in between these two combinations, there should be something that works as a whippable cream.
Tests and Results
Given the above options, I decided that I needed to test new recipes based on my own vegan butter and milk formulas, as well as School Night Vegan’s recipe and variations on it. As usual, my approach began with looking at the makeup dairy cream: majority water (around 57%), a hefty amount of fat (around 36%), naturally emulsified with a bit of protein and sugar (lactose). And even organic producers (at least in the U.S.) add a dash of something like gellan gum to stabilize, emulsify, and thicken their cream.
My goal was to take cues from this natural concoction and replicate it as closely as possible, pulling from various ingredients to deliver the above elements–water, fat, protein, sugar, and stabilizer–with the hypothesis that doing so would produce a substance that would perform (namely, whip) like the bovine-sourced inspiration. As if that challenger weren’t enough, there was flavour–equally important–to consider.
Observations and results follow.
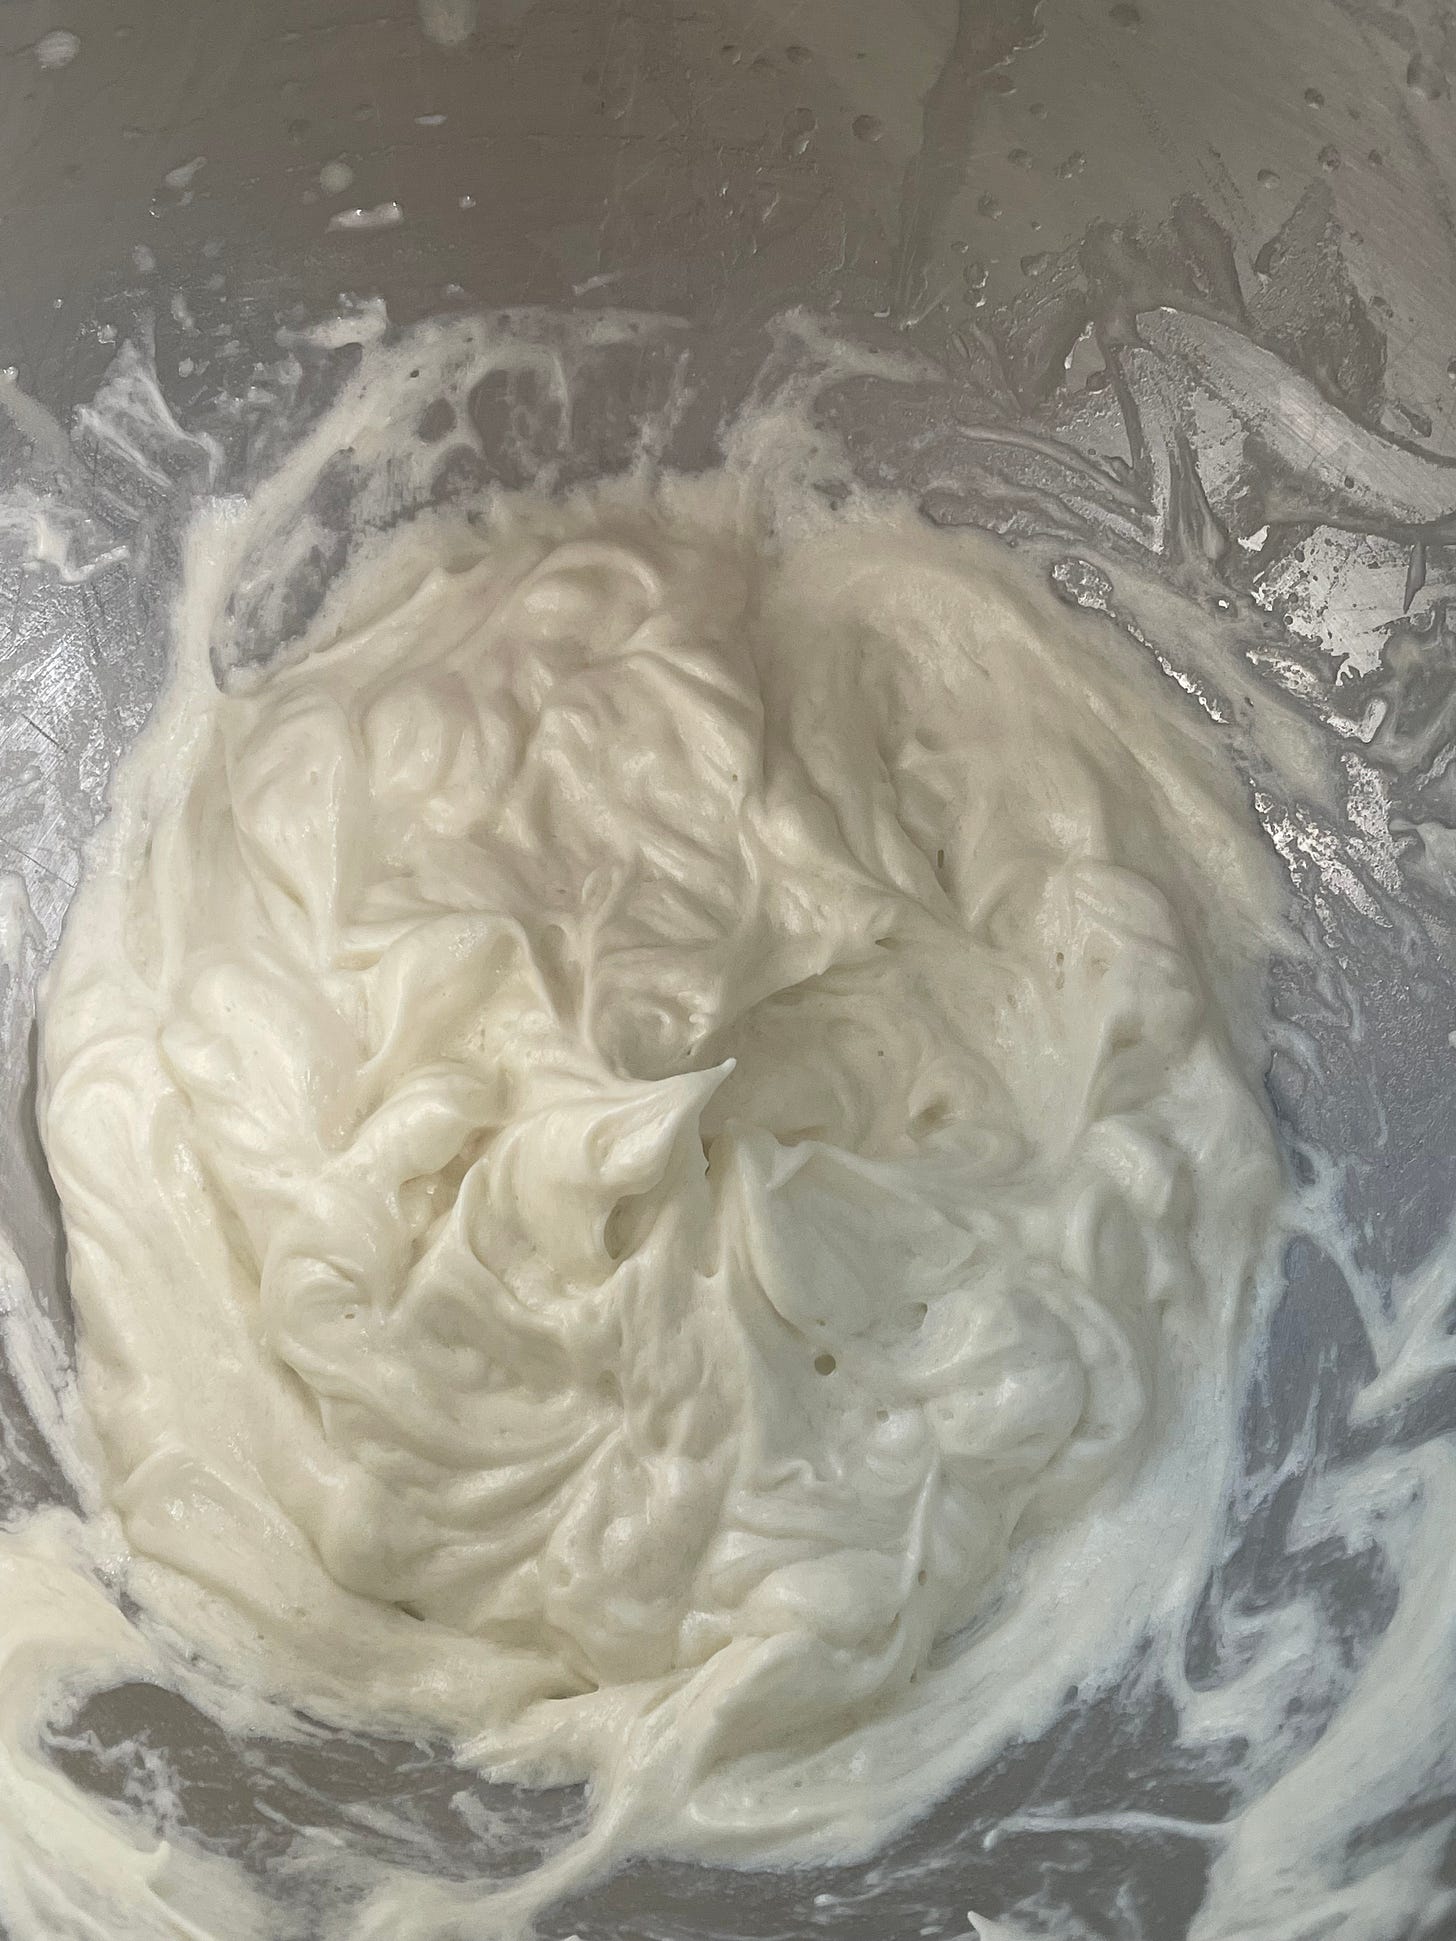
TEST 1: NO WAY. This blended mixture of coconut oil, grapeseed oil, pea protein, and boiled water had a promisingly creamy consistency at first, but as it chilled, it separated into two discrete strata. It whipped into something more like a fluffy mayonnaise that a cream, and eventually it broke into a curdy mess.
TEST 2: YUCK. I added some guar gum to the TEST 1 mixture, and while this addition kept the cream from breaking as it whipped, it still ended up very mayonnaise-like. Plus, it had a gritty texture from the pea protein. Not good.
TESTS 3 & 4: GETTING CLOSER. Next, I tried a mixture of cashews, coconut cream, water, coconut oil, grapeseed oil, and a little sugar. I tried a variation with only coconut oil (no grapeseed), which whipped up a bit lighter. These tests worked fairly well, but avoiding coconut cream (and thus coconut flavour) would be ideal.
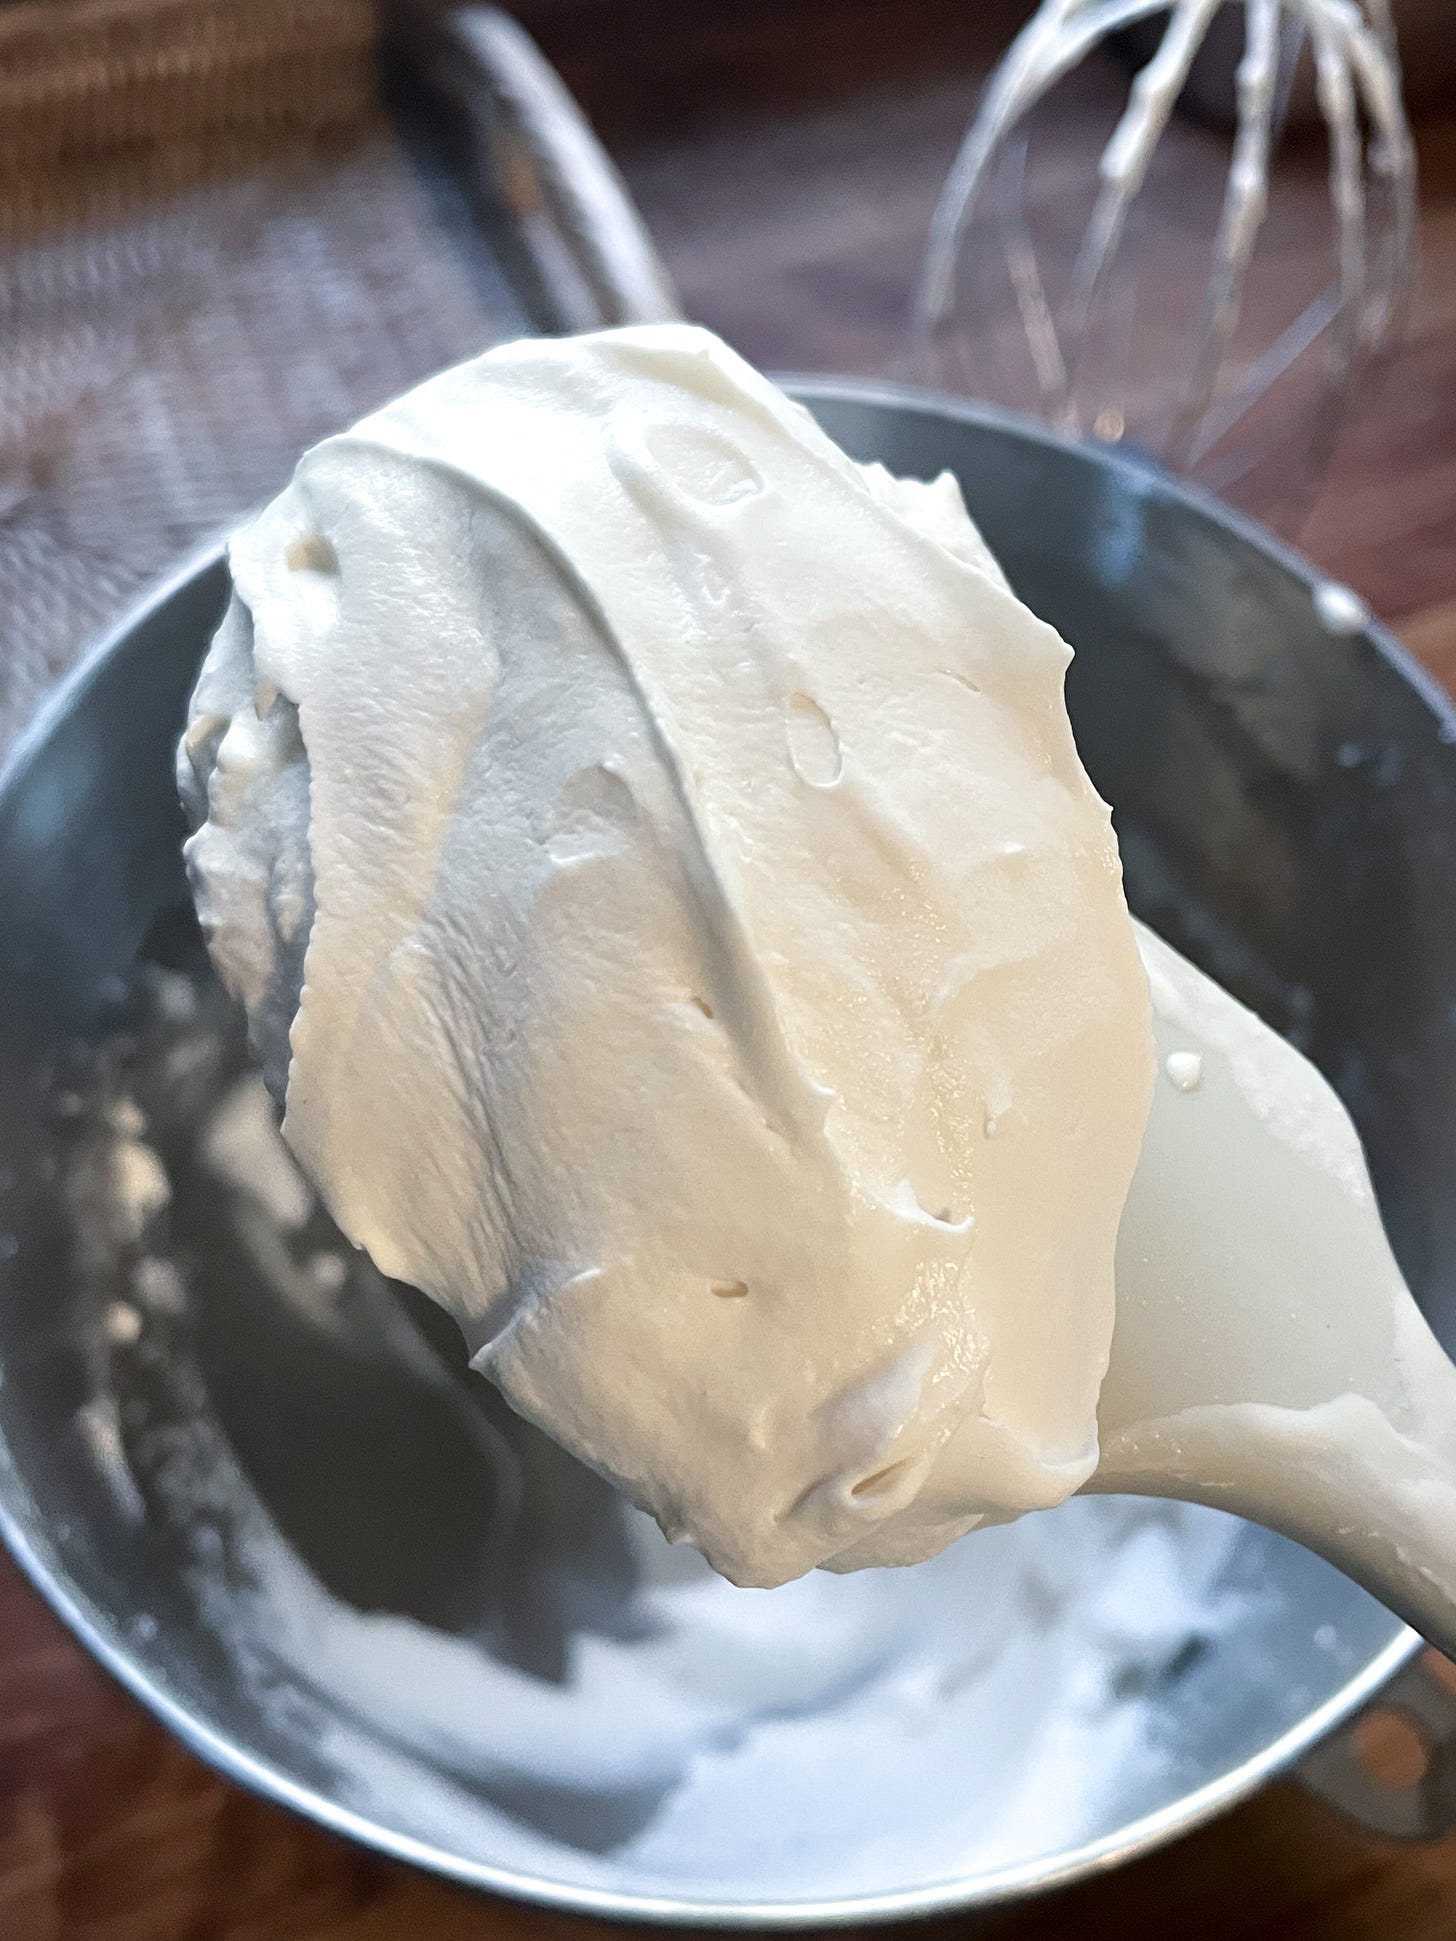
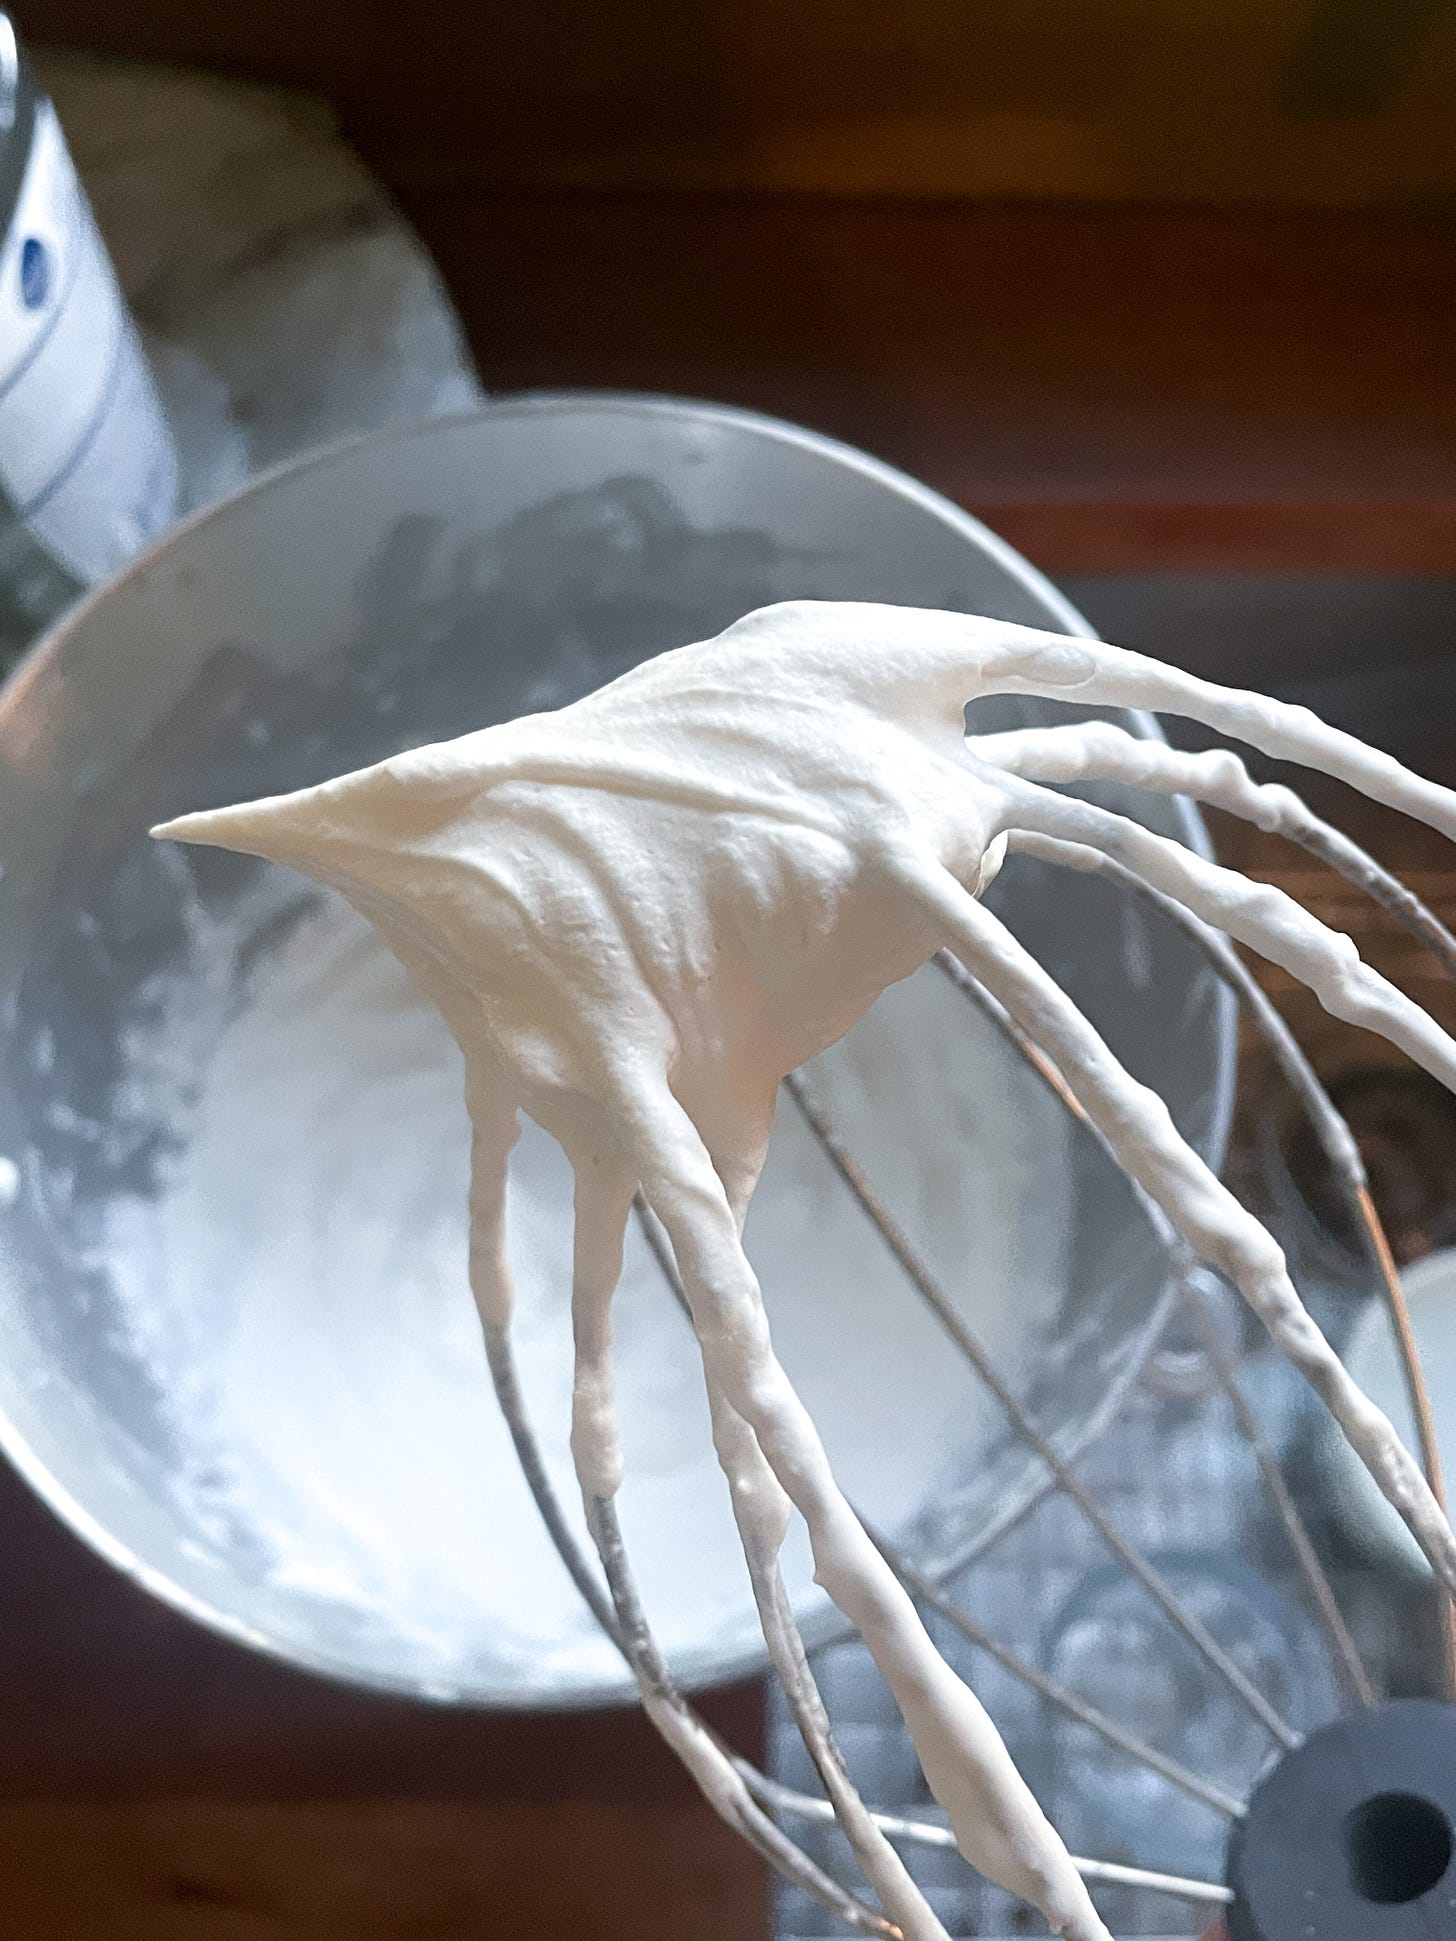
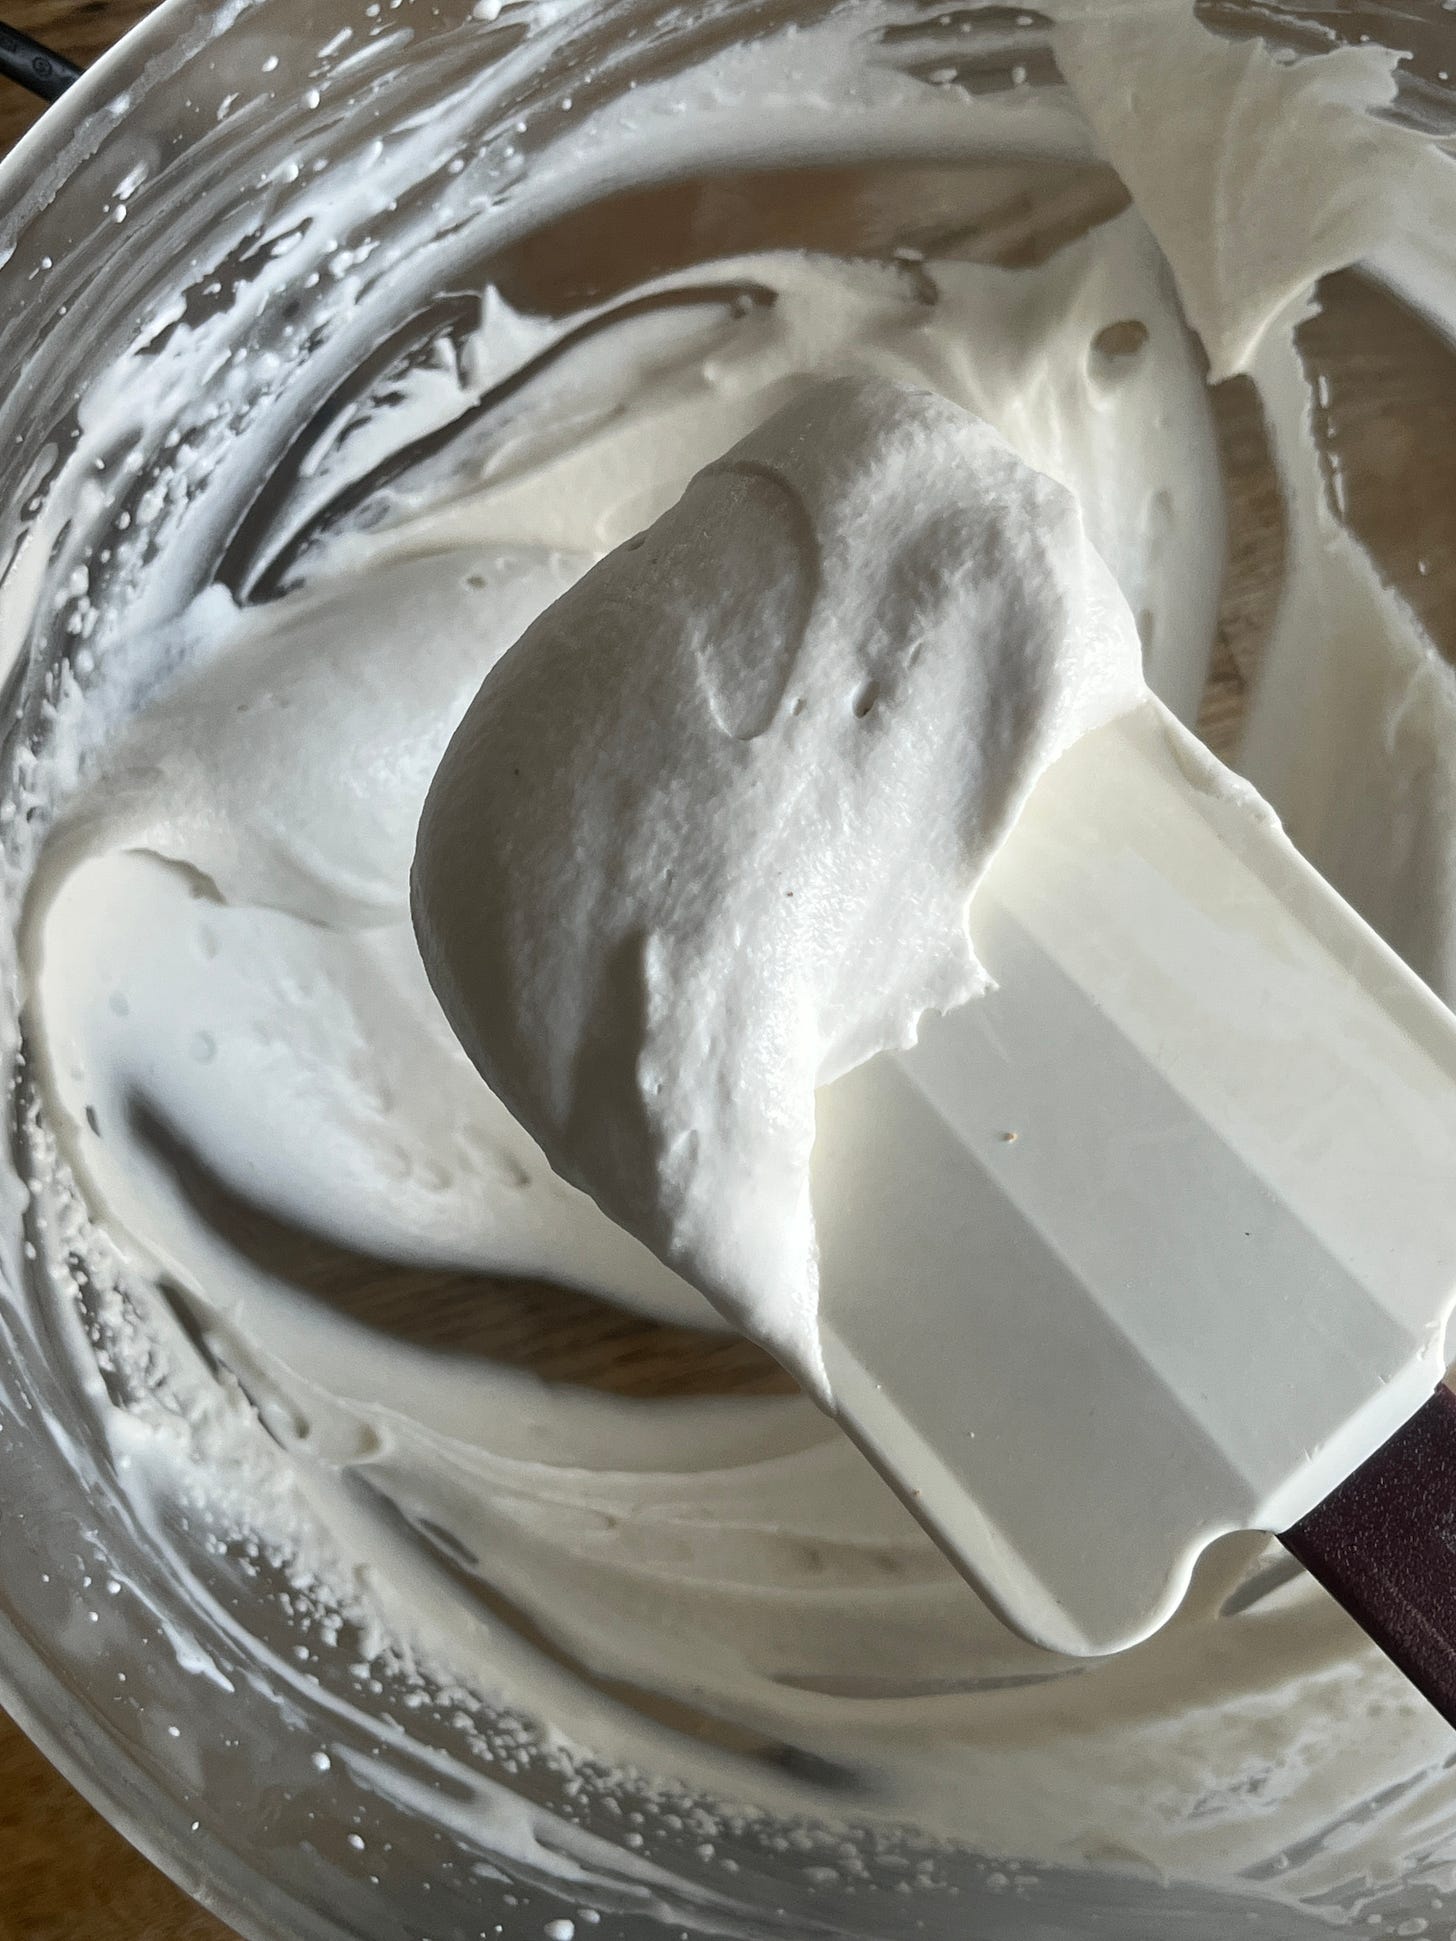
TESTS 5, 6, & 7: BINGO. A combination of cashews, coconut oil and grapeseed oil, water, and a dash of sugar yielded impressive results. Replacing the grapeseed oil with more coconut oil made it even better. I found that soaking the cashews before blending made no noticeable difference. For the final test in this group, I added just a pinch of guar gum and used my stand mixer (the previous tests had been whipped by hand). The result was creamy, stiff-peaked perfection. This is the recipe you’ll find below.
TESTS 8-12: VARIED RESULTS. For these five tests, I followed School Night Vegan’s lead, making his soy milk plus coconut oil recipe as well as variations on it. Let me say that the soy milk I used contained no gums or sugar, which may have affected the outcome.
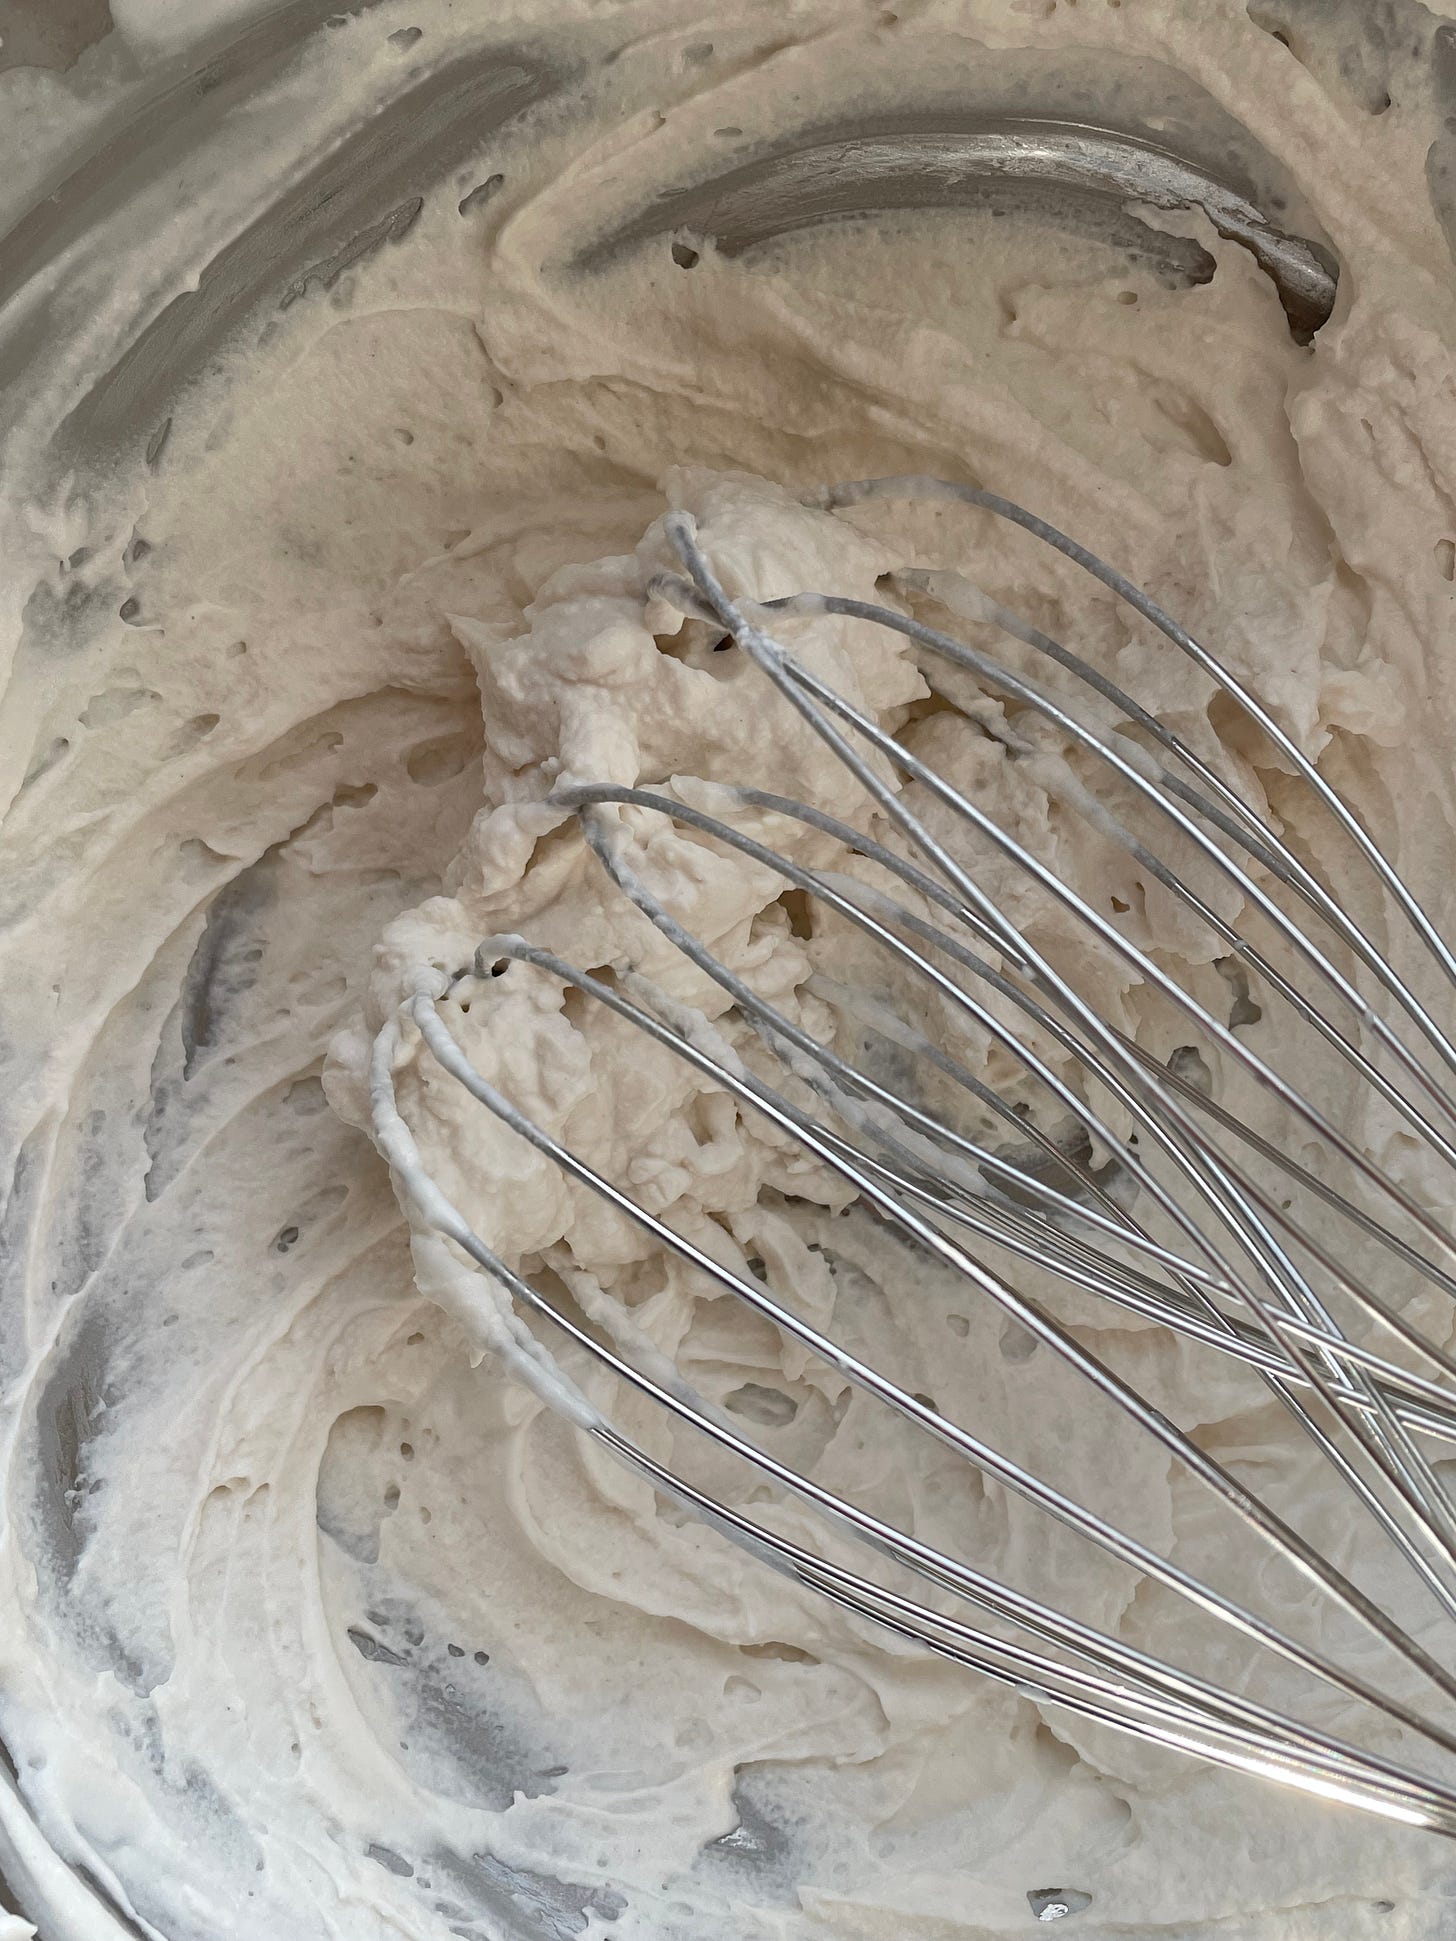
First, I made the recipe as written; I heated the soy milk and refined coconut oil to the same temperature, combined them in a high-powered blender for one minute, chilled the mixture overnight. I whipped the creamy mixture for six and a half minutes on the high end of my stand mixer’s power before giving up. It had aerated somewhat but was nowhere near even soft peaks. Next, I tried a similar mixture with one difference: I’d used unrefined (aka raw, virgin), rather than refined (aka deodorised or purified) coconut oil. After seven and a half minutes, it was even thinner than the previous test.
Next, I whipped up the original recipe to which I’d applied no heat; I’d simply blended the room temperature ingredients together before chilling. After under four minutes, this mixture had indeed whipped up perfectly. The flavour was good and would undoubtedly be better with the vanilla and sugar called for in the recipe.
I tried two more variations: one using almond milk in lieu of soy (it didn’t reach soft peaks after seven minutes of whipping) and one using oat milk (I couldn’t even get to the point of whipping because it had completely solidified in its chilling jar). My observations here are not meant in any way as a critique of School Night Vegan’s recipe; one of my tests of his recipe did in fact yield a very impressive result, and I understand both as a human and a recipe developer that it’s impossible to test every kind of soy milk on the planet, with all of their potential various emulsifiers, thickeners, sweeteners, and flavourings.
The idea behind WNV’s recipe is ultimately very similar to the one I came up with, with one key difference: you have more control over the ingredients in my recipe (you are essentially making your own nut milk in the process) and therefore the results are (hopefully) more reliable.
Conclusion
I went into this piece thinking that I’d inevitably end it by conceding that whipped coconut cream, imperfect as it is, is the best, most practical solution out there. I’m so glad to report that that isn’t my conclusion and that there is a really exciting, dare I say game-changing, homemade whipped cream option for plant-based diets.
The recipe that follows achieves the goal of mimicking the structural makeup of dairy cream–with water as the majority ingredient, coconut oil providing the bulk of the 35% fat, cashews offering a triple whammy of supplemental fat, protein (3%), and sugar, which is supplemented with cane crystals to lift the sugar content to 3%. The flavour is lovely and understated, and once whipped, this cream happily maintains its structure (no weeping) longer than whipped dairy cream.
I encourage you to taste the cream without the optional additions of vanilla and sugar. In most cases, the vanilla will be a welcome enhancement, but if the dessert you’re accompanying is very sweet, a barely-sweet whipped cream offers a welcome balance.
Recipe: Whipped (Not) Cream
Makes about 450ml (2 cups) of vegan / plant-based whipping cream. Enough to top a pie or 10-12 generous servings with your chosen dessert
Plan ahead: while this recipe requires very little active time, the plant-based “cream” (like dairy cream) whips best and most quickly after having been chilled (or “aged”) for at least 12 hours.
Ingredients:
Base recipe:
125g Refined (US) aka deodorised (UK) coconut oil, room temperature
65g Raw cashews, room temperature
8g (2 tsp) Caster sugar
1/8th tsp Guar gum
245g Water, room temperature (see notes)
Optional additions:
Vanilla extract 5 g (1 tsp)
Additional raw sugar 25 g (2 Tbsp)
Method
Add the coconut oil, cashews, sugar, guar gum, and water to your high-powered blender.
Begin blending, gradually raising to the blender’s maximum speed. Blend for a total of three minutes.
Strain the cream through a fine-meshed sieve (there shouldn’t be much to strain out, but it’s good to take this extra precaution) into a jar or other airtight container and chill in the refrigerator until completely cold (around 40°F/4.5°C)—for at least a few, ideally at least 12. You can keep the chilled unwhipped cream refrigerated for up to three days.
Before you whip, chill your stand mixer bowl (or a large metal bowl, if you’re hand-whisking) and whisk (attachment) in the freezer or refrigerator for 15-30 minutes. When you’re ready to whip it, give the mixture a shake and scrape every last drop of it into your chilled bowl. If using, add the vanilla extract.
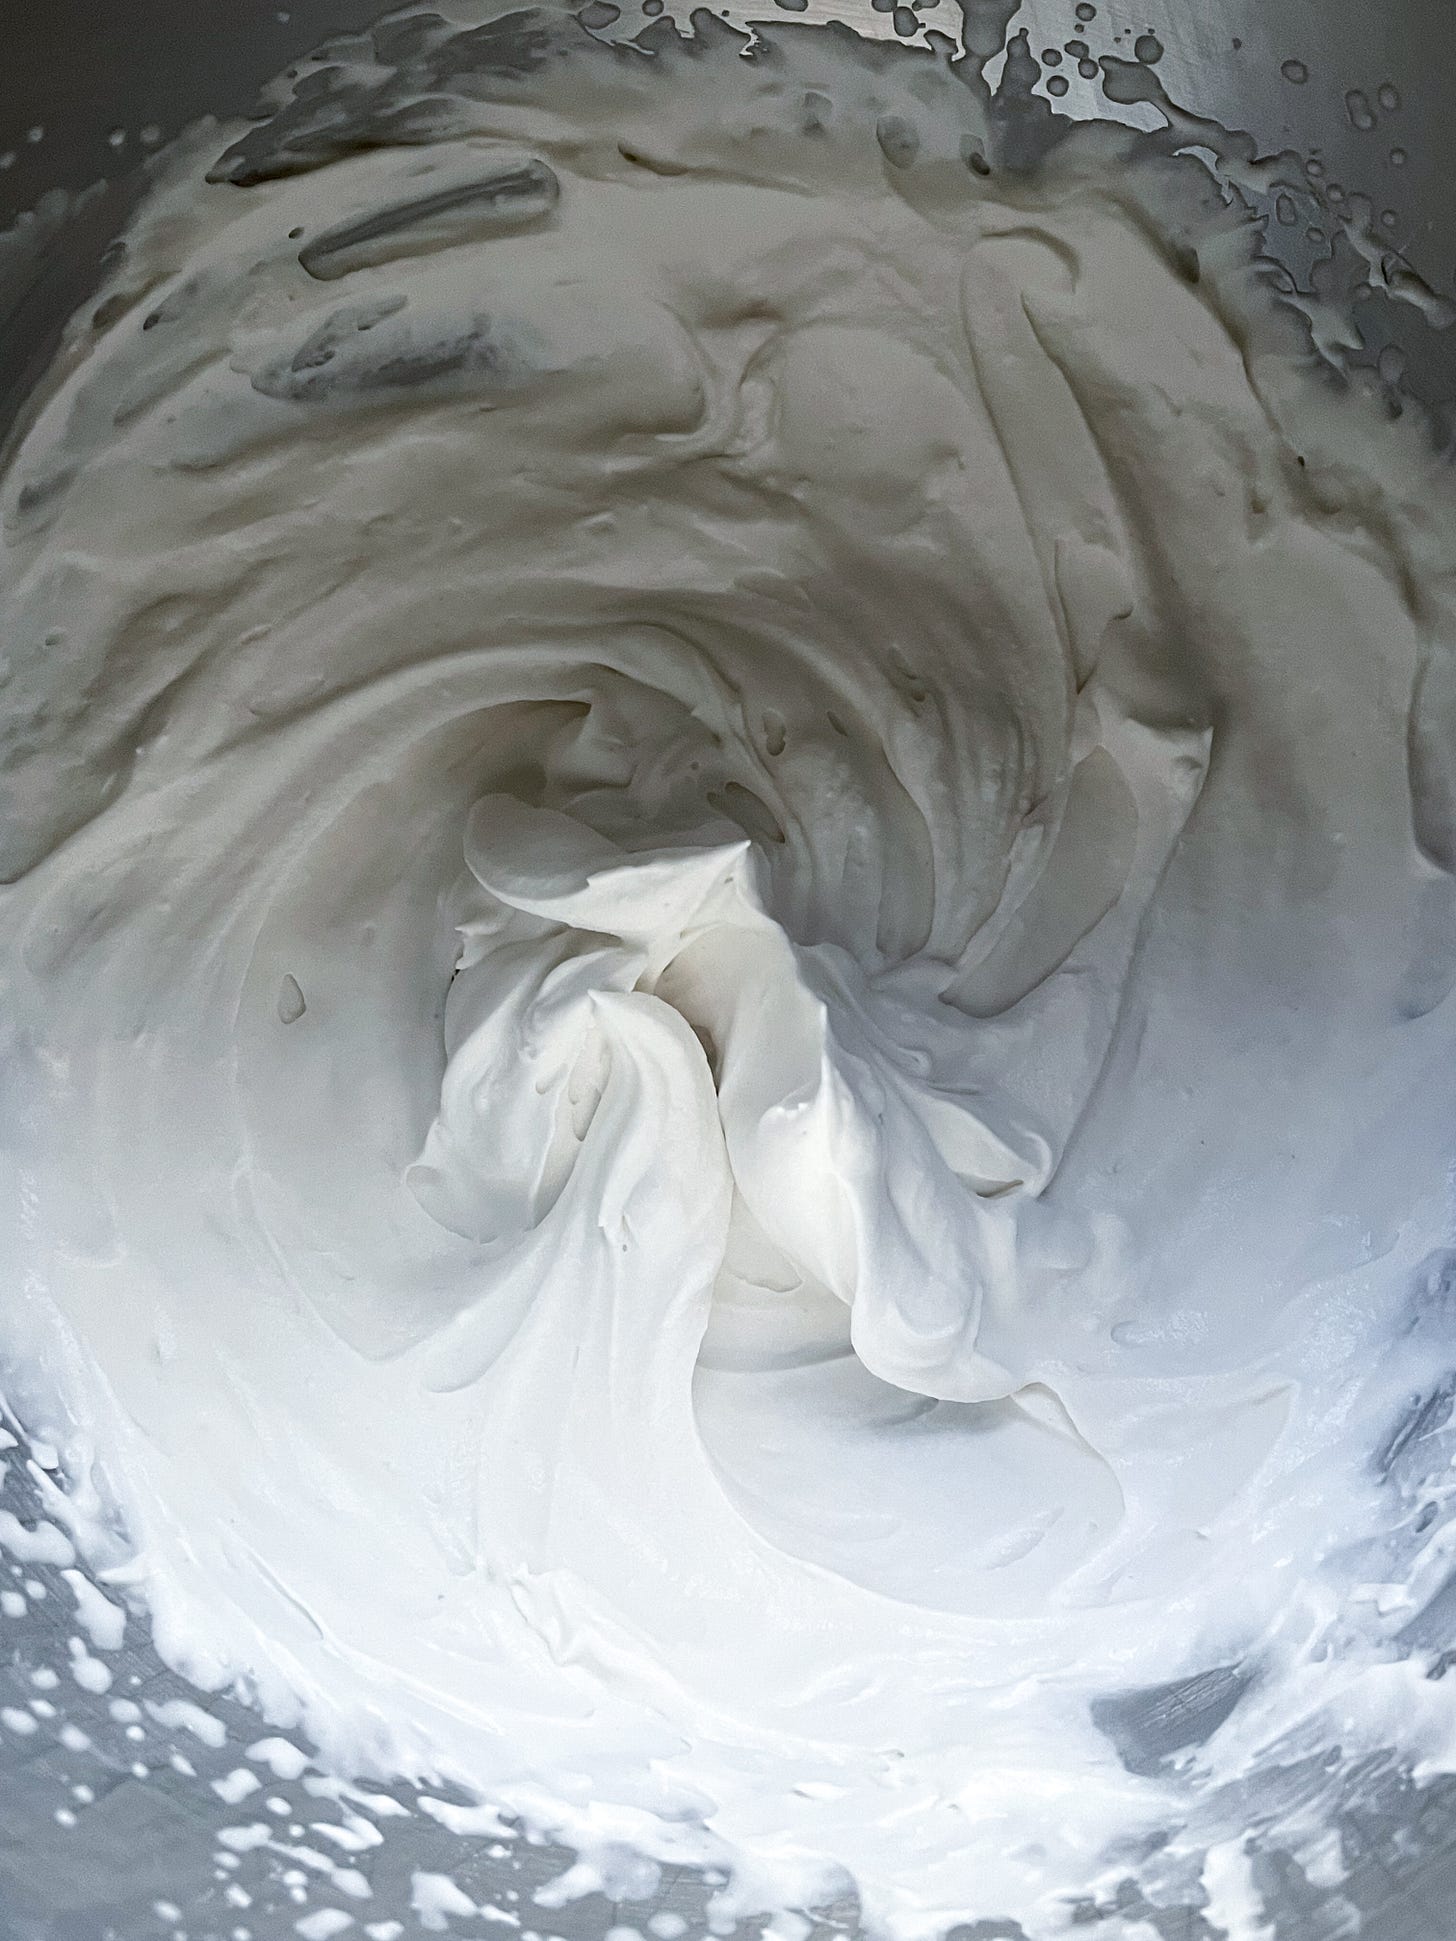
Whisk the cream on medium-high speed. Once it begins to thicken, sprinkle in the additional sugar, if you’re including it. Beat just until firm peaks (or soft, if you prefer) form. This should take about two minutes. If you’re whisking by hand, it may take a bit longer, but hang in there! If you have any trouble whipping the cream up–if it appears lumpy and liquidy–it is likely just a matter of temperature. Chill it in the fridge for 15 minutes and try again.
Use the whipped cream immediately, or keep it chilled in an airtight container until you’re ready to serve it, up to two days later.
Notes:
Refined coconut oil (U.S.) aka deodorised coconut oil (U.K.) or purified coconut oil has no coconut flavour. If you want to taste coconut flavour in your whipped cream and/or prefer less processed ingredients, use unrefined, aka virgin or raw, coconut oil.
Soaking cashews: If you question the might of your blender (aka if it is not a Vitamix or similarly high-powered make), cover your cashews with the 245 g (1 cup) of room temperature water called for in the recipe and soak them for 1 to 4 hours to soften them. Add the softened cashews and all of their liquid to the recipe and proceed as directed.
Water (but really, fat): Though I’ve suggested 245g, you could reduce the amount of water depending on your desired texture. Adjusting the water allows you to decide the richness of the dairy cream to mimic; the lower end of the range (125g) will produce a British-double-cream-like base (48% fat), while the the top of the range will yield an American-heavy-cream-style base. Be aware that as you adjust the water, the yield will change.
Brian Levy is U.S. based chef, food-writer and author of ‘Good & Sweet’. He writes the ‘Baking Remix’ column here on Kitchen Projects, where he dives down the rabbit hole, guided by his curious spirit and expertise, to provide insights into ingredient swaps, the science behind successful gluten-free baking, and the versatility of vegan alternatives. Whether you're seeking to accommodate dietary restrictions or simply looking to expand your baking horizons, Brian's column will empower you to think outside the box. Get regular updates from Brian Levy on Instagram https://www.instagram.com/bybrianlevy/
P.S. Fancy using this whipped cream to top a chocolate praline pie that’s also vegan friendly? Check out the recipe on KP+ now. A non-vegan version also included!



Oh, great! Thank you for letting us know!
Let us know if you do! I think it should do the trick.