Hello,
Welcome to today’s edition of Kitchen Projects. It’s so lovely to have you here.
I’m just dropping in for a super simple recipe this week, a fluffy ricotta dream cake with sharp lemon syrup and pine nuts, plus a few tips on how to get to know your oven.
Over on KP+, I’ve made the most of moving house and I’ve created a guide to all my must-have pastry equipment! I’ve shared all the details on my personal pastry toolkit, all the things I love using every day and will answer any questions you’ve got about equipment. If you’re enjoying this newsletter, I hope you’ll subscribe to KP+. It costs just £5 and you get access to lots of extra content, inc the full archive all while supporting the writing (yay! thank you!), so please click here to check it out:
Love,
Nicola
A cake for every occasion
This week I had the pleasure of moving house. AGAIN. This means we are currently living out of boxes and trying to figure out how the boiler works. Although learning the quirks of a new house, finding a new favourite shop for ingredients and not being able to find any socks is somewhat charming, it’s also really disorienting.
One thing I also realised this week was that recipe testing in a new oven is a serious challenge. I had grand designs on a recipe for this week but my oven? I don’t really trust it yet. I was putting together recipes and things just weren’t… turning out. Like at all. And I had to wonder - was it a defective oven? A defective recipe? OR a defective me? So, as a result, I decided to take things back to basics as my oven and I get to know each other better.
You know how in the movie Waitress, Jenna names all her pies for events in her life? Well this cake is the moving house cake. This is a cake that is going to support you when all feels bleak in the midst of a house move. You can throw it together without setting your kitchen up properly, and even if you don’t trust your oven, it’ll probably work out.
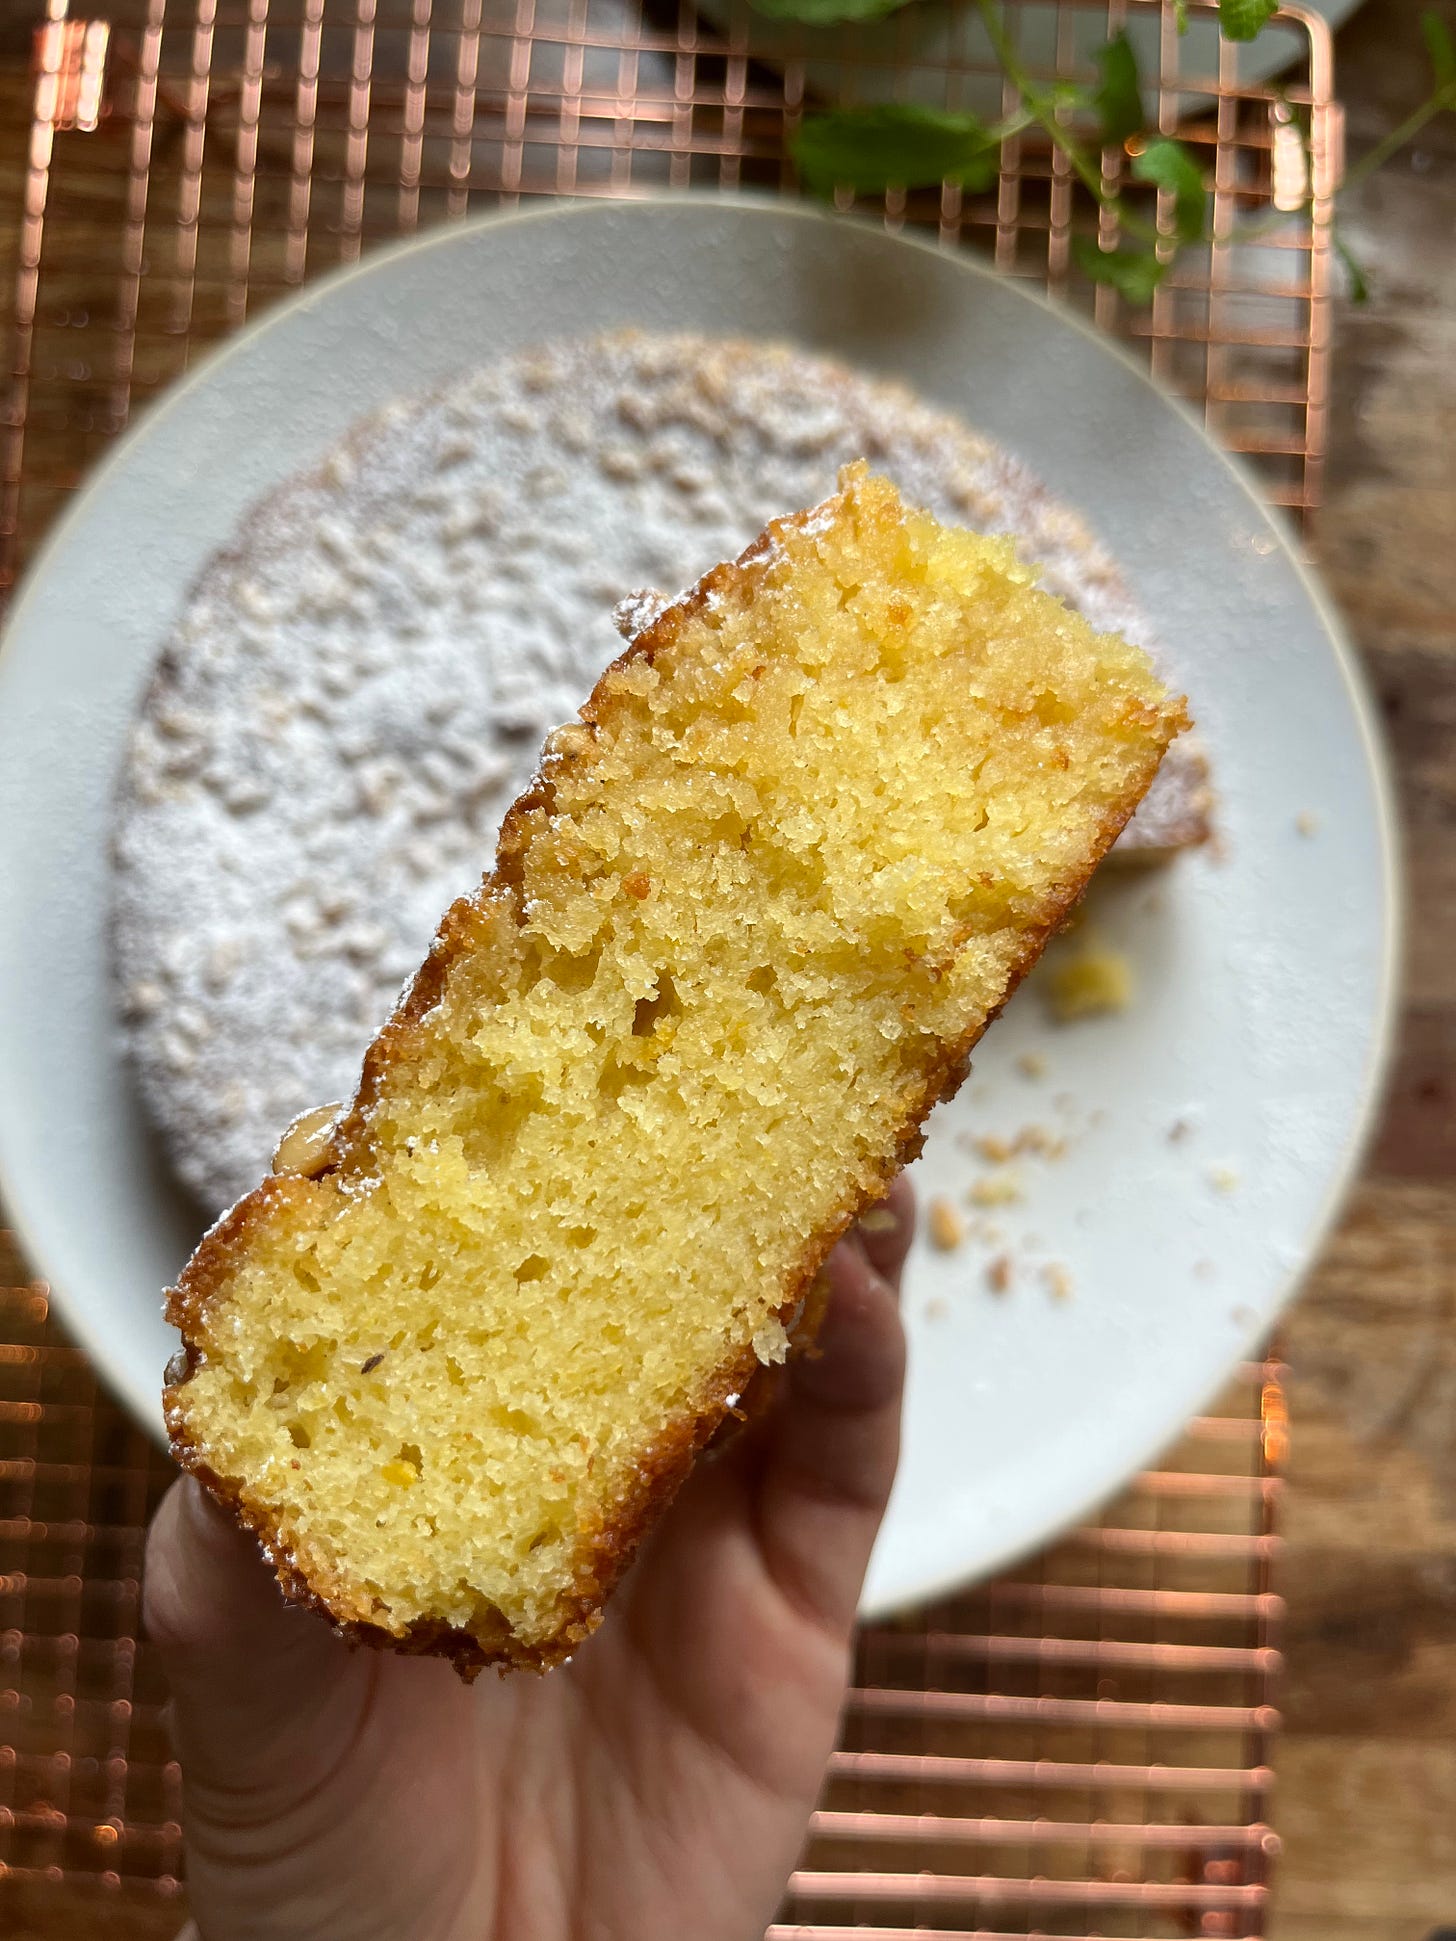
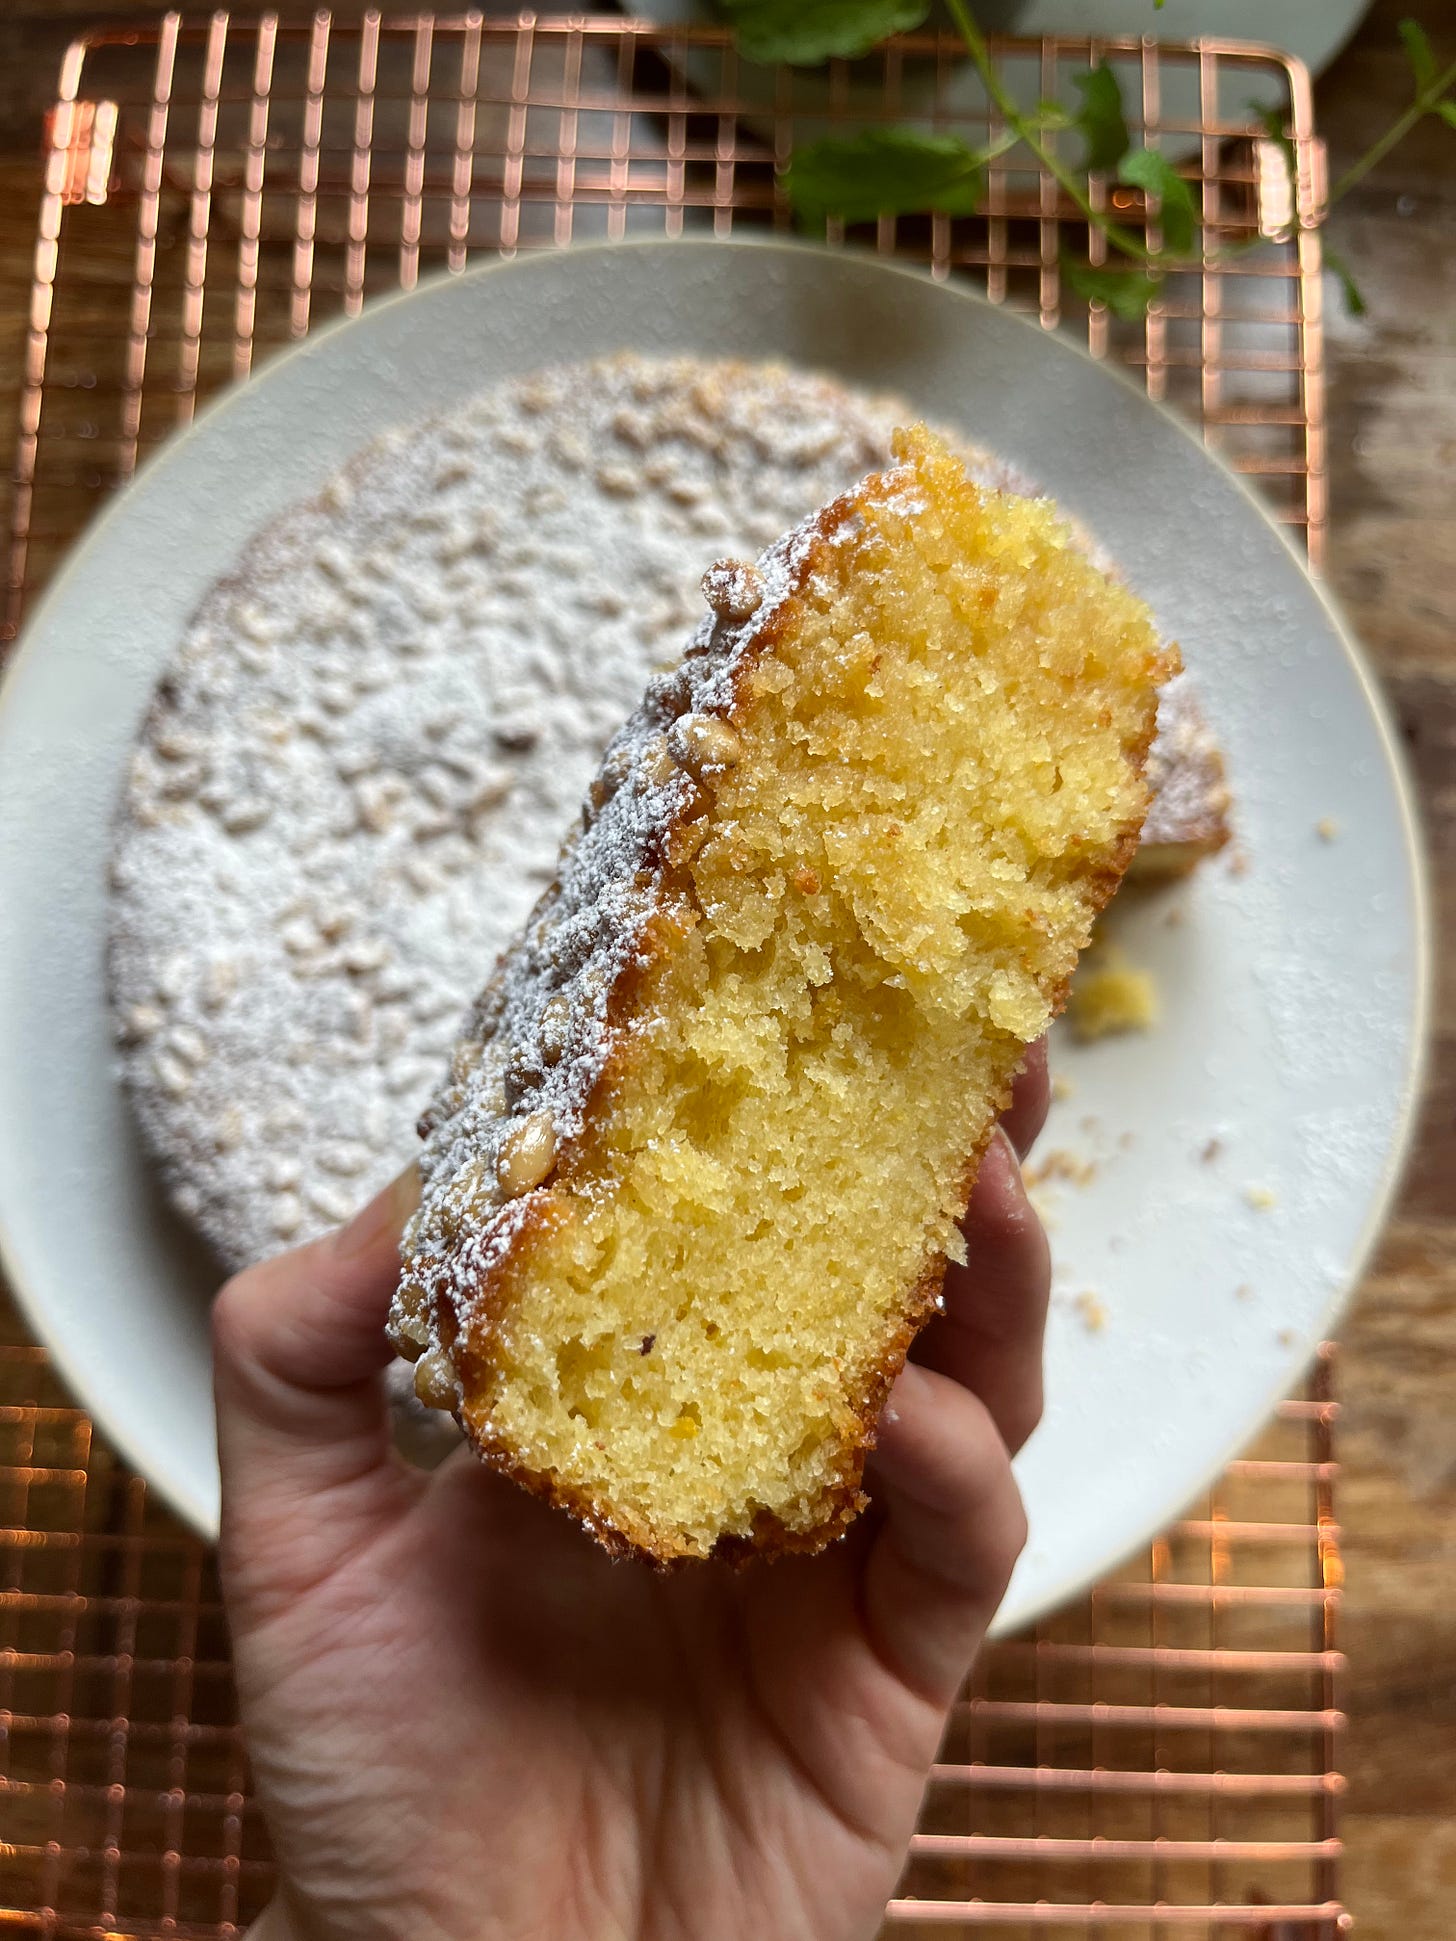
This cake is super simple, with a lovely soft buttery sponge cake with a rubbly texture, softened and enriched with ricotta (though you could use yoghurt, or some other thick dairy). It’s basically the perfect cake to eat a slice of when you are trying to hold onto your sanity whilst unpacking boxes. It’s fluffy, you don’t need to think too hard about it when you’re making it and it’s the perfect cake to offer to guests when they come over to admire your new home. It’s so lovely that they may not even notice the piles of boxes.
Getting to know you
Since we are still renting, every time I move we inherit an oven and getting to know it is a whole drama. Although time heals all wounds (read: time heals all relationships between you and your oven), there are a few ways you can help the process.
Here’s my checklist:
Firstly, see if it's clean. Like, actually clean. If not, you know what to do
If it looks alright, turn it on HOT. Around 200c (fan) should do it - you’ll soon find out if there’s any burnt bits you haven’t spotted. I was personally welcomed to my new oven with a poof of black smoke. Definitely needed a proper clean
Once you’re happy with the cleanliness, get yourself an oven thermometer. This is the one I have. Most non digital ovens will have a dial so set it to whatever is clearest on your dial. Next draw a little diagram of your oven, like this:
Place your thermometer in various places in the oven, leaving 5-10 minutes for the oven to properly get to temperature and create yourself a map! Now you know where the hot spots are and where to avoid and how to adapt if necessary
When I recipe tested in an Air BnB, the whole oven ran 20c lower than it was supposed to - I’m so glad I checked before I got too disappointed!
Over on KP+, I’ve shared all the details on my personal pastry toolkit. These are all my favourite pieces of equipment that I’ve built over a number of years, so click here to read it. Oh, and I’ll also be answering any questions you’ve got about equipment there, too.
Cake time, all the time
In the US ‘Snacking Cakes’ is a common term. Although there’s no absolute definition, you can guess what it means - it’s a cake that is (or should be) pretty easy to throw together and can sit on the counter, ready for you to take a slice on a whim. And let’s be honest, is there anything better than cake, especially one that can be snacked on throughout the day?
Harold McGee describes cake as “a web of flour, eggs, sugar and butter that readily disintegrates in the mouth and fills it with easeful flavour” - cake is such a wonderful representation of four pillars of baking intertwining perfectly.
To test my new oven out, I knew I needed to keep things simple. So, I started with a base that everyone knows - the victoria sponge / pound cake. Pound cake gets its name from its quantity measurements ie. one pound of eggs, butter, sugar, flour. Most modern recipes also include baking powder as an ingredient to add a lightness to the batter - Mary Berry uses baking powder AND self rising flour, which I think is wonderful (we’ll be doing the same today). Pound cake is extremely useful because you can easily scale this up and down. If I’m making a butter-based cake, this is always the starting point.
For the perfect moving-in cake, I wanted to soup it up a little bit to get a fluffier and more rubbly texture that is ultra tender, plus lasts for a bit longer (for all the aforementioned snacking), so I added a portion of ground almonds for texture and ricotta for moisture, as well as some lemon zest for good measure. Although this cake is, in its essence, still extremely simple, these additions do make it feel a bit more luxurious.
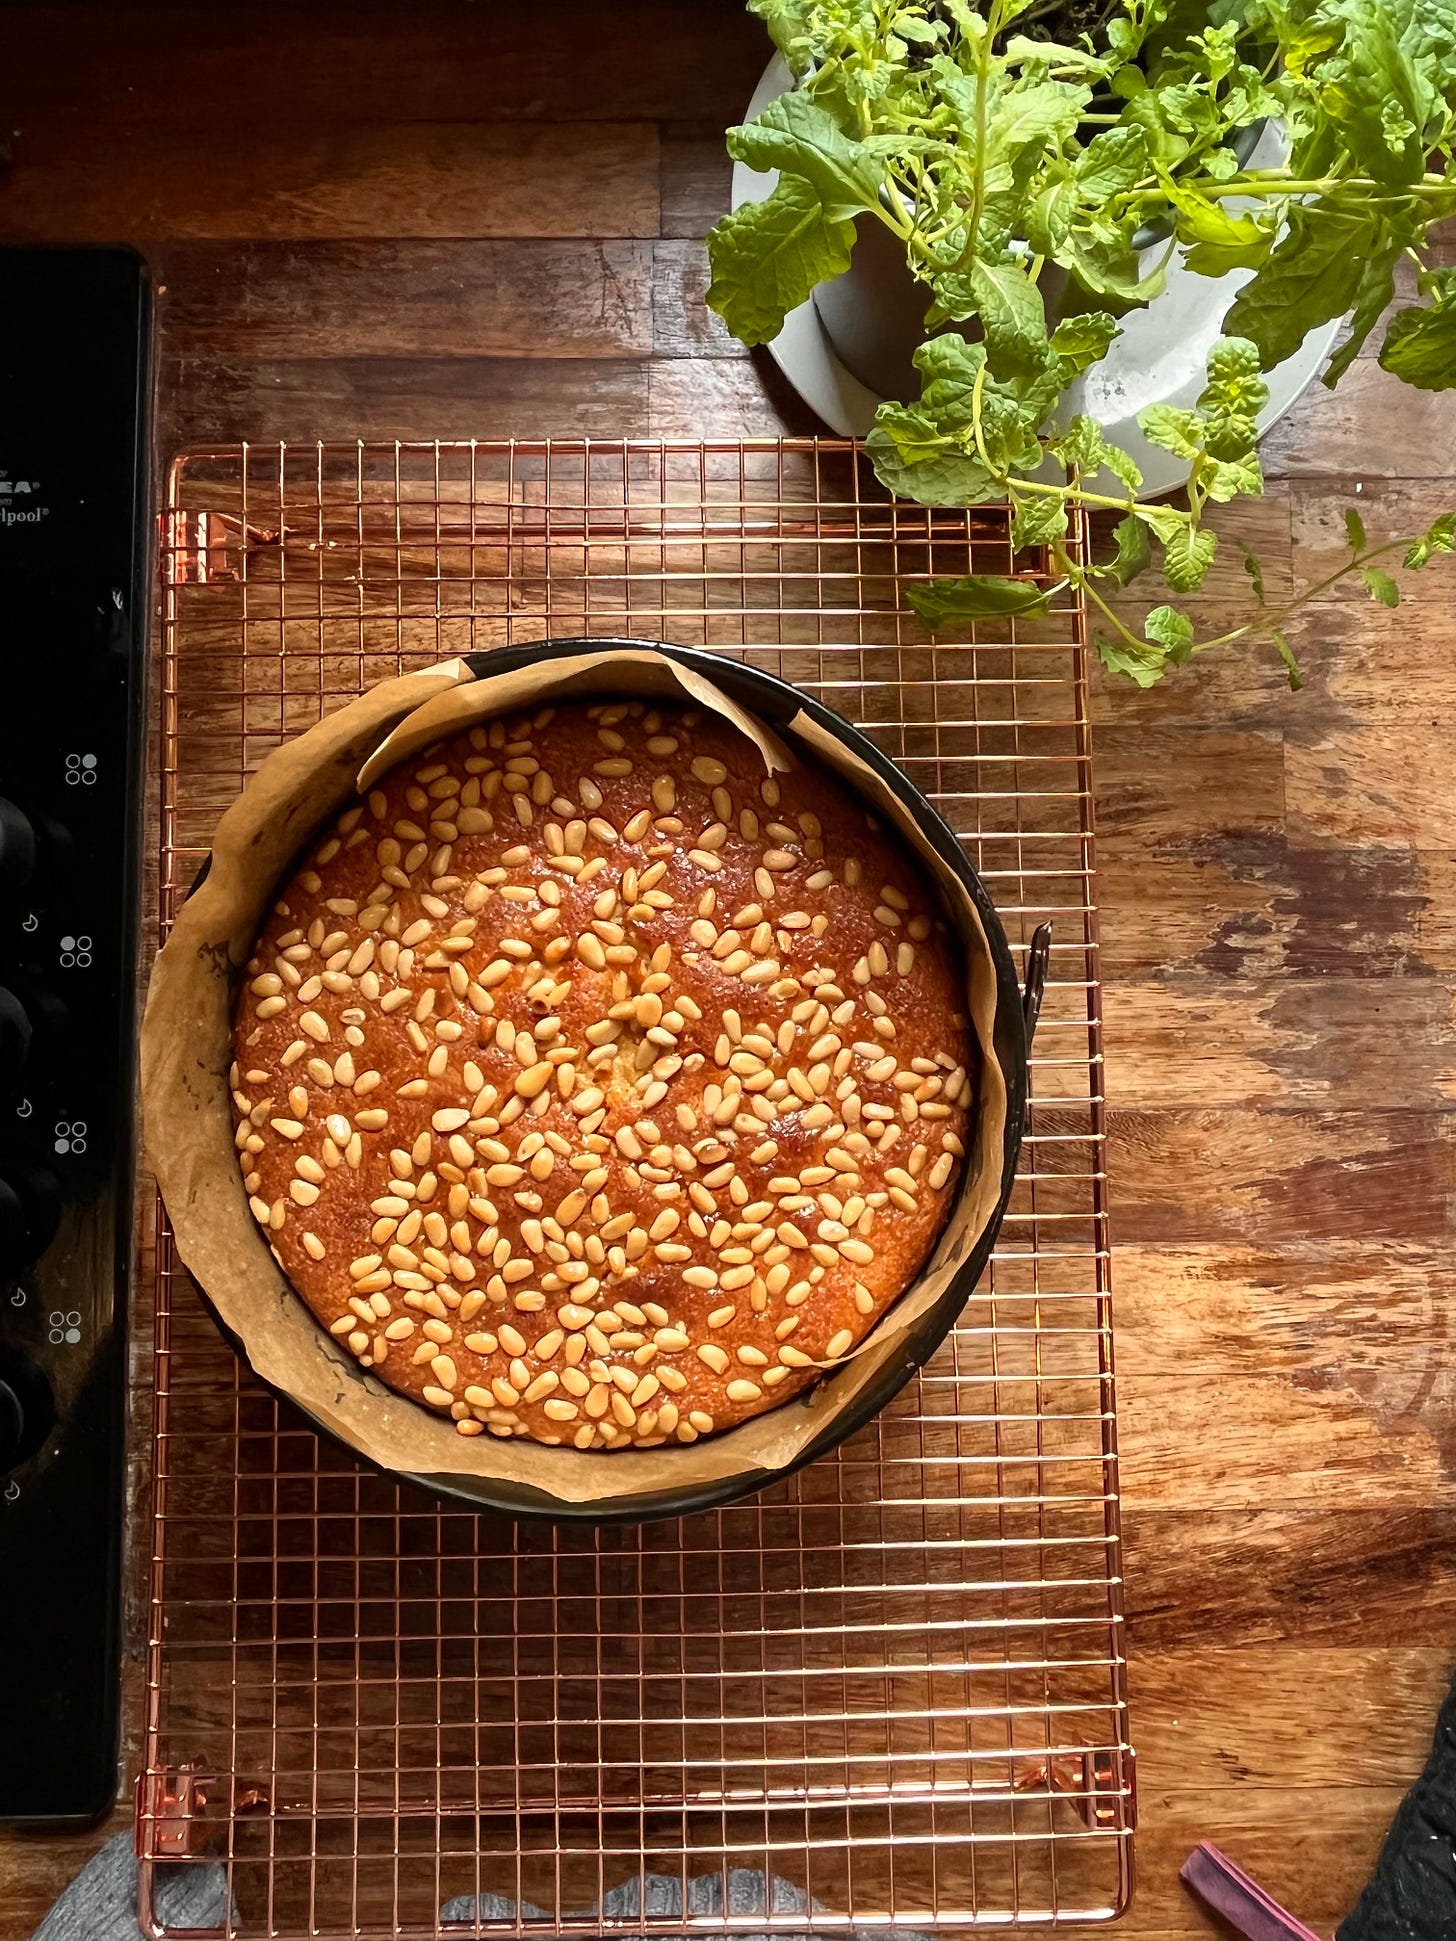
To really make it feel fancy, I’ve scattered pine nuts on top for the bake which creates a delicious nutty crust. A brush of lemon syrup puts it over the edge into divine territory, I think.
Classic cake techniques
Today’s newsletter also gives me the perfect opportunity to quickly run through some classic cake techniques, namely Creaming. From wearing my arms out as a seven year old beating butter with a wooden spoon with my nanny Carole, to letting the KitchenAid do all the work, recipes that begin with creaming butter and sugar are ubiquitous.
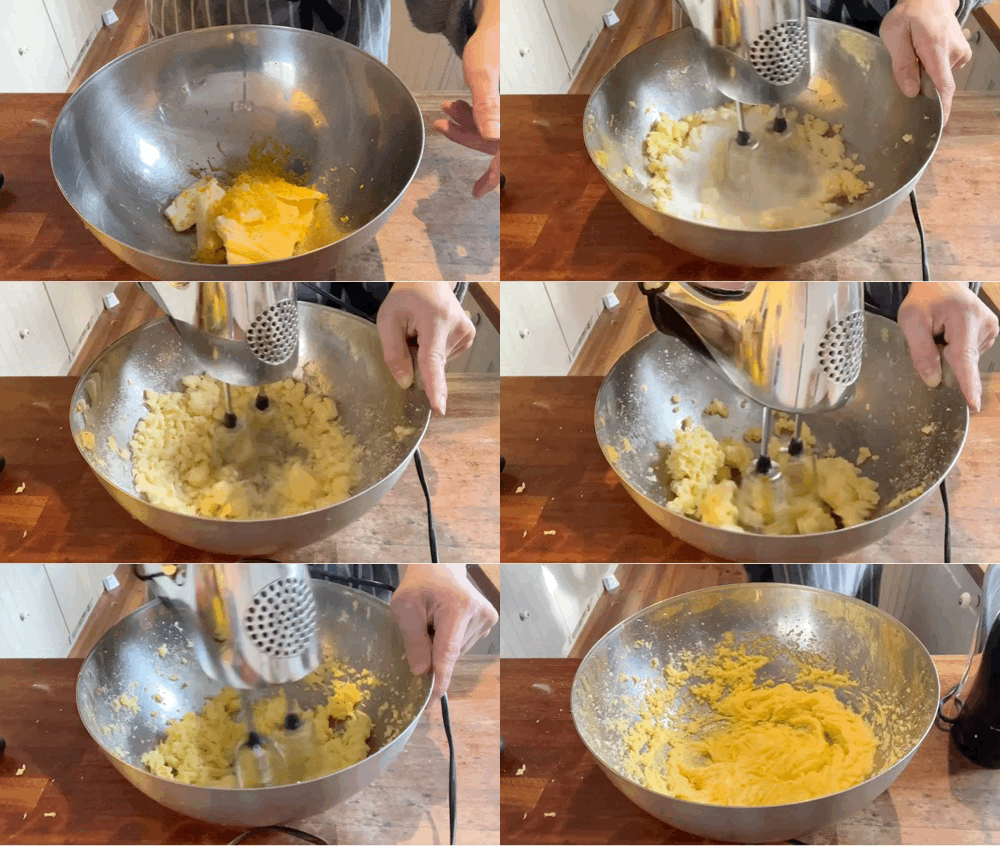
You’ve probably read about creaming before but let me fill you in: As you beat butter, air is incorporated and held in the structure, resultig in microscopic air pockets that make the butter seem lighter (in texture and colour). Sugar helps this along - jagged sugar crystals act like little stabby knives that dig into the butter, incorporating even more air. Once aerated, this mixture is stabilised by the fat molecules that form a protective layer around the air which prevents the mixture from falling in on itself. However, it is possible to take it too far - fat can only stabilise so much. If you keep whipping the butter, it will go bright white and eventually not be able to support itself, no matter how hard the fat tries.
Curdling after creaming
Once you’ve got your butter and sugar creamed, it’s time to add the eggs. Eggs, as know, are also quite good at holding air, but their main role in butter cakes is adding moisture and eventually providing structure with its rigid proteins after baking. If you’ve made a cake before, there’s a high chance you’ve experienced the curdling of your butter/egg/sugar mix after creaming. This is when your previously gorgeous homogenous mix of fluffy sugar butter cloud turns into a wet, lumpy and split mess. A split cake batter is a result of the break-down of the emulsion of fat (butter) and water (eggs), an unnatural pairing.
Although this is generally the result of eggs being added too quickly and forcing too much liquid into the fat - think of a mayonnaise, you have to drip the oil in very slowly to the egg yolk to prevent it breaking - it can also be a result of rapid temperature change. Cold eggs added to the creamed butter/sugar mixture can result in little bits of butter hardening which then results in the split-looking mixture. I find that I get way less curdled batters when my house is properly heated or during the summer. Finally, you may have a curdled batter because you haven’t scraped down your bowl properly - if there’s loads of butter stuck to the bottom of your bowl, you are proportionally reducing the amount of fat that is there to receive your eggs, so it’s a good idea to scrape often, just in case.
For any cakes containing ground almonds, you can add these into the cream butter mixture when you add your eggs. You don’t need to worry about any gluten being formed (because ground almonds can’t add gluten) and you’ll add body to the mixture which gives the impression of a more homogenous batter.
All this to say is… curdled batter? It’s bark is worse than its bite. In my career, I’ve made a lot of curdled cake batters and the difference is… slim. So, although it’s a good idea to keep all your ingredients the same temperature, or scrape down the bowl, or add the eggs slowly, I’m pretty confident that things will end up okay. Even though it looks awful for a moment.
Sugar sugar sugar
Although it’s tempting to reduce the sugar in a cake, especially if it has equal footing to the other ingredients, sugar is essential in creating a ultra soft crumb, so much so that I like to think of sugar as a tenderiser before I think of it as a sweetener in cakes. Though this may seem counterintuitive, butter cakes made with proportionally less sugar tend to have a claggier or denser crumb. This is because sugar is hygroscopic aka loves water! As a result, it holds onto moisture resulting in a tender, soft crumb. Although I was worried it might be too sweet, I have tempered the sweetness with the ricotta and the addition of citrus. Acid is always a good way to cut through sweetness.
The deal with butter cakes and staling
Guys, I’ve wanted to talk to you guys about staling for ages. Staling (ie. the process of a baked good becoming stale) is actually quite a fascinating subject, though not particularly glamorous.
For the most part, I actually shy away from using butter in cakes. It seems counterintuitive since butter = life, but butter actually dries very easily and cakes made with butter have a comparatively short shelf life to oil based cakes, especially if they aren’t sealed in with icing.
So, why? Well, for a starter, butter is solid which means the fat will harden if left to cool giving the illusion of dryness. Oil cakes don’t have this problem since oil is fluid, which means things stay superbly moist at any temp.
When you think about staling, you probably think the culprit is water loss. Although this is somewhat true, there is also something else going on: Starch! As we know, starch gelatinsation is an important step in every baked goods life. Starch gelatinsation occurs at 65c (for wheat), where water enters the starch molecules and they swell, creating a gel. This gel network, along with structure provided by gluten, air bubbles, sugar, fat molecules and all the rest, create the final interlocking structure of cakes and bread. Basically, the starch and water become BFFs and FAST.
As your cake cools, the starch molecules start to feel a bit weird about how quickly they declared being best friends with water and try to revert back to their pre-baked state ie. hanging out with other starch molecules only. As a result, the previously happily-swollen starch molecules re-arrange themselves to be a tightly packed network (rather than a lovely bouncy one) and eventually become so dense that crystals are formed. At this point, water feels really left out (fair enough) and with nothing holding it in place, it evaporates, resulting in a dry product aka staling!
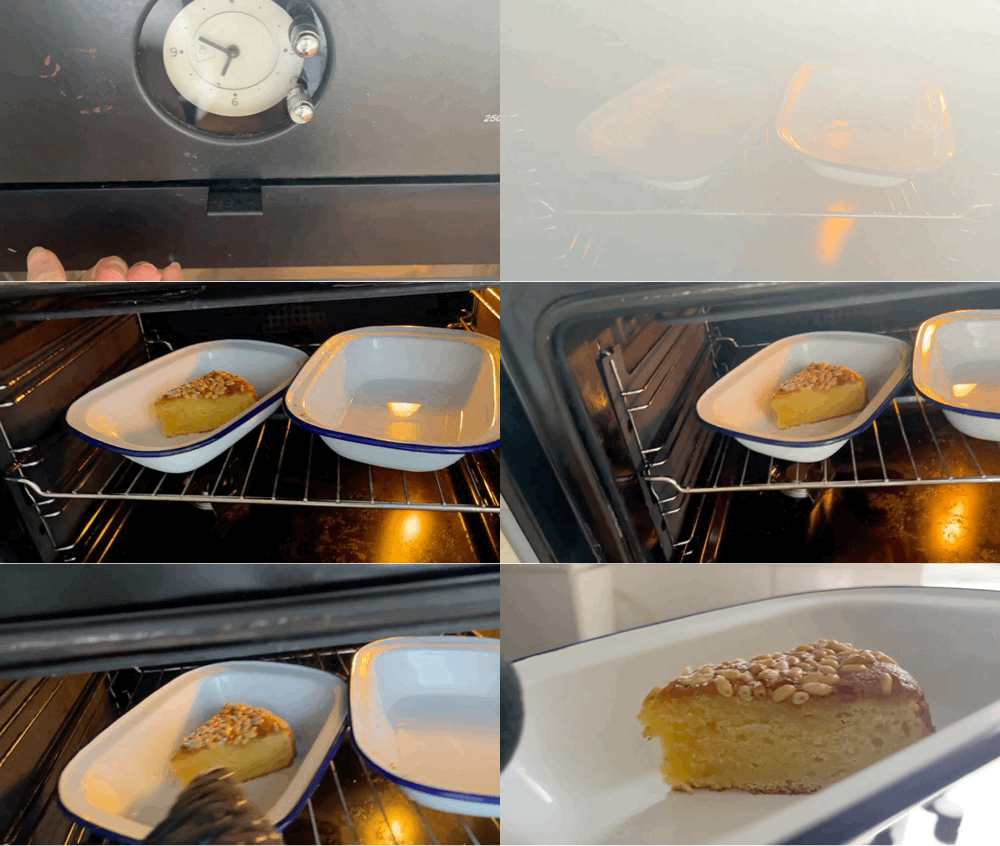
Fortunately, it can be reversed. Warming in the oven is your friend! You can literally melt these starch crystals (and the butter, too!) by gently heating in a 140c oven for 4-5 minutes. To take it a step further, you can even put a little dish of boiling water next to it so it gets a bit steamy allowing the BFFs starch/water to rejoin. Good as new.
In praise of electric whisks
This week I’ve ditched my KitchenAid for my old faithful electric beaters. KitchenAids are great but for single cake quantities, I find they don’t actually perform that well! I much prefer to gauge the creaming butter/sugar either by hand or with the electric beaters, I find it quite hard to tell when it’s ready with the KitchenAid. Perhaps if we were creaming 3x as much butter/sugar it would work, but the amount of scraping required for the single cake/the risk of overwhipping is higher.
Alright, lets make it!
Ricotta lemon butter cake aka Moving-in cake
Makes 1 x 8inch cake. Halve for a 6inch cake. Would also make fabulous mini cakes.
150g unsalted butter, soft
150g caster sugar
3 x lemons, zested
150g eggs
150g self-rising flour (or 150g plain flour with 3tsp baking powder then omit the below)
5g (1 tsp) baking powder (yes! In addition! Mary Berry does it, so we will do it too)
50g ground almonds
4g salt
100g ricotta
25g lemon juice
30-50g pine nuts
Lemon syrup
Rest of lemon juice from above (probably about 90g)
45g sugar (or half however much juice you have, no stress)
Method
Pre-heat oven to 170c fan
Line an 8inch tin with greaseproof paper
Cream room temp butter sugar and lemon zest together for 2-3 minutes until fluffy and lightened. Beating the zest with the butter helps release the oils from the zest, resulting in an extra lemony flavour
Add in your ground almonds and mix to combine
Whisk the eggs and add slowly to your cream butter/sugar/almond mixture, a few drips at a time if you can to prevent mad curdling (But don’t worry if it does)
Sift together the SR flour, salt and baking powder
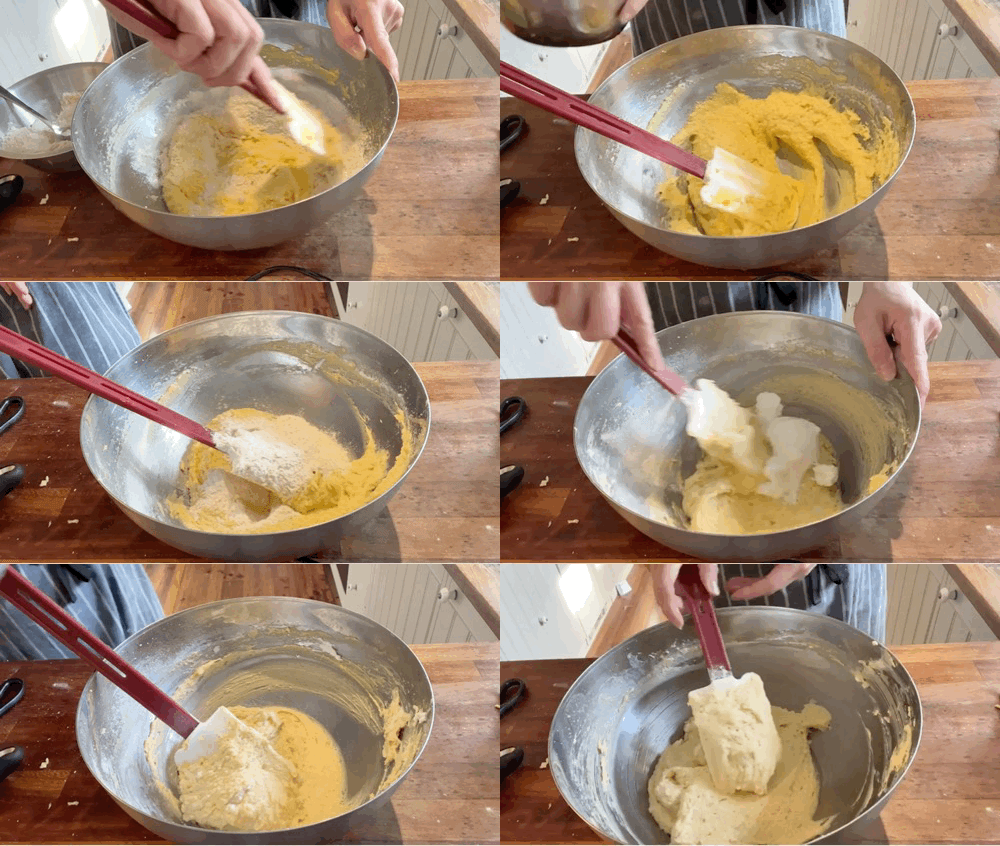
Fold in the dries, a few spoonfuls at a time. Be gentle as not to deflate the mixture
Next fold in the ricotta
Finally finish with the lemon juice
Pour into a tin and spread smooth - it will be quite fluffy because the lemon juice will be reacting with the raising agents
Cover with pine nuts
Bake for 45-50 minutes until a skewer comes out clean
Meanwhile, make the lemon syrup - heat sugar and lemon juice together until boiling and cook for 5 minutes until it looks thick. It should be ultra sharp!
Pour all syrup over your cake
Leave to cool completely
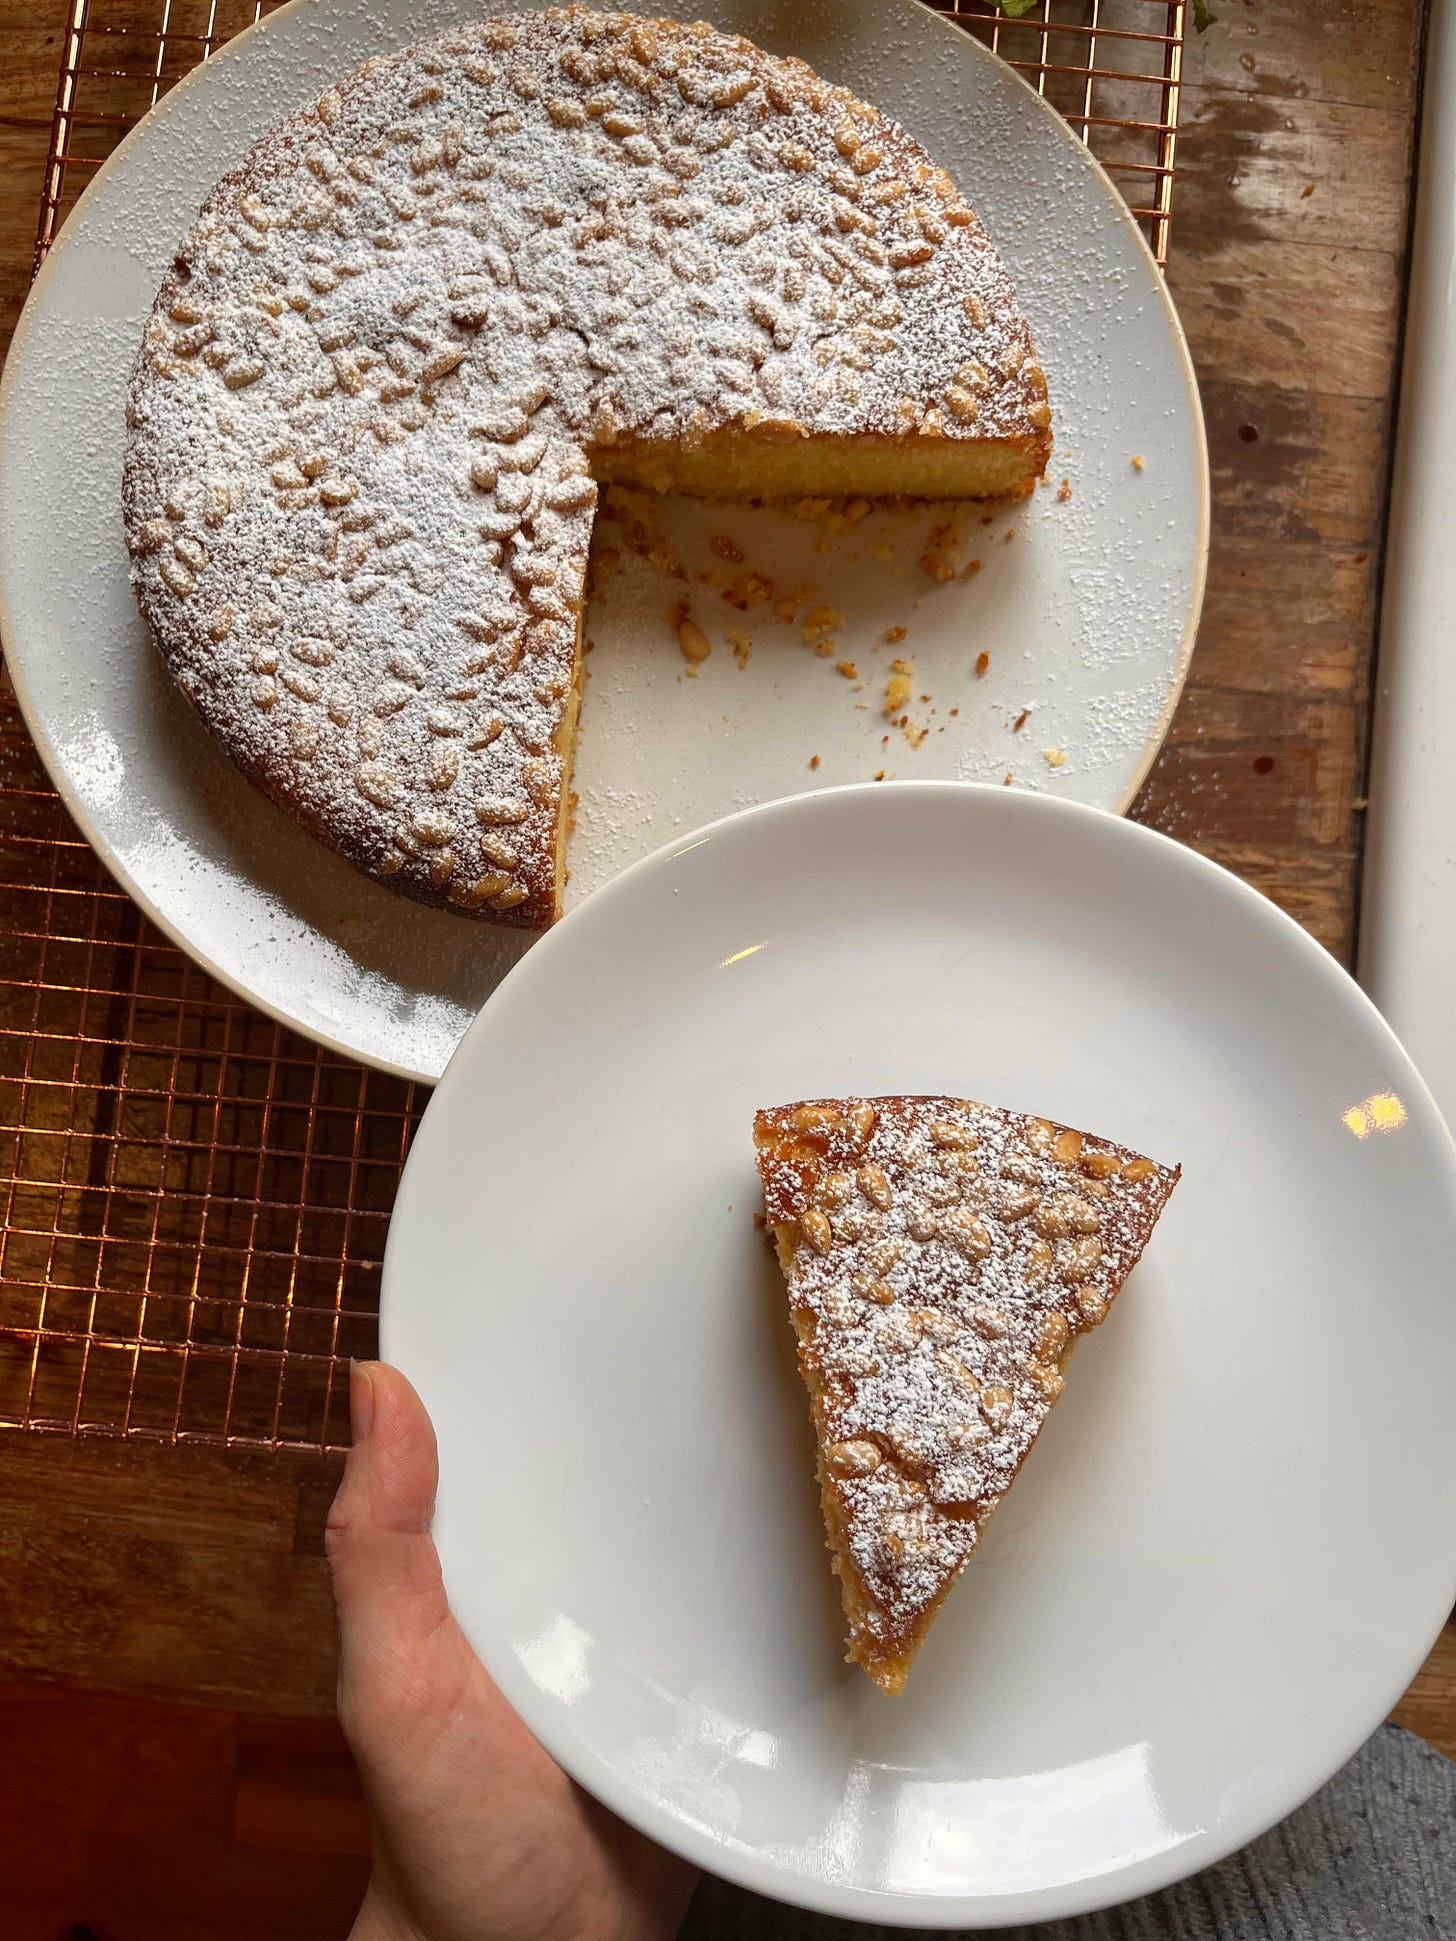
Finish with icing sugar, if you like. Keep stored in an airtight container for 3-4 days, or if you forget, refresh using the directions above





Could I put in a request to bin the use of self-raising flour? 🙂 It’s a pain in the arse. There seems to be little agreement on how to substitute for it, as evidenced by a recent article in The Guardian (link below). Your three teaspoons for 150g flour appears to be an outlier, and together with the extra teaspoon that’s 20g of baking powder for just over a cup of flour. 😳
https://www.theguardian.com/food/2022/feb/22/is-self-raising-flour-the-same-as-plain-plus-baking-powder
This looks SO good! Do you brush warm syrup on warm cake or do you wait for one (or both) to cool first - I know it's a basic question but I can never remember!