Hello,
Welcome to today’s edition of Kitchen Projects, my recipe development newsletter. It’s so lovely to have you here.
If you’re reading this in the UK, where everyone seems to be battling colds, I’m here with you! So today I’m running you down a super quick recipe I’ve been chasing for a while: Peanut butter chocolate shortbreads.
Early next week on KP+, I’ll be sharing another recipe I’ve been working on for a while. It’s filled with apple joy and is perhaps THE perfect post dinner dessert: Apple creme fraiche pudding with rum and vanilla. I launched KP+, the paid version of this newsletter, earlier this year. Subscribing is easy and only costs £5 a month and I share lots of extra stuff over there. I hope you’ll join me and support the newsletter, if you can:
Alright, let’s get on with it!
Love
Nicola
Emotional support biscuits
Like everyone, I’m under the weather this week. As much as I want to be a viking pastry badass, able to push through creatively no matter the circumstance, there’s only so much enthusiasm and joy you can muster when your senses don’t feel like showing up to the party.
All I wanted was a low effort bake that would make me feel better. Bonus points if it could be enjoyed with a side of tea and sympathy. When I’m feeling poorly, there’s only one category of baking that appeals: Biscuits.
Biscuits are a real joy bringer in my life. The promise of a biscuit, be it after donating blood, or in the half of a freezing mid-winter school hockey match, or at a team building event in my former life as an “office person”, can really get me through anything unpleasant. I mean, I once mainlined an entire christmas selection of shortbread in the course of a particularly challenging afternoon involving the press night seating chart of an ill-fated musical-that-will-not-be-named that I was working on the publicity for back in 2012. Biscuits make everything better.
Plus, I really didn’t feel like venturing too far for ingredients this week, and this is one of those recipes you can throw together from your pantry which is always a plus.
Ok, let’s get into it
Roll, cut, repeat
There’s really nothing easier than a slice and bake biscuit. No messing around with rolling out sticky dough thinly and evenly, no balling tiny 15g portions, nada! It’s quick, convenient and pretty mess-free, the latter being most essential because no one wants to be battling through piles of dishes and simultaneously battling through an evil cold. The slice and bake technique is a really handy one for any sort of shortbread or firm biscuit dough.
We used to love this technique at LBP as it was really efficient for storage and you only had to defrost what you needed meaning wastage was minimal. For home bakers, you can make a few batches and leave the rolls in your freezer and slice and bake whenever you need a pick me up, or an emergency afternoon snack.
So, let’s run down these emotional support shortbreads aka my feel-better-soon biscuits. The sort of bake for when you don’t really feel like baking, but need a treat.
A note on peanuts
For someone that doesn’t have an allergy, I am terrified of peanuts. I love them, sure, but working in kitchens over the years has put the fear of God in me about cross contamination (rightly so.) When I was working at Happy Endings, we introduced a delicious, but anxiety inducing, PBJ ice cream sandwich into production. Even though we were cleaning everything rigorously top to bottom, it still felt a bit scary. So, for any peanut allergy sufferers out there, I’m sorry about today’s recipe and if you can eat other nuts and their pastes/butters, I’d love to know if this works with them.
This fear does mean that my range of peanut desserts is rather slim. But I have been working on this peanut shortbread for a long time. It’s my unicorn bake. One of those things that has evaded me but I’m happy to say I’ve finally landed on it after a LOT of tweaking.
Fat content
The first thing I tried when putting this recipe together was swapping out the butter like for like with peanut butter in my classic shortbread recipe. Unfortunately this does NOT work. Like, at all. Perhaps this is obvious to you, but for some reason it wasn’t to me. The mix was DRY. So, I added milk until it came together as a dough. Unsurprisingly, it didn’t bake up crunchy and crisp the way I’d wanted it to and it was missing the satisfying buttery-ness of classic shortbread. I tried again, doing 25/75 butter and peanut butter but this also missed the mark.
I decided to look at the fat content: Peanut butter has around 50% fat whilst butter is 82% fat. Go figure. Of course you can’t just swap them out willy nilly. So, to maintain the fat content of the shortbread - which is, afterall, is what makes shortbread so glorious to eat - I did a little back of the envelope maths:
Original recipe: 150g butter
Fat % of butter: 82%
Fat in original recipe: 123g
Fat % peanut butter: 50%
New recipe: 100g butter
Fat from butter: 82g
Fat needed from elsewhere: 123g - 82g = 40g
Amount of peanut butter to use: 40g x 2 = 80g
Using this proportion, 55% butter to 45% peanut butter yielded me a buttery biscuit with significant PB flavours as well as the richness from butter. To make up for the additional solids/bulk from the peanut butter, I had to slightly increase the flour and added a little binder which we’ll talk about next.
A note on moisture
With my dry dough, I tried both milk and egg yolk, and egg yolk gave me the more delicious and better textured biscuit. Egg yolk is an emulsifier and in shortbread and binds everything together as well as adding richness and flavour. Though you’ll never find egg yolks in Scottish shortbread, they are a stalwart of the ‘sable’ (aka sandy) biscuits, the french take on shortbread. So although I call these shortbread biscuits, I suppose *officially* these are more like sable biscuits.
About the sugars
Using a bit of moisture rich brown sugar helps with both the flavour and the texture of these biscuits. I tried the biscuits with both light brown and dark brown sugar and found the light brown slightly on the sweet side, however it did let the peanut butter flavour come through properly. The horlicks also gives a decent hit of sugar, too, along with the malt flavour, so I had to take that into account. I really do love dark brown sugar, but molasses can be a bit of a focus puller flavour wise. So, although DB sugar added complexity, I found it to be too confusing with the PB.
Raising agents
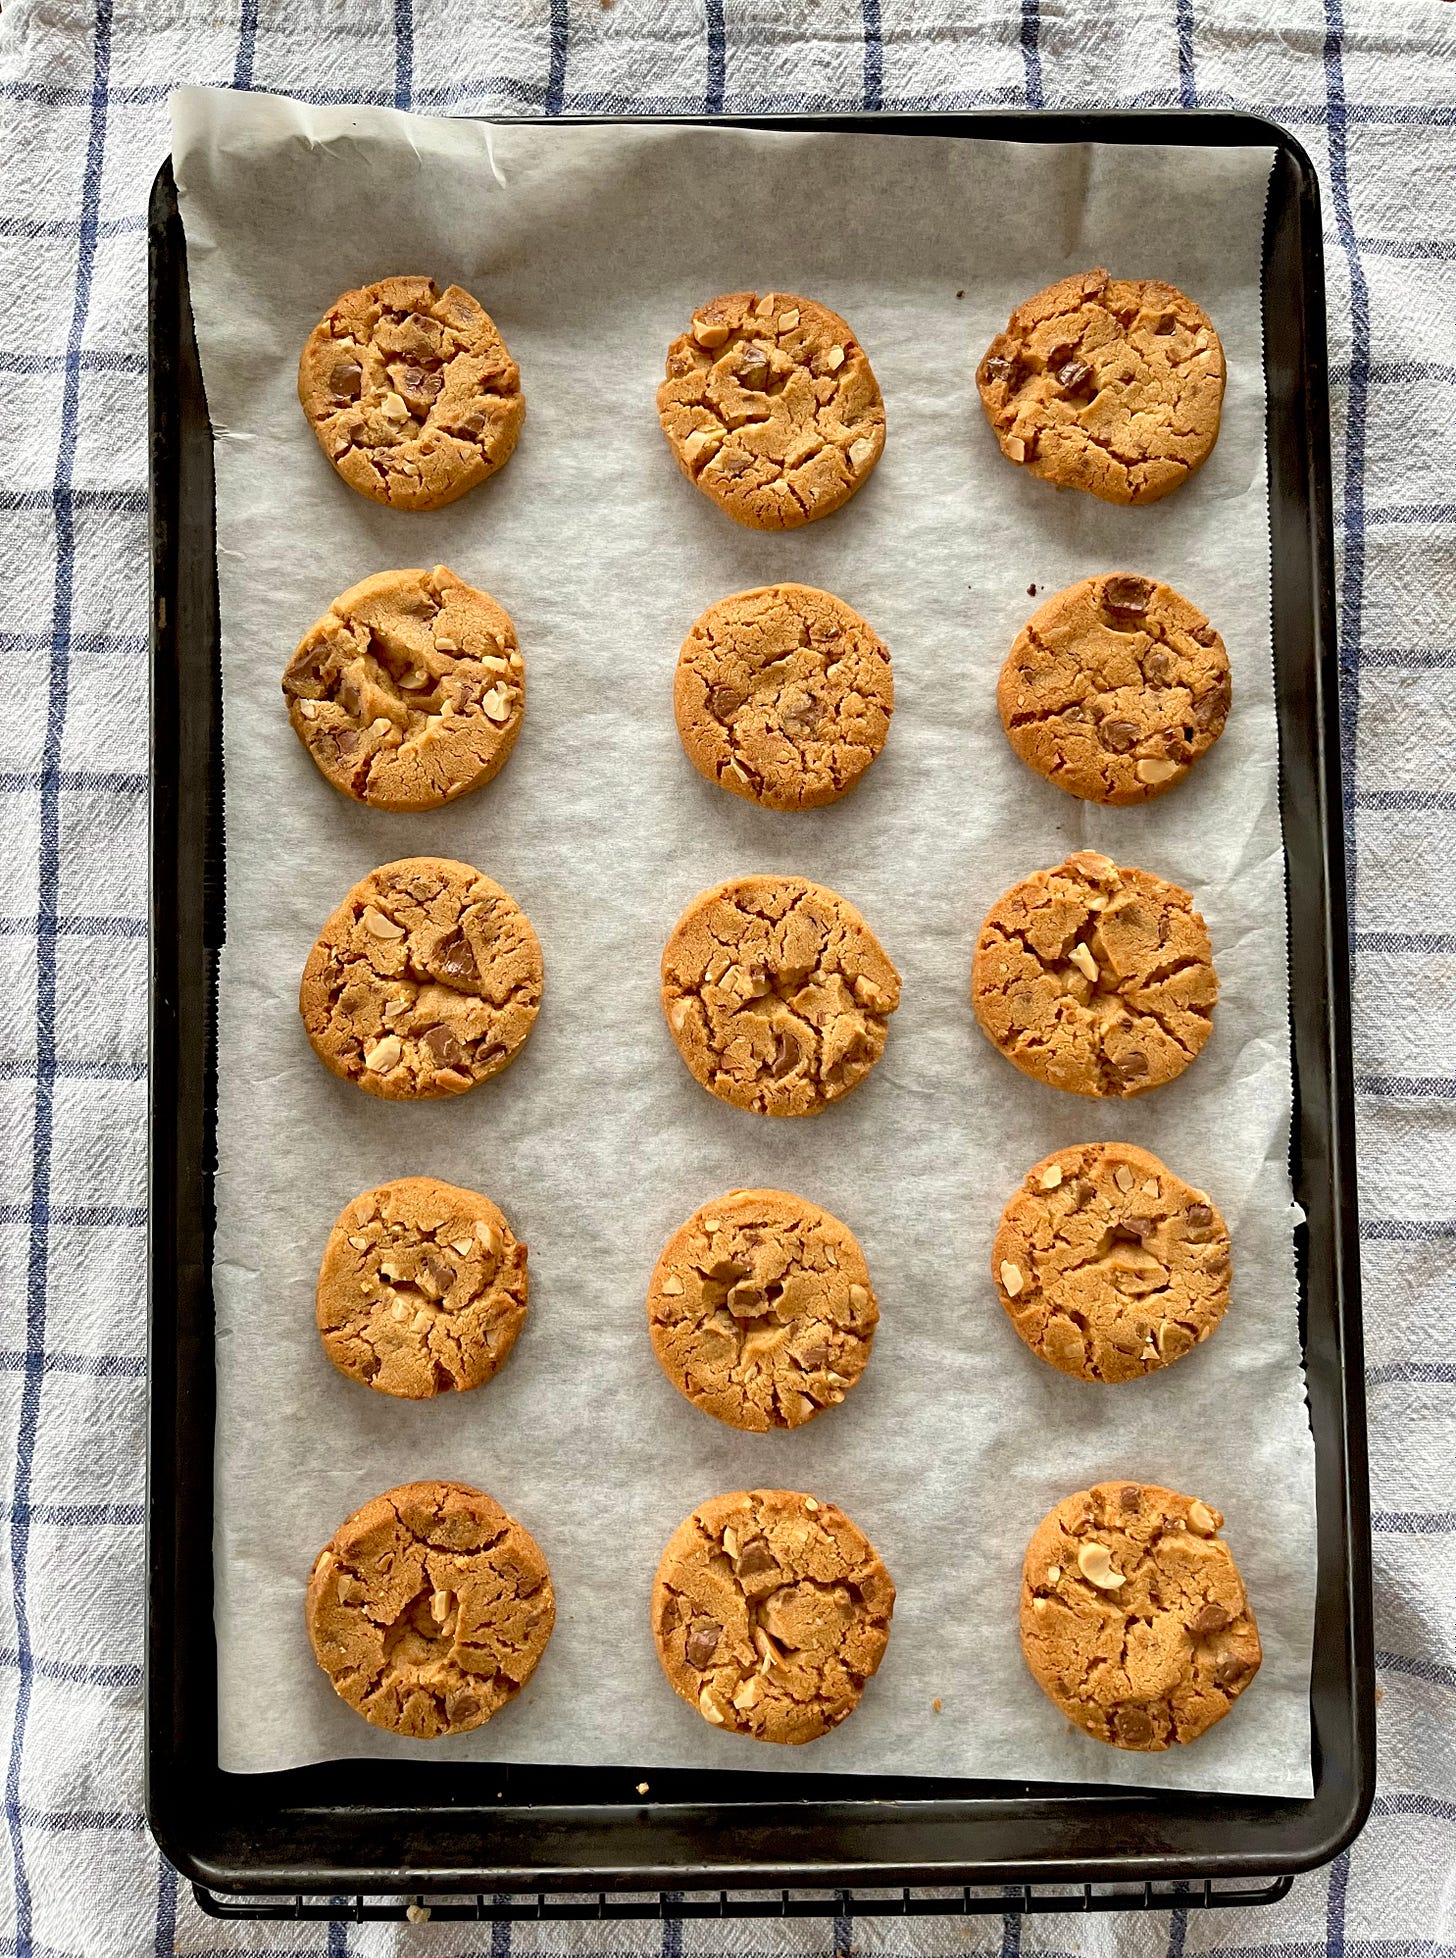
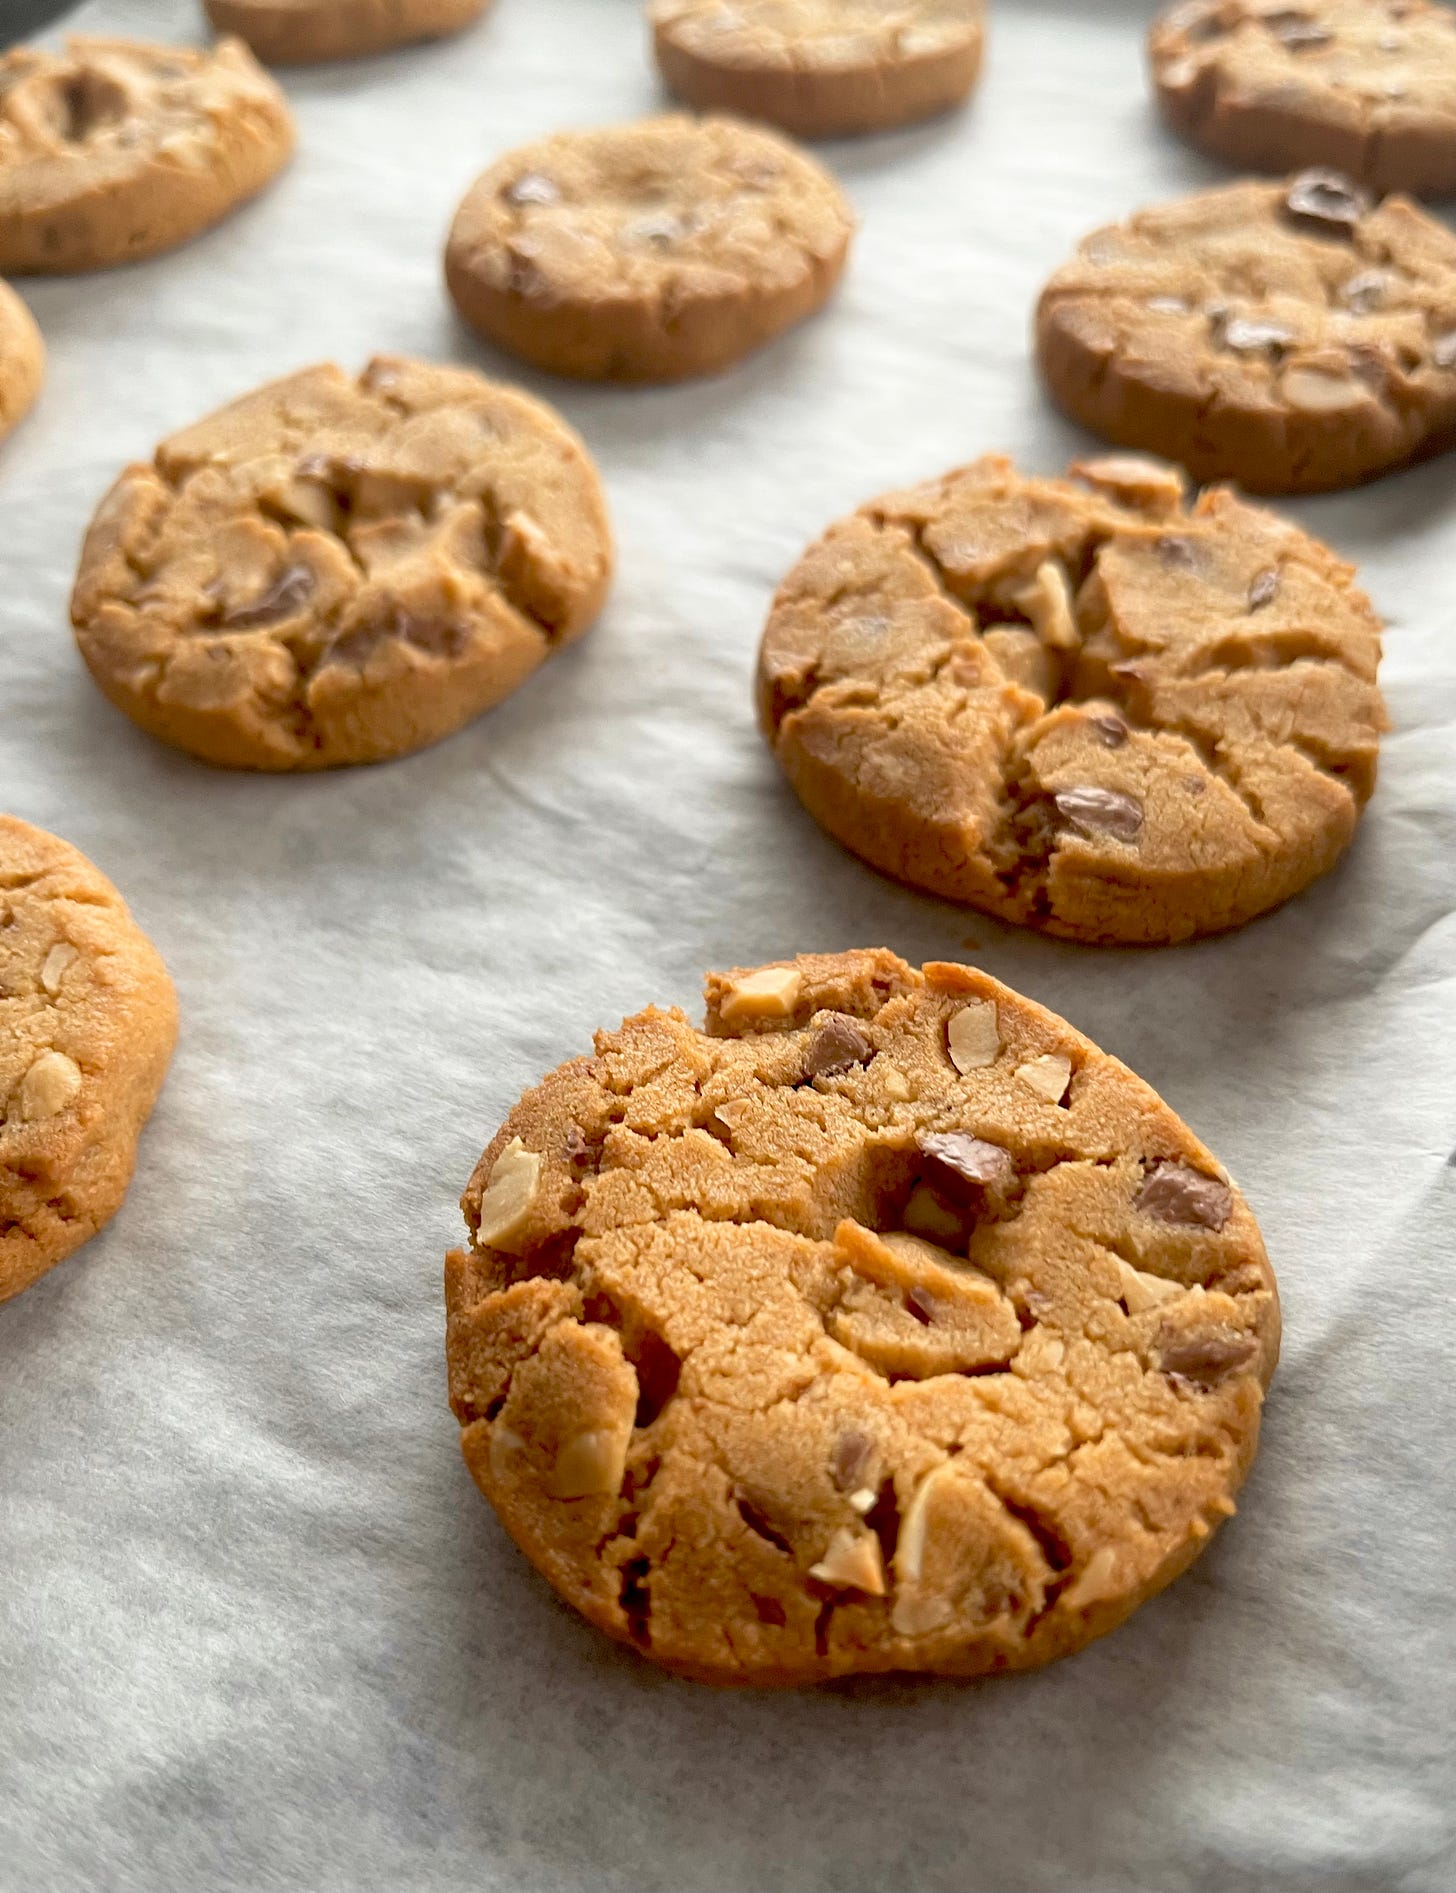
You’ll notice that there’s bicarbonate of soda in this recipe. Although we aren’t looking for lift, the bicarb will give these biscuits a bit of lightness as well as letting the biscuit crack attractively on top, which is a big plus. It’s a small amount so make sure you measure it carefully or, you can always just double the recipe and then it’s even easier to weigh out. These biscuits don’t rise per se, but they do spread - they end up being about 2 inches in diameter.
The deal with salt and add-ins
I’m using a dark roast crunchy peanut butter for my biscuits - one of those ones that separates. I like using crunchy because I love a packed biscuit. We will also be adding in some extra chopped roasted / salted peanuts. This does mean that these biscuits already have a pretty high salt content. So, although I add a ¼ tsp to the mix myself AND put flaky salt on top, this is totally optional.
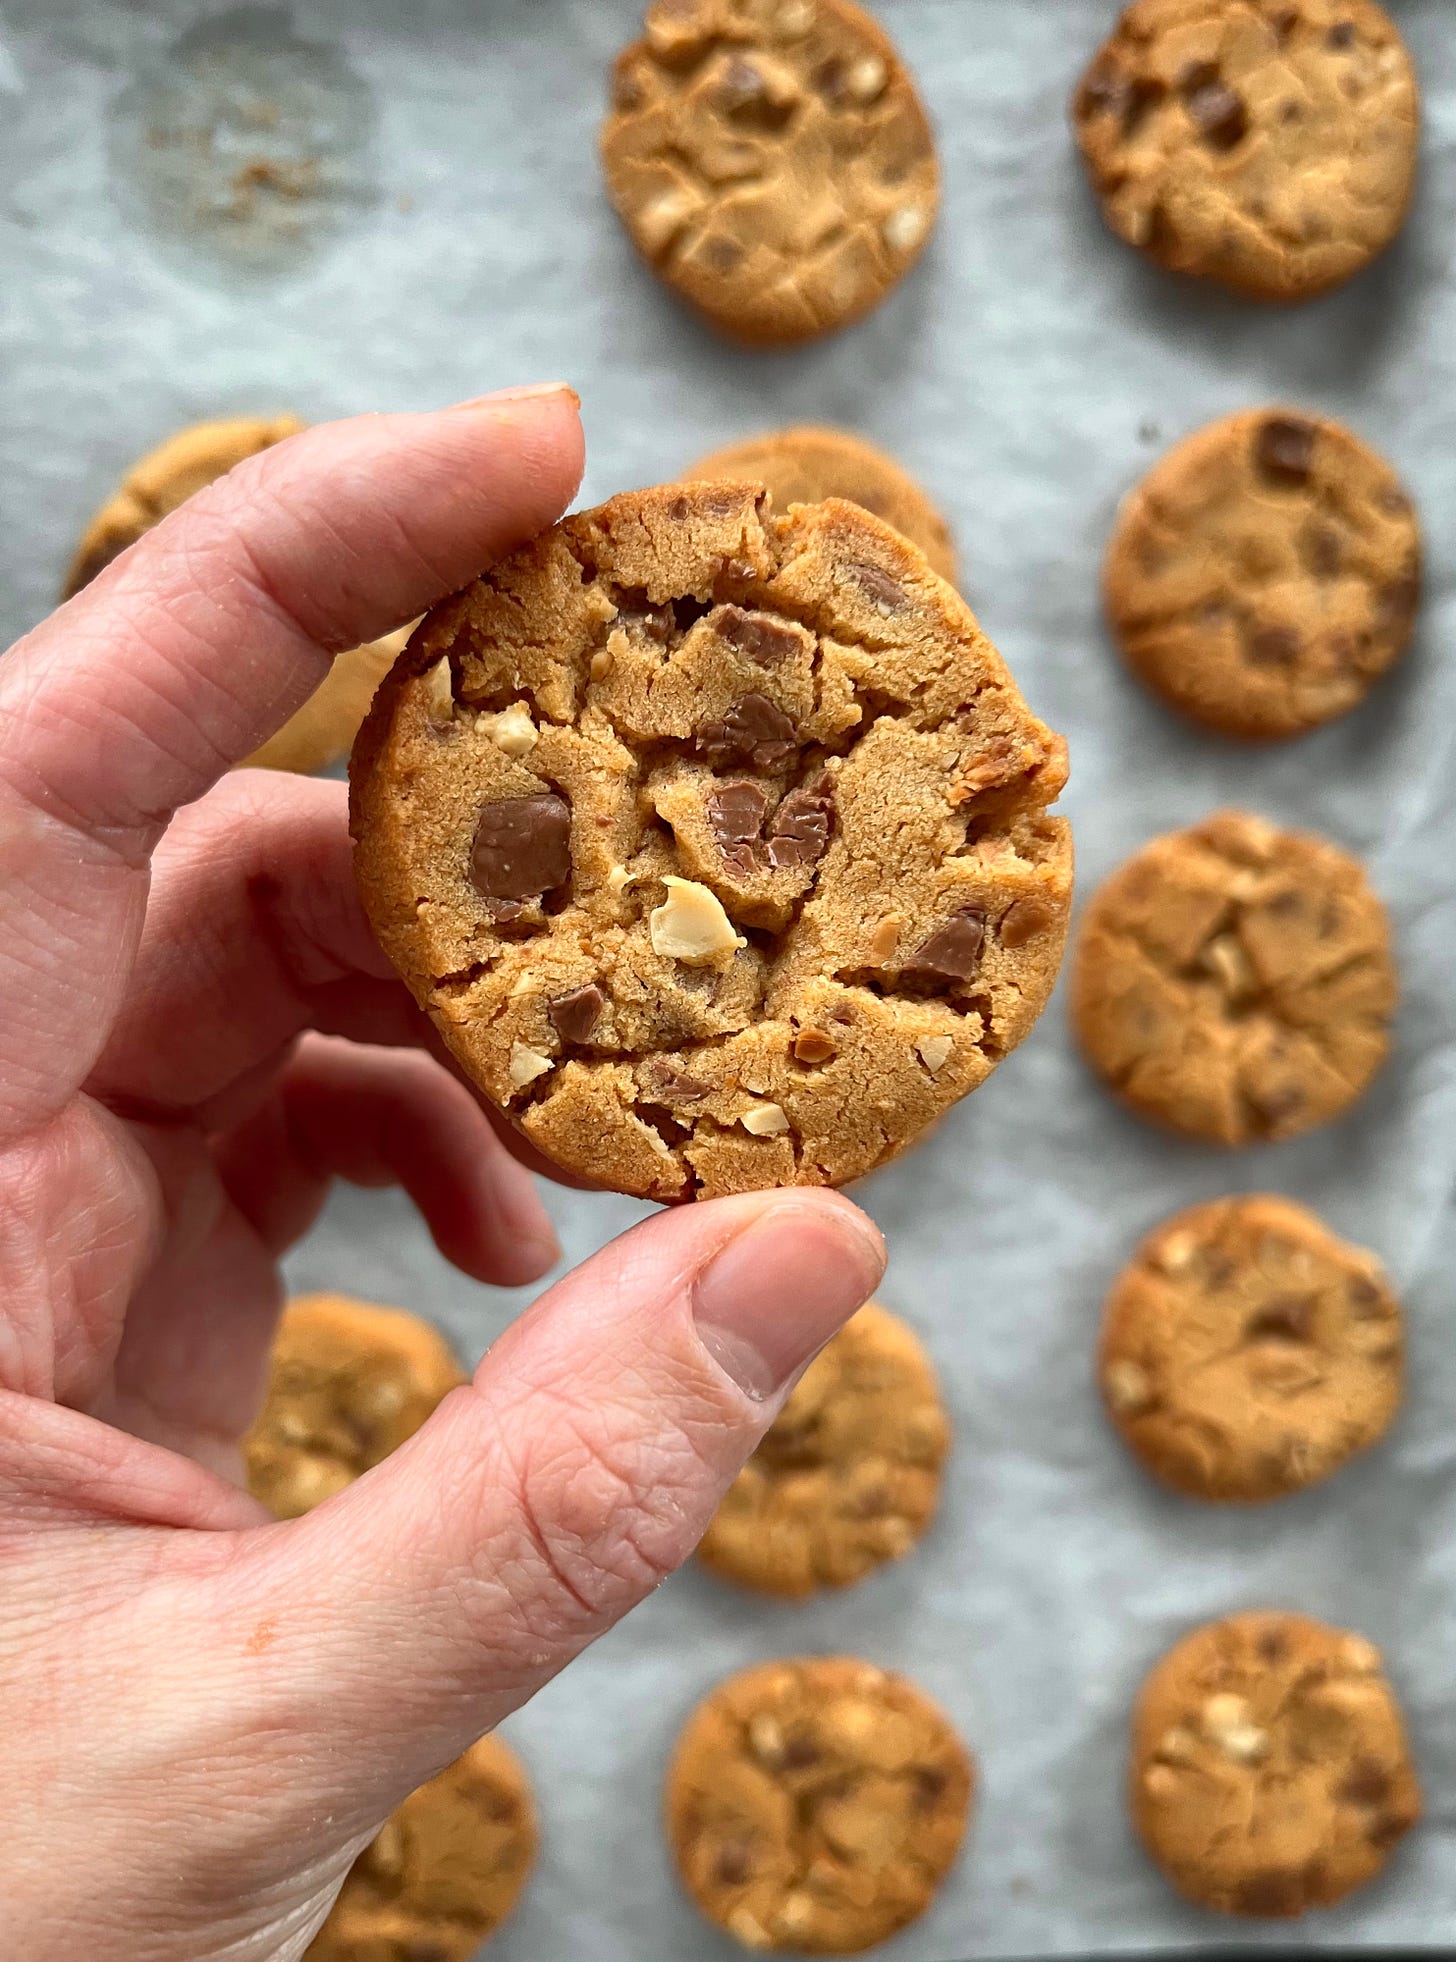
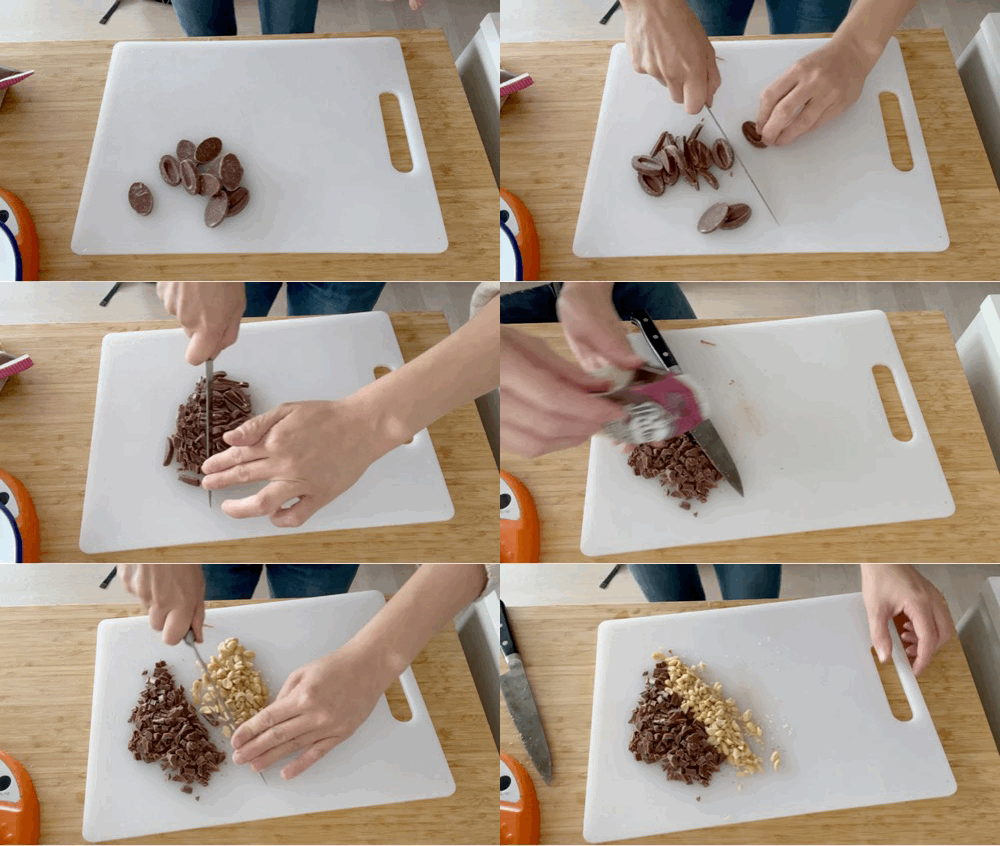
As a bit of a contrast to all the deep dark salty notes, I use a “dark milk” (55%) chocolate in this biscuit. Because it’s a small cookie, you need to cut the chocolate up small, too, otherwise when you go to slice them after chilling it can end up being a bit of a biscuit armageddon with bits flying everywhere, so take your time with this step.
When it comes to adaptions, you can make this recipe work for you! If you don’t have horlicks, just omit it. If you’re missing peanuts, just add extra chocolate.
The baking time
I bake these biscuits in a relatively hot oven for biscuits - 170c fan. This to me gets the most out of all the flavours - the edges get a little bit caramelised and dark, but the middle should stay a little bit tender, too. BTW, if you are storing these frozen, you don’t need to add in any extra time since you are slicing the cookies quite thinly anyway.
Alright, let’s make them.
Salted peanut butter chocolate chip shortbreads aka my feel-better-soon biscuits
Makes 20 small cookies
50g soft butter
40g dark roast crunchy peanut butter (I used manilife)
50g light brown sugar
25g caster sugar
15g egg yolk (around one)
85g plain flour
10g horlicks / malt powder
¼ tsp (1g) baking soda
¼ tsp salt (optional, depending on your peanut butter!)
35g milk chocolate, chopped
15g salted roasted peanuts, chopped (if you don’t have peanuts, just do extra chocolate!)
OPTIONAL: pinch of salt for sprinkling on top! These are peanut butter cookies, after all
Method
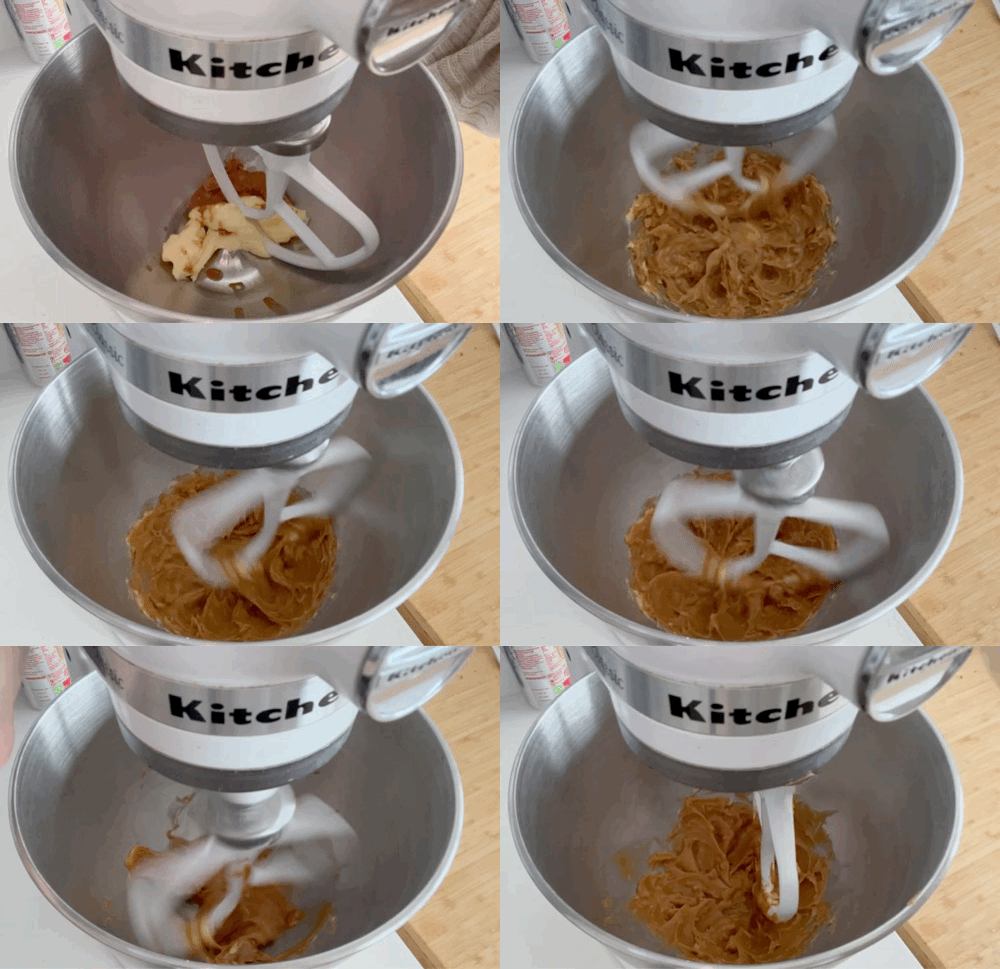
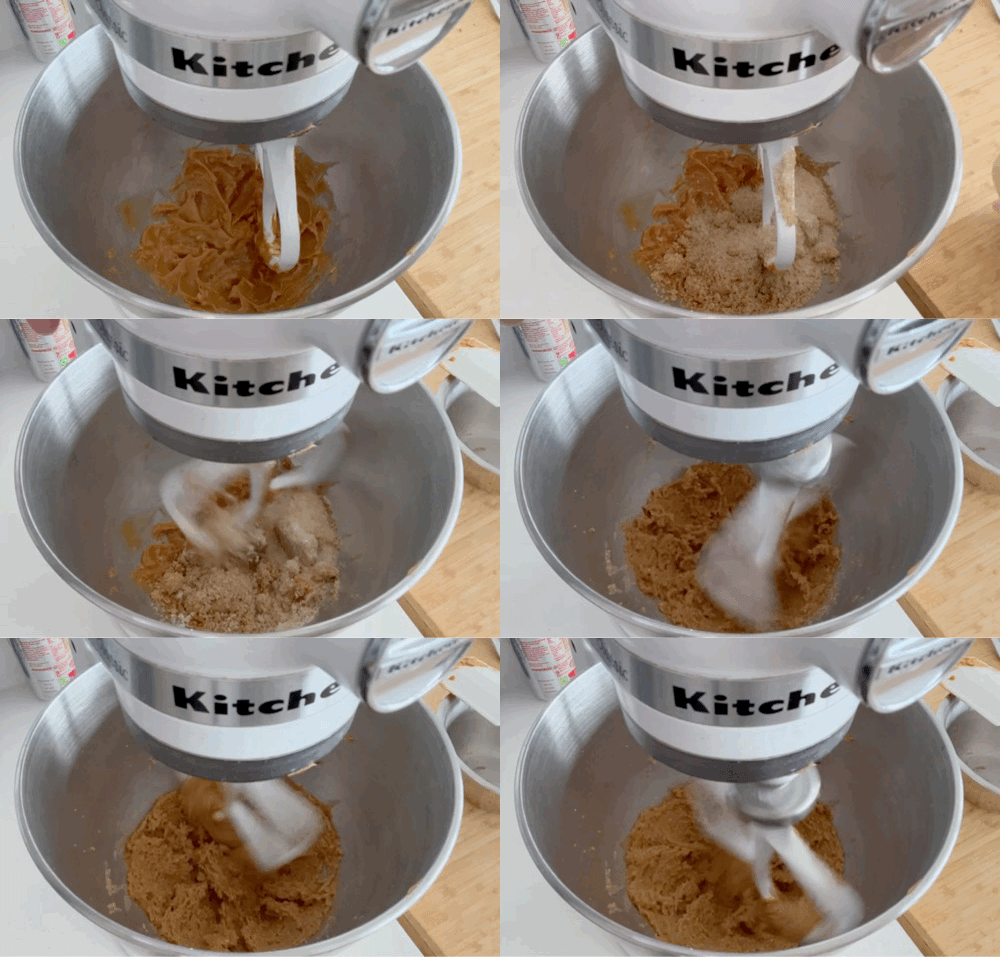
Mix butter and peanut butter until homogenous, around 1 minute on a low speed
Now paddle in the sugar and blend well on medium speed, around 1 minute
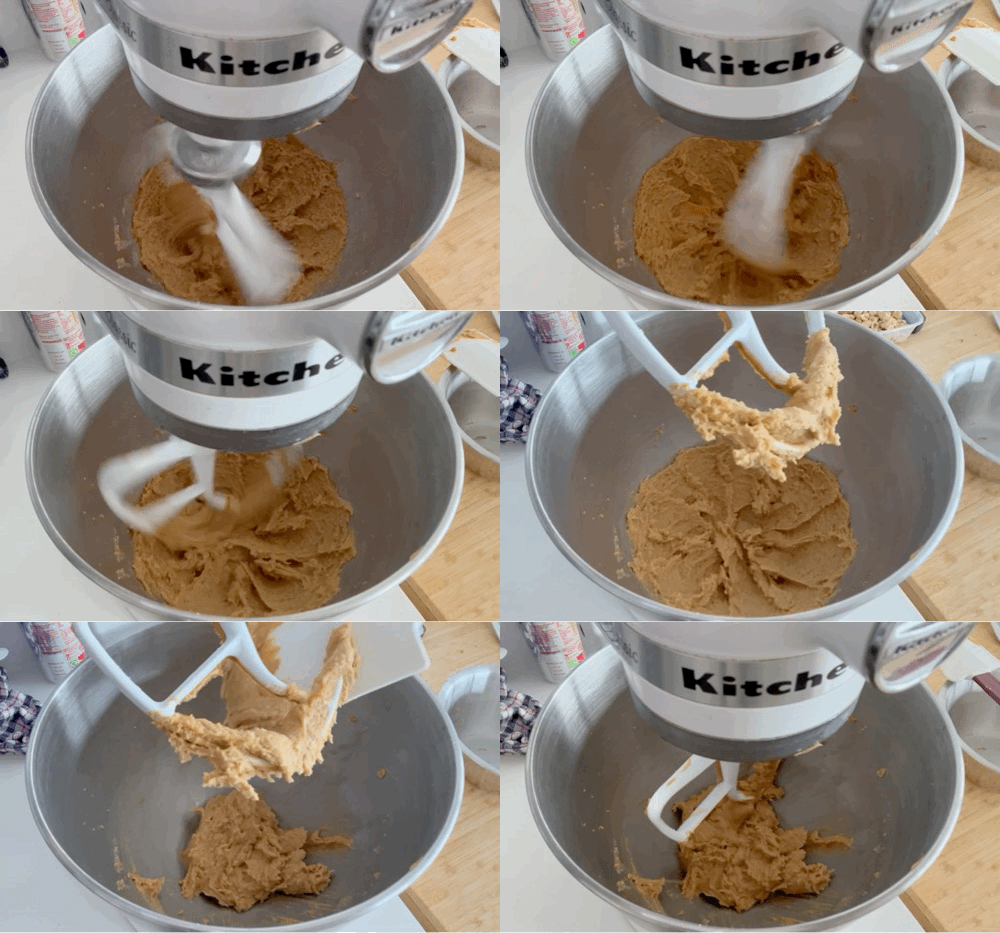
Next goes the egg yolk. Make sure you are scraping the sides of the bowl as needed
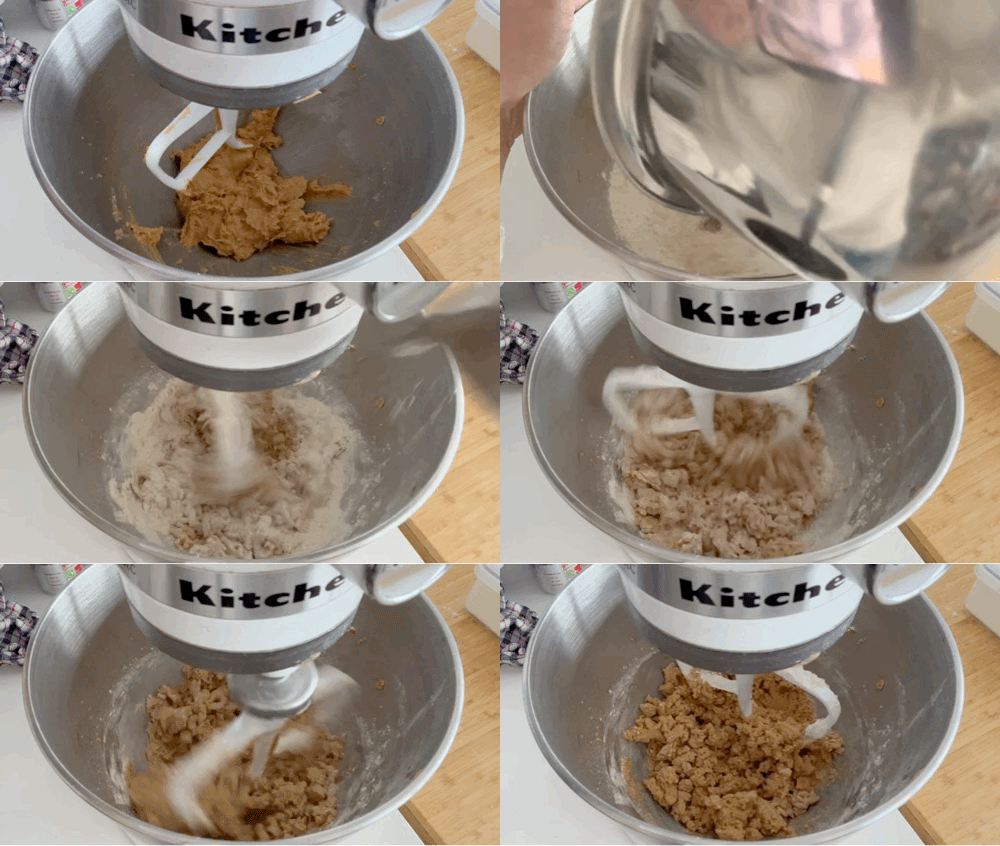
In a separate bowl, sift together plain flour, malt powder and baking soda
Paddle into the egg/butter mixture until dough begins to form
Chop up the chocolate and peanuts to small chunks, 3-5mm
Paddle through the chocolate and peanuts, briefly
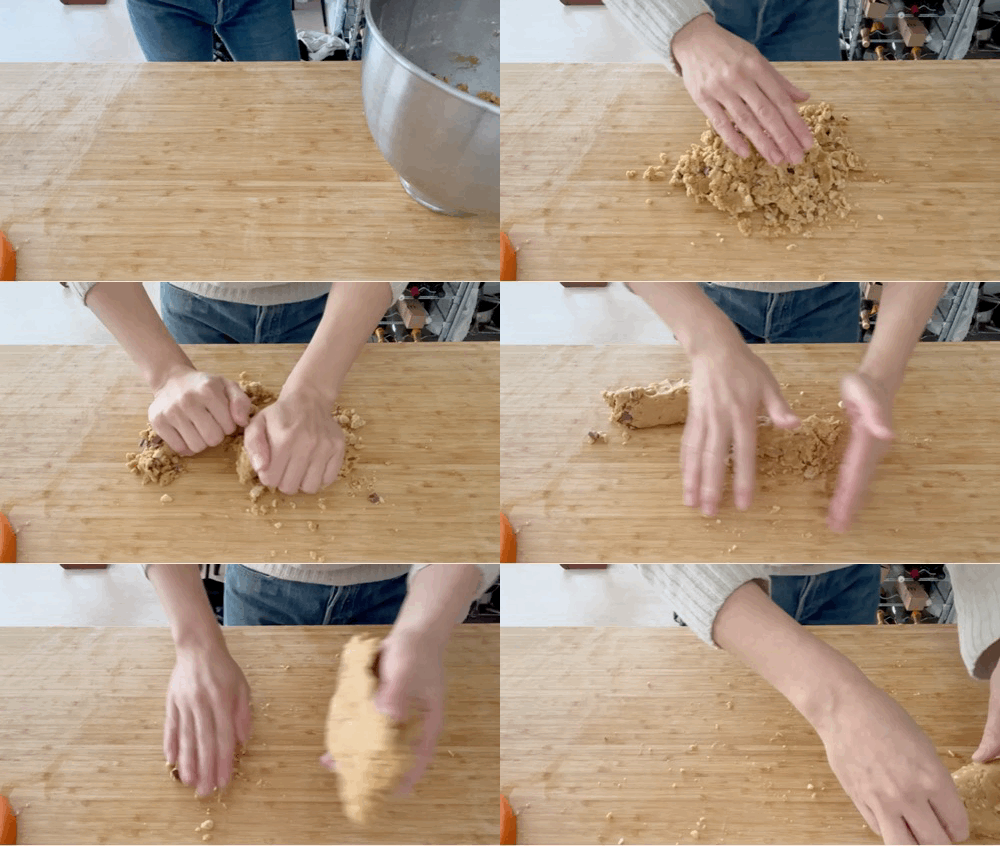
Transfer dough onto your work surface and squish together. Once it’s in one big mass and there aren’t any dry bits, take a length of cling film and move the dough on top. Squash the dough into a rough sausage shape around 1.5-2 inches thick then close the cling film wrap, tightly
Now squish and roll the dough sausage/log until it’s lovely and smooth. Try see if there’s any air pockets in the middle - just squish it together then roll to get it as smooth as you can
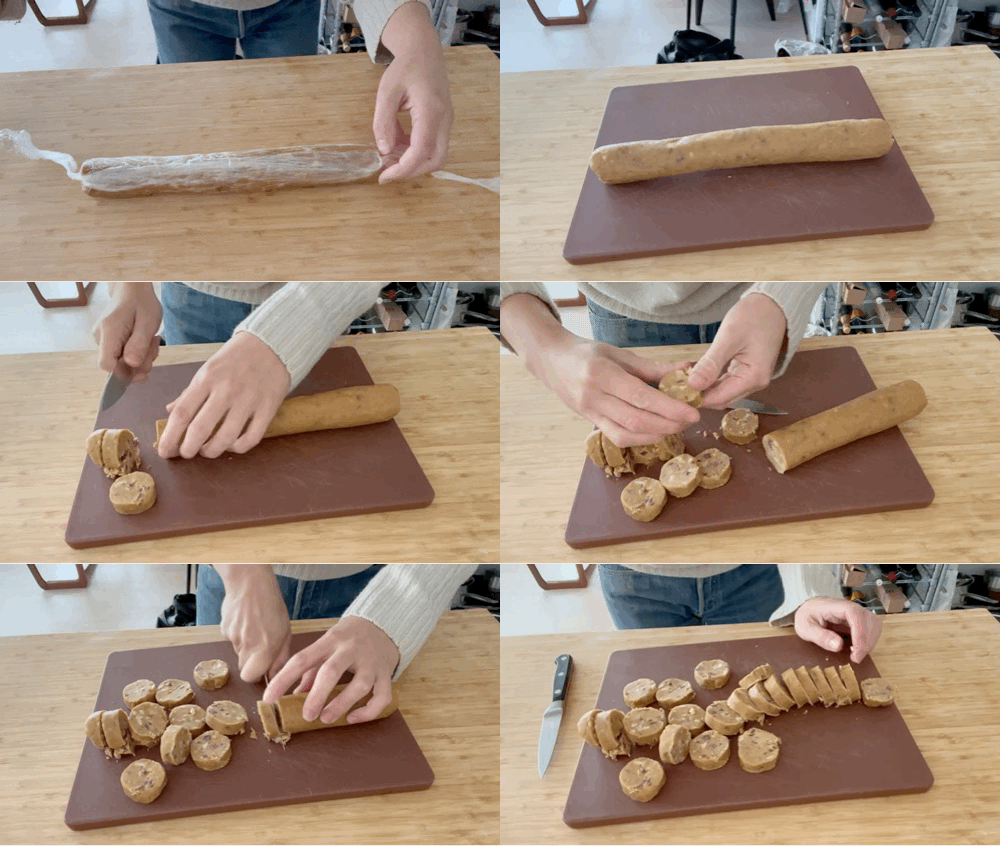
Put the log into the freezer for an hour (minimium) or in the fridge for 4 hours. These will keep for a month in the freezer. Make sure your dough is properly cold because this will impact the bake time. If the dough goes in closer to room temp, the biscuits will overbake. You really want it to be nice and cold! If you’re storing in the freezer, you should be able to cut after about 15 mins at room temp
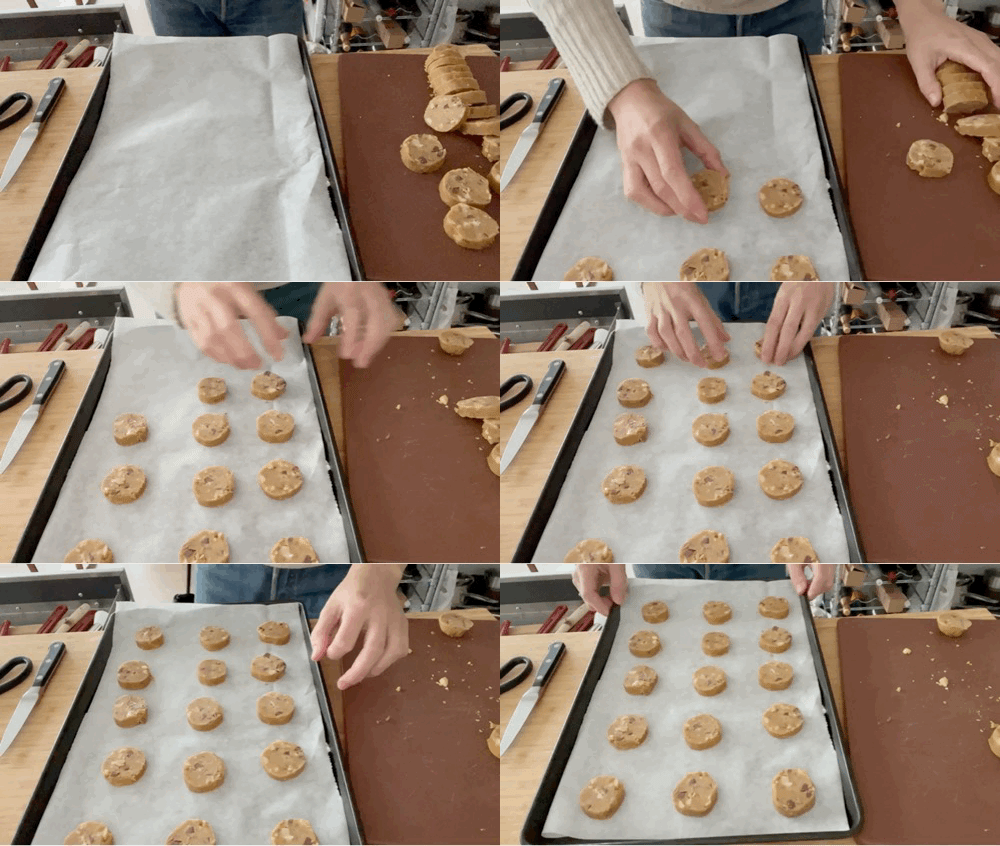
Now it’s time to bake! Pre-heat oven to 170c fan
Slice your dough into 1/2 inch / 1.25cm ish biscuits. If it cracks, just squash back together. I think these are nicer if you go on the thicker side. Don’t worry too much about this part.
Sprinkle a little bit of salt on top, if desired (I do desire). Bake for 12 minutes, until the surface is cracked and the edges are golden
Leave to cool for the best texture
Pour yourself a glass of milk or make a cup of tea and enjoy
These will stay good in an airtight container for a week+!



These sound amazing!
FYI, peanuts aren’t tree nuts, they’re legumes. Folks with tree nut allergies can safely eat peanuts.
These look and sound like the perfect pick me up with tea on a gloomy day!
We have a nut allergy in our house! What can we swap it out for that doesn’t compromise the recipe?
Feel better soon. xoxo