
Kitchen Project #190: Tanya Bush's Toasted Coconut Chocolate Cake
Tanya Bush's Dream Birthday Cake

Hello,
Welcome to today’s edition of Kitchen Projects. Thank you so much for being here.
Today, we have a new edition of ‘My Dream Birthday Cake’, a rotating guest column all about birthday cakes. Today we welcome Tanya Bush, baker & co-founder of Cake Zine, to tell us about the Mounds (aka Bounty) inspired birthday cake of her dreams.
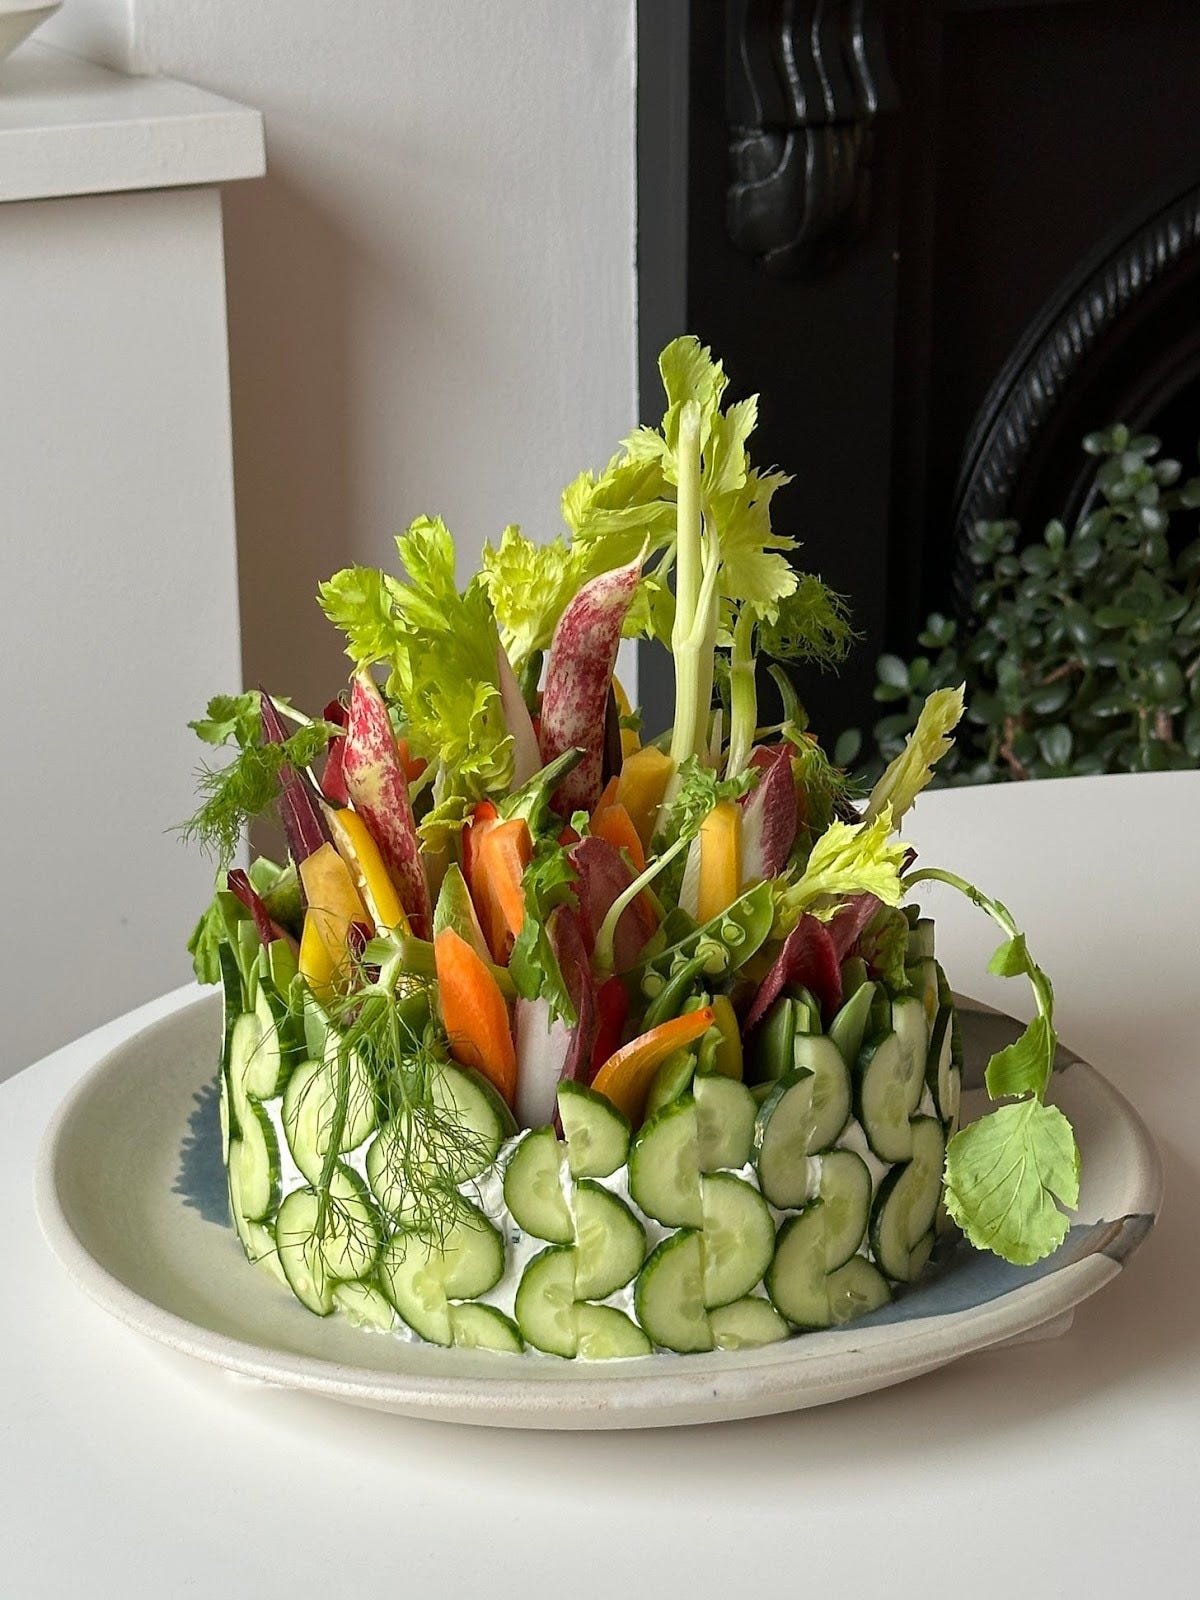
Over on KP+, I’m soooo excited to share a guide for a dream birthday cake that Milli Taylor and I made a few weeks back: THE CRUDI-CAKE, aka the produce-focused veggie crudite centrepiece that is as much fun to make as it is to eat. Click here for the recipe.
What’s KP+? Well, it’s the level-up version of this newsletter. By joining KP+, you will support the writing and research that goes into the newsletter (including the commissioning - and fair payment - of all the writers), join a growing community, access extra content (inc. the entire archive) and more. Subscribing is easy and costs only £6 per month or £50 per year. Why not give it a go? Come and join the gang!
Love,
Nicola
Welcome back to My Dream Birthday Cake, a rotating guest series here on Kitchen Projects
Here, we’ll invite a guest author to tell us all about their dream birthday cake. Whether that’s a simple single layer cake, a litter of kittens made out of chocolate mini rolls, or a lasagne, this column will explore and honour the role that cakes, or conceptual cakes, play in our lives. You can read the previous editions of this newsletter here:
The Crudi-cake - A co-production by Milli Taylor and I, out today on kp+. The “Crudi-cake” is fresh take on your crudite centrepiece for entertaining this season! We have all the tips & tricks for making this edible craft project that is as fun to put together as it is to eat. We’re obsessed:
Today’s Edition
Joining us today is Brooklyn-based writer and baker Tanya Bush. Tanya is the co-founder of Cake Zine, the pastry chef for Tables of Contents and the Brooklyn-based restaurant Little Egg.

Tanya Bush
In 2023, her cruller was dubbed NY Mag’s Best Pastry. As well as writing for various outlets, she is also the author of the forthcoming narrative cookbook Will This Make You Happy, published March 3rd 2026 and available to pre-order now.

by Tanya Bush
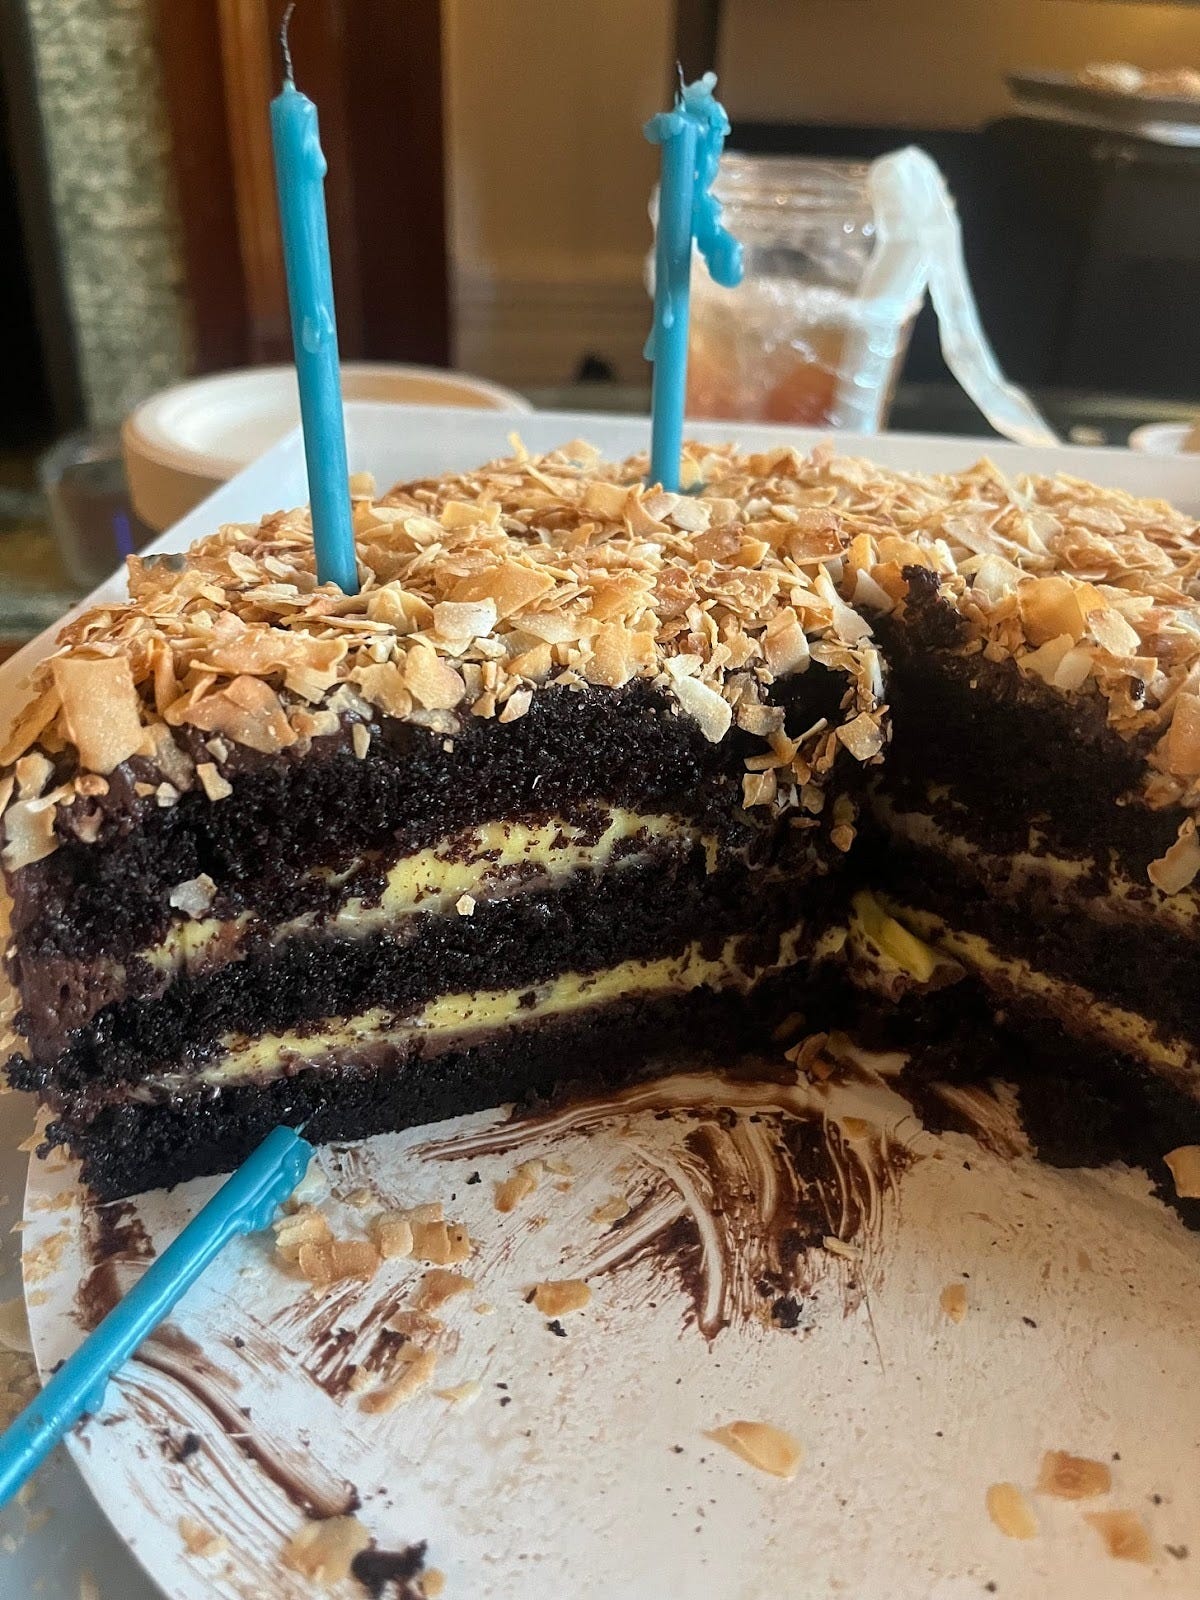
The Toasted Coconut Chocolate Cake. Photo Credit: Vanessa Granda
Growing up as a twin, birthdays in our house were greeted with maximum fanfare. My parents were conscious of the fact that we had to share something most other kids experienced as a day of singular coronation, and so they went to great lengths to make sure we didn’t feel shortchanged. There were always two cakes, one for each of us, tailored to our particular preferences. Sometimes they were ice cream cakes from the shop downtown, sometimes sagging grocery store sheet cakes, but the flavors were discussed with gravitas, as though the wrong choice might ruin our lives.
Adulthood brought what I thought I was hungry for: autonomy. Now that my twin and I lived apart, my birthday was finally mine alone. In theory, this was blissful; in practice, it meant my inflated expectations often left me stranded in a day that felt deflating-ly average. The problem, I told myself, is structural: birthdays are designed around passivity. You sit back while other people orchestrate your happiness or fete your very existence with texts and Instagram stories, ideally surprising you with exactly what you wanted without you ever having to ask. A good birthday cake, I’d been taught, should materialize like magic.
Instead, I funneled that energy into someone else’s birthday. Early in my baking life—when I was still making pastries in my apartment and before working in professional kitchens—I decided to make my boyfriend a cake; a cake that would communicate devotion, effort, and the subtle suggestion that I was destined for a long and successful career as a pastry chef. He told me his mother made him a chocolate cake every year, and then admitted it came from a box mix. I scoffed. I decided I would reinvent his childhood cake from scratch.
It became a long and arduous ordeal. I tested different sponges, some with butter, others without, and experimented with different incorporations of coconut. The layers wobbled and teetered. By the time the birthday arrived, I was serving him my heart on a plate, the accumulated labor of my obsession. I tasted a stunning victory. He tasted… something like what his mother used to make. His response (“tasty!”) made me want to have a meltdown, which I did.
The cake itself, however, was blameless. It was exactly what I’d wanted: a dark, plush inversion of the classic yellow coconut cake, an obscenely moist chocolate sponge, velvety coconut custard, a tangy and bittersweet cream cheese frosting finished with a crunchy toasted coconut exterior. All the flavors of a Mounds bar (aka the bounty) in layer-cake form, but far superior to the candy. For the uninitiated, a Mounds bar is an old-school American Halloween sweet (rightfully eclipsed by the endless Reese’s and M&M varieties): a waxy cloak of dark chocolate encasing a thick filling of sweetened shredded coconut. I used to like it—until I baked this cake. Now I often make this version instead: for him (he’s learned to greet my efforts with theatrical enthusiasm, poor guy) and, when I have the energy, for myself. His dream birthday cake has become my own.
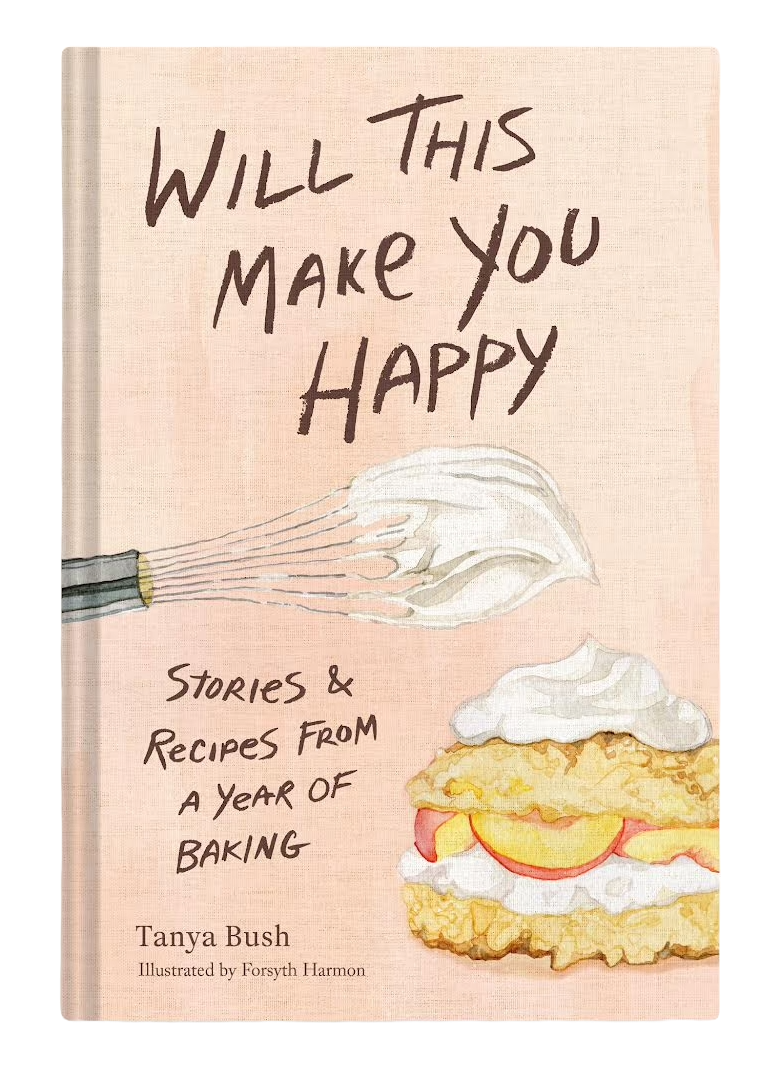
Will This Make You Happy - out next year!
I’ve always been fascinated by the dynamic between baker and consumer, recipe developer and recipient. It’s a relationship freighted with expectation. It’s something I write about in my narrative cookbook, Will This Make You Happy. After testing a recipe into submission, you present not just a finished cake but the invisible ledger of labor, mess, and failure that came before it. And often, you wait for someone else to make it all feel worth it. Sometimes they can, sometimes they can’t. No one ever brings you exactly the cake you want. And that’s the point. You bake it, you fight over it, you eat it anyway. It’s a birthday.
The Sponge
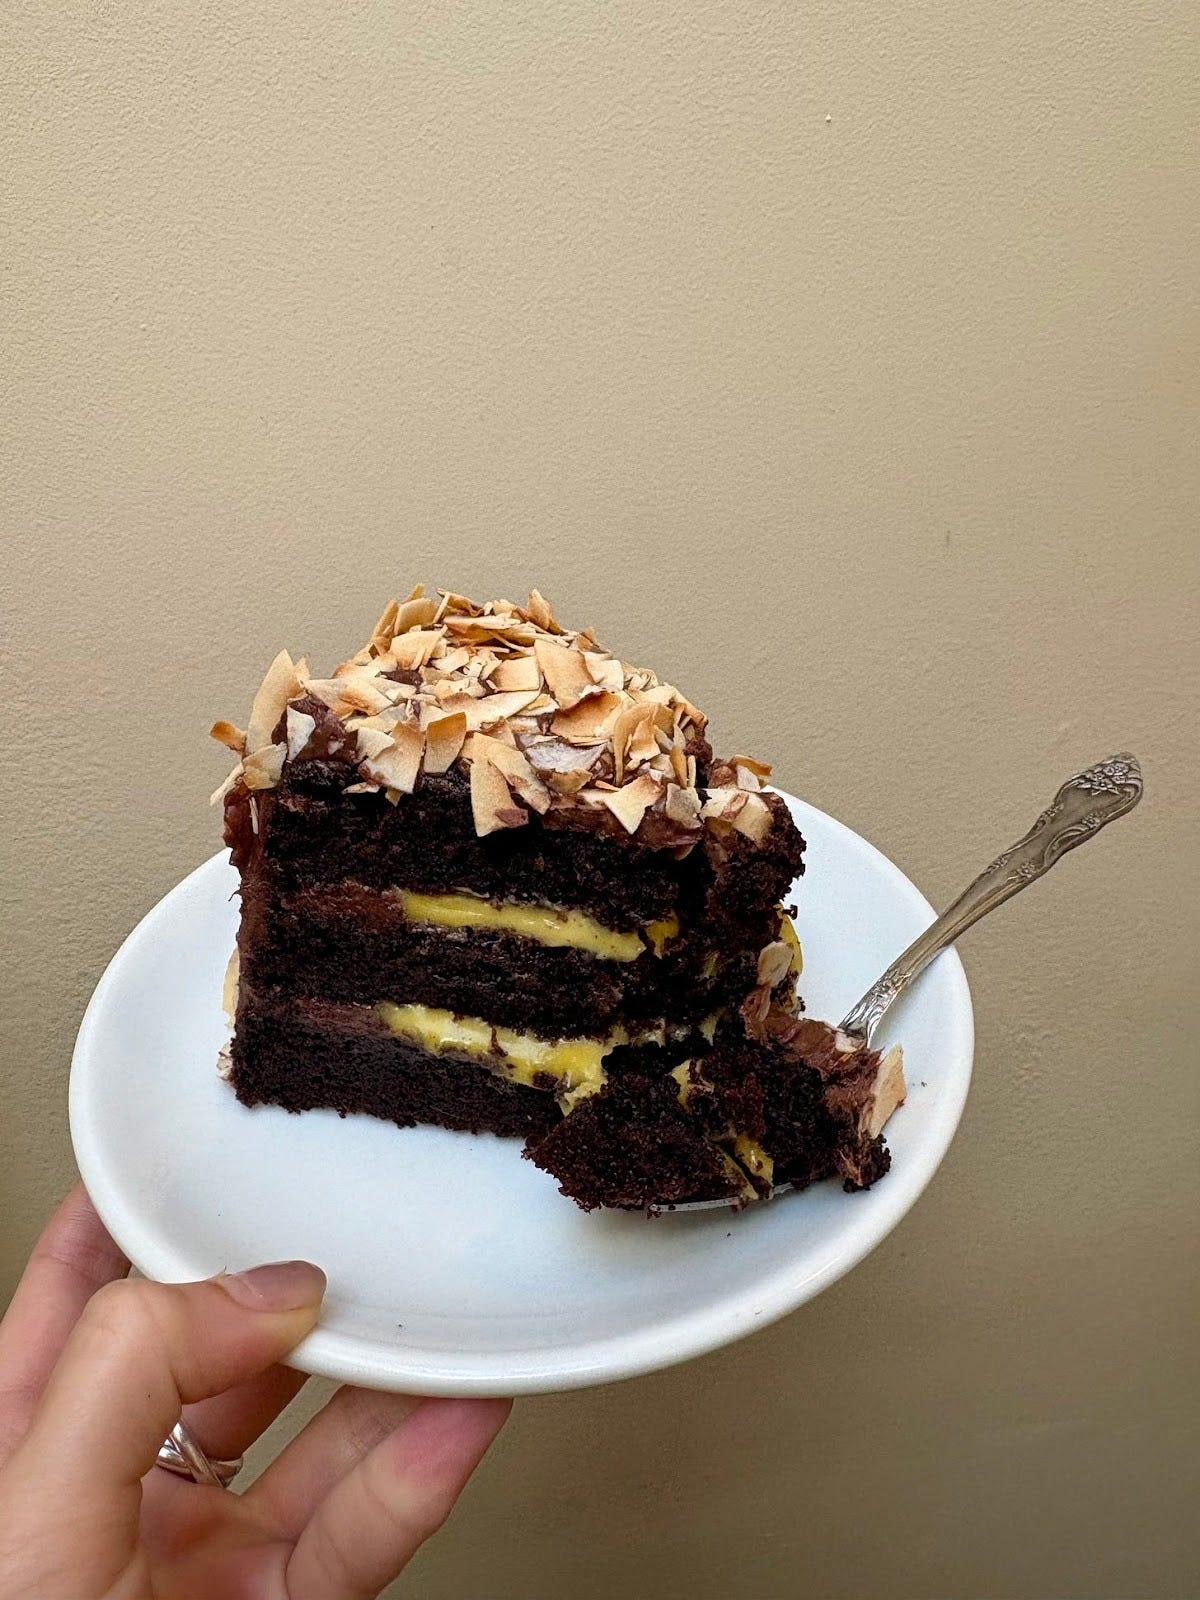
The final slice
I baked what felt like an absurd number of chocolate cakes before landing on one that was right. What I wanted was a plush, supple crumb and a chocolate flavor strong enough to cut through the richness of the filling. At one point I went overboard with fancy dark chocolate and way too much European salted butter, but in the end the simpler route won out: light brown sugar (dark works fine too) for moisture, a good hit of salt, buttermilk for tang, freshly brewed coffee for flavor, nice olive oil for a faint floral note (though canola will do just fine), and plenty of good cocoa powder.
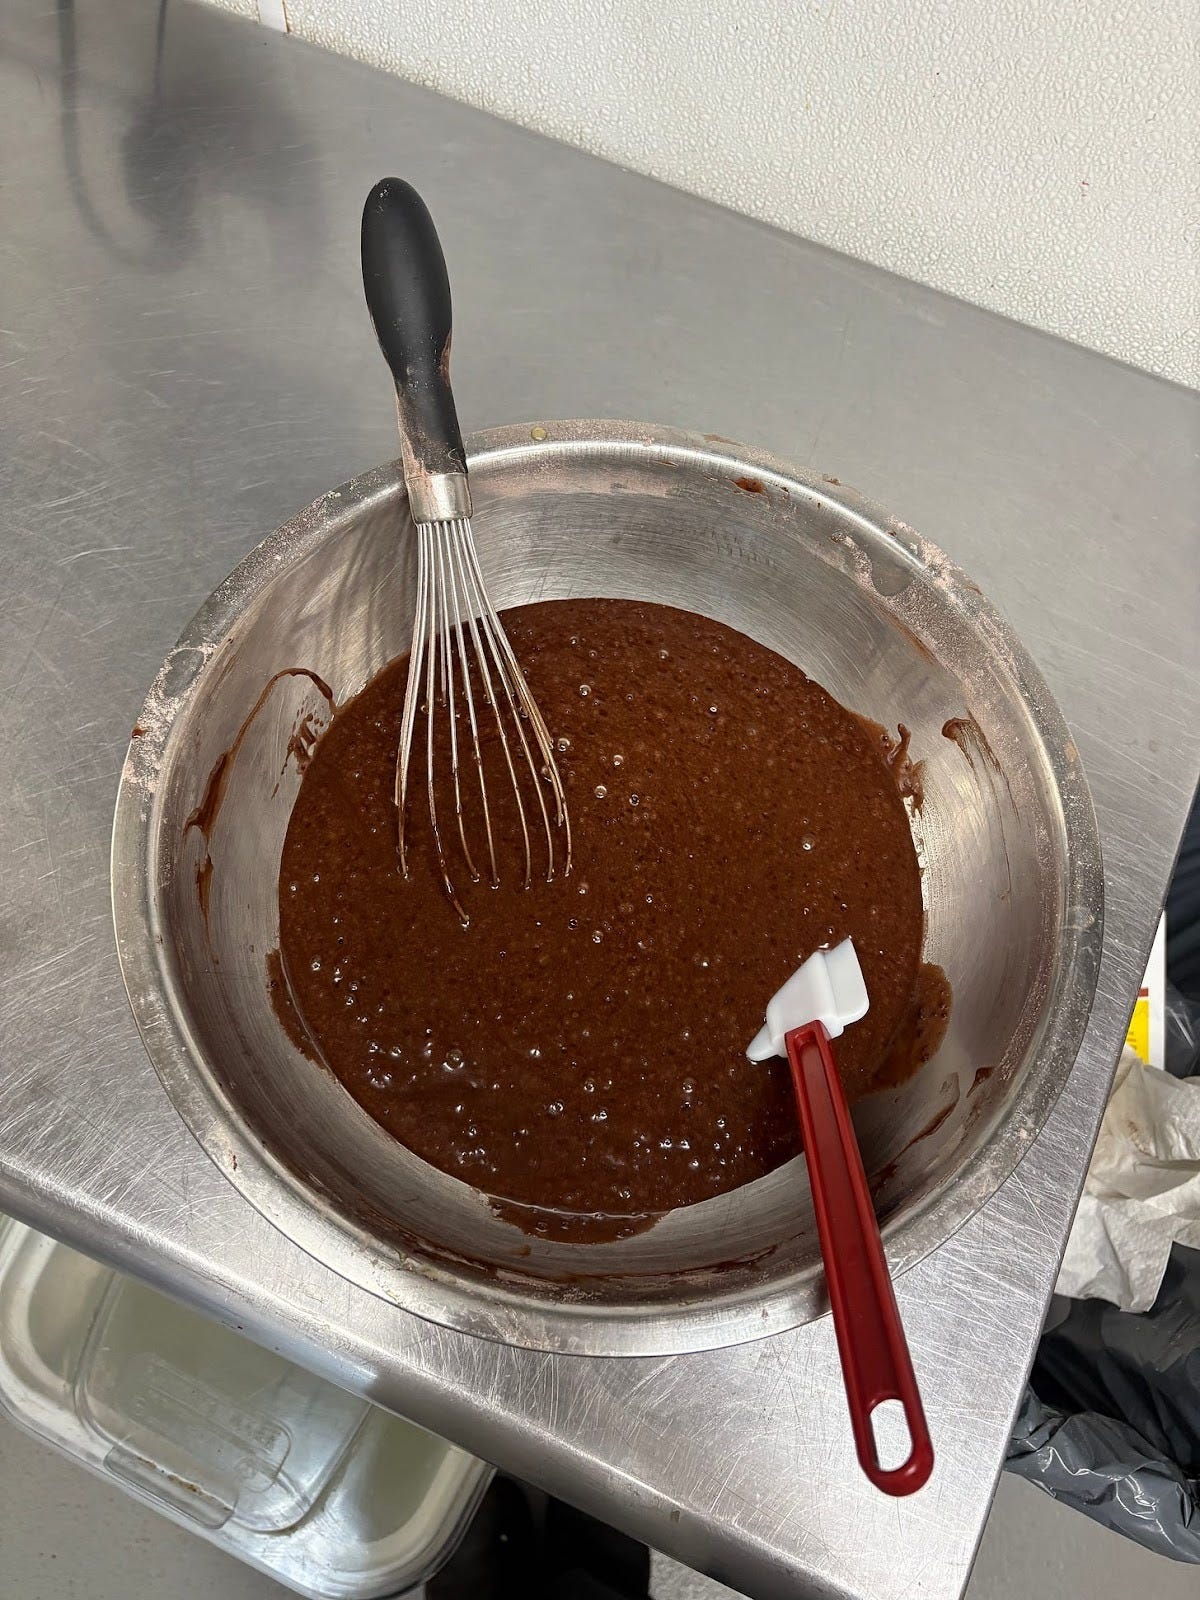
Chocolate Sponge in progress
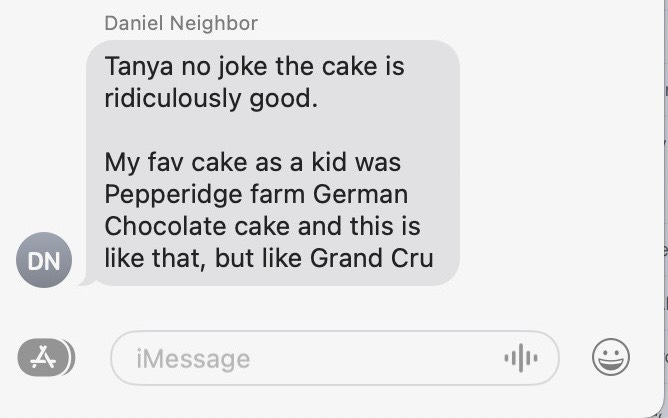
When I gave my neighbor a slice, he christened it “Pepperidge Farm German Chocolate cake…but like Grand Cru,” which is the highest compliment one could ask for (I’ve lived…I’ve learned). Not every wheel needs reinventing. It’s a whisk-it-all-together-in-one-bowl kind of cake, which feels appropriate considering I’m asking you to make custard for filling.
As for the bake, I’ve tried all the tricks, tall cakes sliced in half, those cake-leveling gadgets that promise engineering precision, but I always mess it up. The layers end up lopsided and sad. These days I just bake the layers individually. At home I only have two pans, so I bake two layers, flip them onto a rack to cool, then reuse a pan for the final round (the batter holds fine at room temp for a few hours). But really, it’s choose-your-own-adventure: if you’re steady with a knife, bake two tall cakes and split them. You’ll have four thinner layers instead of three slightly thicker ones.
For assembly, I use Natasha Pickowicz’s genius and stress-free method: stack the layers inside a tall 9-inch cake pan or pot so everything remains stable and aligned. But you can just as easily build it on a cake board if you’re braver than me. It’s just that my hands are unsteady and my ego is fragile.
The Salted Coconut Custard
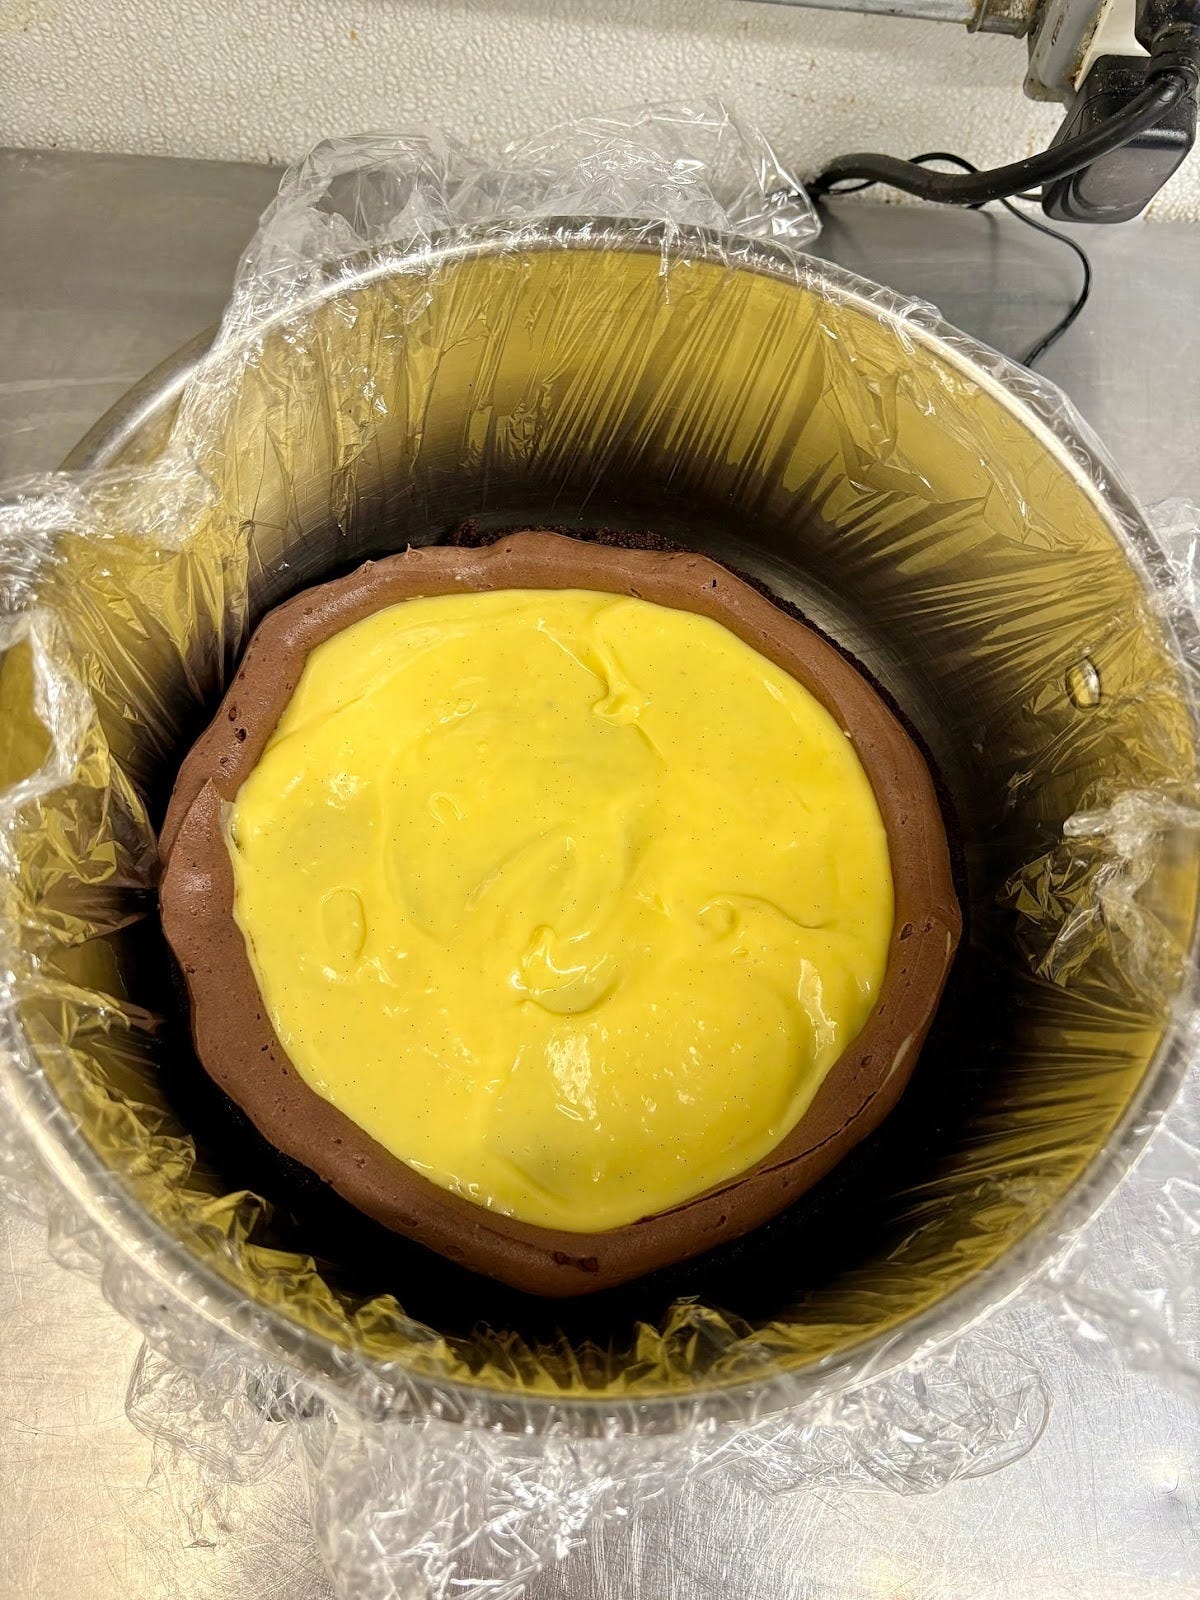
Building the Cake
Let’s talk about the real hero of coconut flavor: dried coconut milk powder. I first stumbled on it a decade ago at a co-op by my college, but these days it’s easy to find online. Whisk warm water into it and you’ll have coconut milk that keeps for days. But I love using it dry, and because it doesn’t add extra moisture, you can slip it into almost anything. I whisk it into cream cheese frostings, dissolve it into brown butter for cookies, or literally sprinkle it on toast with sugar.
I prefer pudding-style fillings in a layer cake—the custard works as a lush textural contrast to the sponge and keeps the whole thing from tipping into a shock of sugar. Also, I love making it. Custard is one of baking’s small miracles: it comes together on the stovetop in minutes, can be flavored a hundred different ways, and you can taste and adjust as you go. If coconut isn’t your thing, I suggest going rogue. Whisk in 32 grams of peanut butter, hazelnut paste, or tahini. But I encourage you to taste and adjust—I’ve found that the custard can handle higher amounts of nut butters if you prefer a punchy flavor. Toast and blitz nuts or sesame seeds and press them onto the sides of the cake instead of the coconut.
Here, the custard is a crème pâtissière. My base recipe leans on heavy cream and an indecent number of egg yolks for maximum silkiness.
The Frosting

The frosting
I have a lot of strong opinions about frosting. I’ve basically renounced buttercream altogether (I know, unpopular). I’ll occasionally trot out a Swiss meringue if I need structural stability for a wedding cake (never again), but in general I prefer butter baked into a pastry. Even the best SMBC always feels a little waxy to me, especially if it’s not perfectly tempered.
For me, frosting should bring tang, especially when you’re working with a high sugar sponge. I almost always use whipped cream fortified with mascarpone, cream cheese, crème fraîche, or sour cream. For this cake, I wanted something that was rowdy and decadent: a chocolate cream cheese frosting buoyed with whipped cream. It has the richness of ganache but a lighter texture and the cream cheese introduces a pleasing edge. The method is simple: whip cream to soft peaks, beat cream cheese with powdered sugar, cocoa powder, vanilla, and salt, then fold the two together until you’ve got a frosting thick and rich. Taste and adjust for salt always.
The Coconut
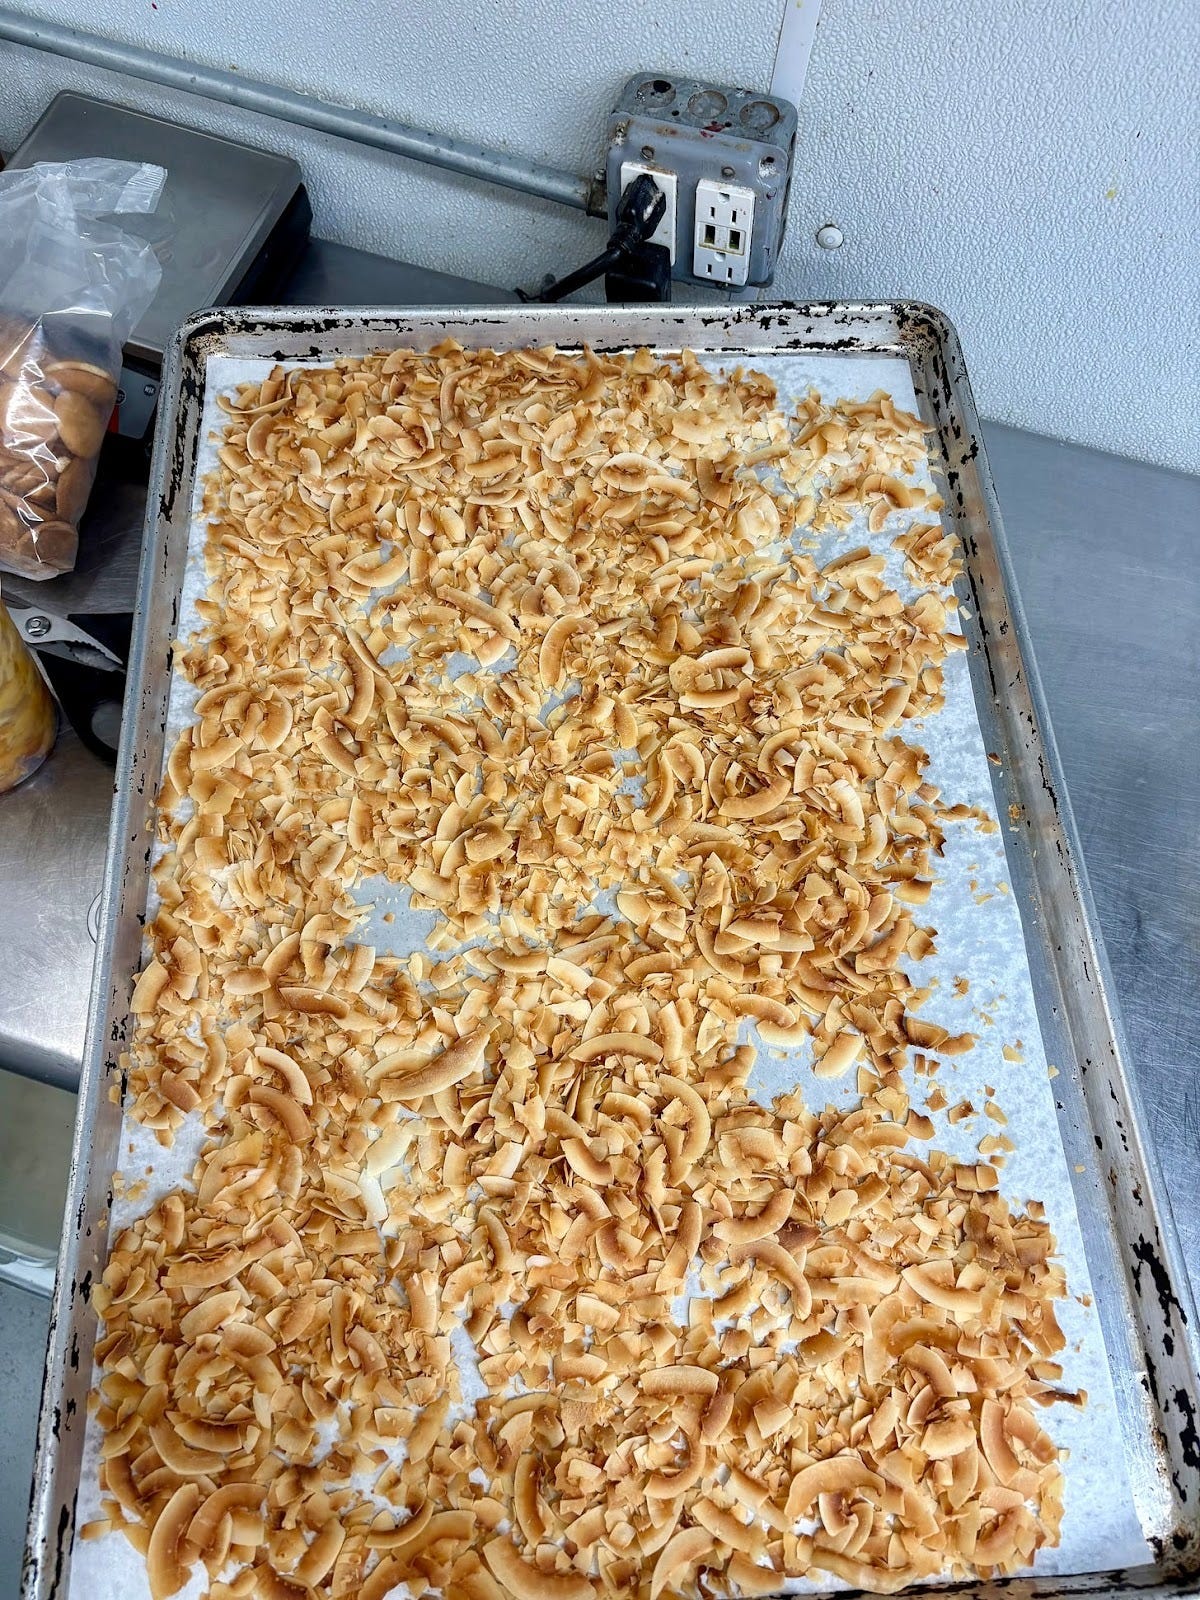
The coconut flakes
Oh beloved coconut flakes, which can hide all manner of frosting missteps and introduce a pleasing crunch. I toast mine at 325°F / 160°C for 4 minutes, give them a stir, then another 4–6 until they’re golden. Once cool, I press them around the sides of the cake, until it looks like a giant snowball. They are a god send for someone like me who is hopeless at cake decorating.
RECIPE: Tanya Bush’s Dream Toasted Coconut Chocolate Cake
Recipe adapted from Will This Make You Happy: Stories & Recipes from a Year of Baking by Tanya Bush, © 2026. Published by Chronicle Books. Pre-order now.
Makes 1 x 8 or 9inch layer cake.
Ingredients
Chocolate Cake
240 g (2 cups) all-purpose flour
75 g (1 cup minus 1 Tbsp) Dutch-process cocoa powder
2 tsps baking soda
1 tsp baking powder
1 1/4 tsps kosher salt
240 g (1 cup plus 1 Tbsp) buttermilk
230 g (scant 1 cup) freshly brewed coffee, cooled
210 g (1 cup minus 1 tsp) light brown sugar
210 g (1 cup plus scant 1 Tbsp) extra-virgin olive oil
200 g (1 cup) granulated sugar
100 g (2 large) eggs, at room temperature
18 g egg yolk (from 1 large egg), at room temperature
1 tsp vanilla extract or paste
Cocoa Cream Cheese Frosting
145 g (about ⅔ cup) heavy cream
380 g (about 13½ oz) cream cheese, at room temperature
325 g (about 2¾ cups + 2 Tbsp) powdered sugar
45 g (about ⅓ cup + 1 Tbsp) Dutch-process cocoa powder
1⁄2 tsp vanilla extract or pastePinch of kosher salt, or more to taste
Salted Coconut Custard*
190 g (3⁄4 cup + 2 tsp) whole milk, divided
69 g (scant 1⁄3 cup) granulated sugar
61 g (1⁄4 cup) heavy cream
21 g (2 1⁄2 Tbsps) cornstarch
64 g egg yolks (from 3 to 4 large eggs), at room temperature
21 g (1 1⁄2 Tbsps) unsalted butter, cut into 1⁄2-inch (13 mm) cubes
3/4 tsp kosher salt
1⁄2 tsp vanilla extract or paste
16 g (2 Tbsps) sifted coconut milk powder
Plus
Unsweetened coconut flakes, toasted, for decorating
Sweetened coconut flakes, for between custard layers. (optional, see note below)
*Note: Once layered into the cake, the coconut custard has a subtle flavor rounded out by the toasted coconut exterior. If you’re a coconut fiend, you can double the coconut milk powder in the pastry cream and tuck some sweetened shredded coconut between the custard layers, too!
To make the sponge:
Preheat the oven to 350°F (180°C / 160c Fan). Lightly spritz three 9-inch (23 cm) or 8-inch (20 cm) round cake pans with cooking spray and line the bottoms with parchment paper.
To make the cakes: In a medium bowl, whisk together the flour, cocoa powder, baking soda, baking powder, and salt.
In a large bowl, whisk together the buttermilk, coffee, brown sugar, oil, granulated sugar, eggs, egg yolk, and vanilla until smooth
In three additions, sift the flour mixture into the wet mixture, whisking vigorously after each addition until the batter is smooth and glossy. Divide the batter evenly among the prepared cake pans, about 510 grams (a little less than 2 cups) per pan.
Bake until fragrant and the center springs back when touched, 20 to 25 minutes. Let the cakes cool completely in the pans.
To make the salted coconut custard:
In a medium pot, combine 123 grams of the milk, the sugar, and cream. Whisk to dissolve the sugar. Set the pot over medium heat and cook until steaming but not yet boiling. Remove from the heat.
Place the cornstarch in a large bowl. Slowly whisk in the remaining 67 grams of milk and the egg yolks until the mixture is smooth.
Ladle some of the hot milk mixture into the bowl with the yolks, whisking constantly to prevent clumping. Slowly pour the remaining hot milk mixture into the bowl, whisking constantly until smooth. Pour the egg-milk mixture back into the pot and set it over low heat. Cook, whisking constantly and scraping down the sides and bottom of the pot, until very thick, 2 to 4 minutes. Bring to a bubble and cook, whisking constantly, for 1 minute more. Remove from the heat.
Whisk in the butter until glossy. Whisk in the salt, vanilla, and coconut milk powder.
Let the pastry cream cool completely. Transfer to an airtight container and press a piece of plastic directly against the surface to prevent a skin from forming. Refrigerate for at least 2 hours or up to 5 days. When ready to use, whisk the custard in a small bowl until smooth.
To make the cocoa cream cheese frosting:
In the bowl of a stand mixer fitted with the whisk attachment (or in a large bowl with a whisk or handheld mixer), whisk the cream on medium-high speed until stiff peaks form, about 4 minutes. Transfer the whipped cream to a small bowl and place it in the refrigerator.
In the same bowl of the stand mixer (no need to clean) fitted with the whisk attachment, whisk the cream cheese on medium speed until smooth and fluffy, 1 to 2 minutes. Add the powdered sugar and whisk until smooth. Scrape down the sides and bottom of the bowl with a rubber spatula.
Add the cocoa powder, vanilla, and salt and whisk on low speed until incorporated, stopping to scrape down the sides and bottom of the bowl as needed.
Using a rubber spatula, little by little, fold in the whipped cream until incorporated. Taste and season with more salt, if desired. Transfer one-quarter, about 250 g, of the frosting to a piping bag. Refrigerate the frosting for 30 minutes.
To build the cake:
Line a deep 9-inch (23 cm) round cake pan or pot with plastic, ensuring plenty of overhang. Invert one cake round into the bottom of the prepared cake pan, bottom-side up. Dollop about 100 grams (1/3 cup) of frosting onto the cake and spread it evenly with an offset spatula. Pipe a dam of frosting around the perimeter of the cake to ensure the custard doesn’t ooze out of the cake.
Using an offset spatula, cover the cake evenly with about 190 grams, or half of the salted coconut custard.
Invert the second cake onto the custard and repeat with the layer of frosting, the frosting dam, and the coconut custard.
Finally, place the third cake on top, bottom-side up.
Wrap the pot tightly in plastic and refrigerate for at least 1 hour or up to 24 hours. The longer it is chilled, the easier it will be to decorate. Store any unused frosting in an airtight container and refrigerate for up to 4 days. (The cake can also be stored in the freezer, wrapped in plastic, for up to 3 months; thaw the cake in the refrigerator for 24 hours.) Allow the frosting to come to room temperature before use.
Invert the cake onto a cardboard cake round or serving platter. Remove the cake pan, then peel off the plastic.
Spread a thin layer of frosting all over the top and sides of the cake for a crumb coating.
Smooth with an offset spatula and return to the refrigerator for 15 minutes.
Spread a thick layer of frosting all over the top and sides of the cake. To perfectly smooth the frosting, fill a bowl with hot water and dip the offset spatula into it. Holding the spatula flush to the cake, turn the cake until the coating is smooth.
Sprinkle the coconut flakes all over the sides and top of the cake. Serve immediately. The cake will keep well wrapped in plastic for up to four days in the refrigerator.
Love Tanya, and can't wait for her book—excited to make this!!
I’m a MOUNDS addict and I think this cake might hit the spot. Can you please specify either by weight or brand on the kosher salt. Thank you.