Hello
Welcome to another edition of Kitchen Projects, my recipe development journal.
So… remember restaurants? I do… just about. And boy do I miss them.
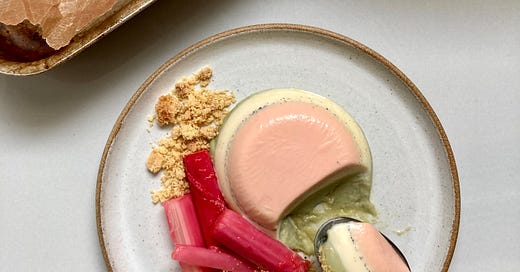
That’s why this week I’ve decided to dust off my fancy pants and make a super special goddamn plated dessert. You deserve it, I deserve it, we all bloody do. This (slightly fussy but very lovely) Neapolitan style panna cotta is a small way to reclaim a little real estate in our pre-pandemic lives.
Putting together the dessert this week was a wonderful reminder of beautiful food experiences out there just waiting for us. But until then, let’s have some fun making the restaurant at home!
As ever, thank you so much for subscribing. I’m truly grateful to share this space with you. If you’re enjoying this and have someone in mind that you think would like it too, please forward it to them.
Love
Nicola
PS. Here’s the playlist - there is of course a song at the end for you to wobble your panna cotta to
Extra forever
My mum tells this story of a school art project from when I was nine: The brief was to create a hat inspired by one of the four elements to be worn at the end of term assembly, in what I can only guess was some sort of creationist fashion show.
Rather than picking one, I was adamant to make a hat that depicted all four elements at once. The result? The hat was monstrously huge, rather unstable and - to be frank - a bit of a disaster. Despite it’s awkwardness, I wore it with pride, even as bits of bubble wrap and loo roll fell off as I walked. My mum loves this story because it sums up part of my character that I’m always trying to keep in check - I kind of have the tendency to go overboard.
The reason I’m telling you all this is so you can understand why this week on Kitchen Projects I am asking rather a lot of you. For this Neapolitan panna cotta, I am lovingly asking that you make three separate, small panna cotta mixes, one that requires you to make your own puree from scratch, natch. Unlike the aforementioned hat (I’ve learned a bit from my errors), the result is very stable and elegant. And although this week’s project has quite a few steps, I promise I will never ask you to do anything that isn’t totally worth it.
If you’re reading this and you’re thinking “BLOODY HELL NICOLA. What are you trying to make me make THREE DIFFERENT PANNA COTTA bases for?” I say: Fair enough, this recipe is a bit OTT. But I can also gladly tell you that each of these recipes work beautifully on their own, so you can scale up any of the layers that you like. Simplicity restored.
Shall we get on with it?
---
The basics of panna cotta
If you’re not familiar or if you’ve never made it before, panna cotta is a concoction of dairy that is set - using gelatine - into a pleasing mass. It can be made of double cream, milk or a combination of both. Famed for its wobble, it can be flavoured in lots of ways and once set - depending on the chef - will be anywhere from bouncy to sloppy.
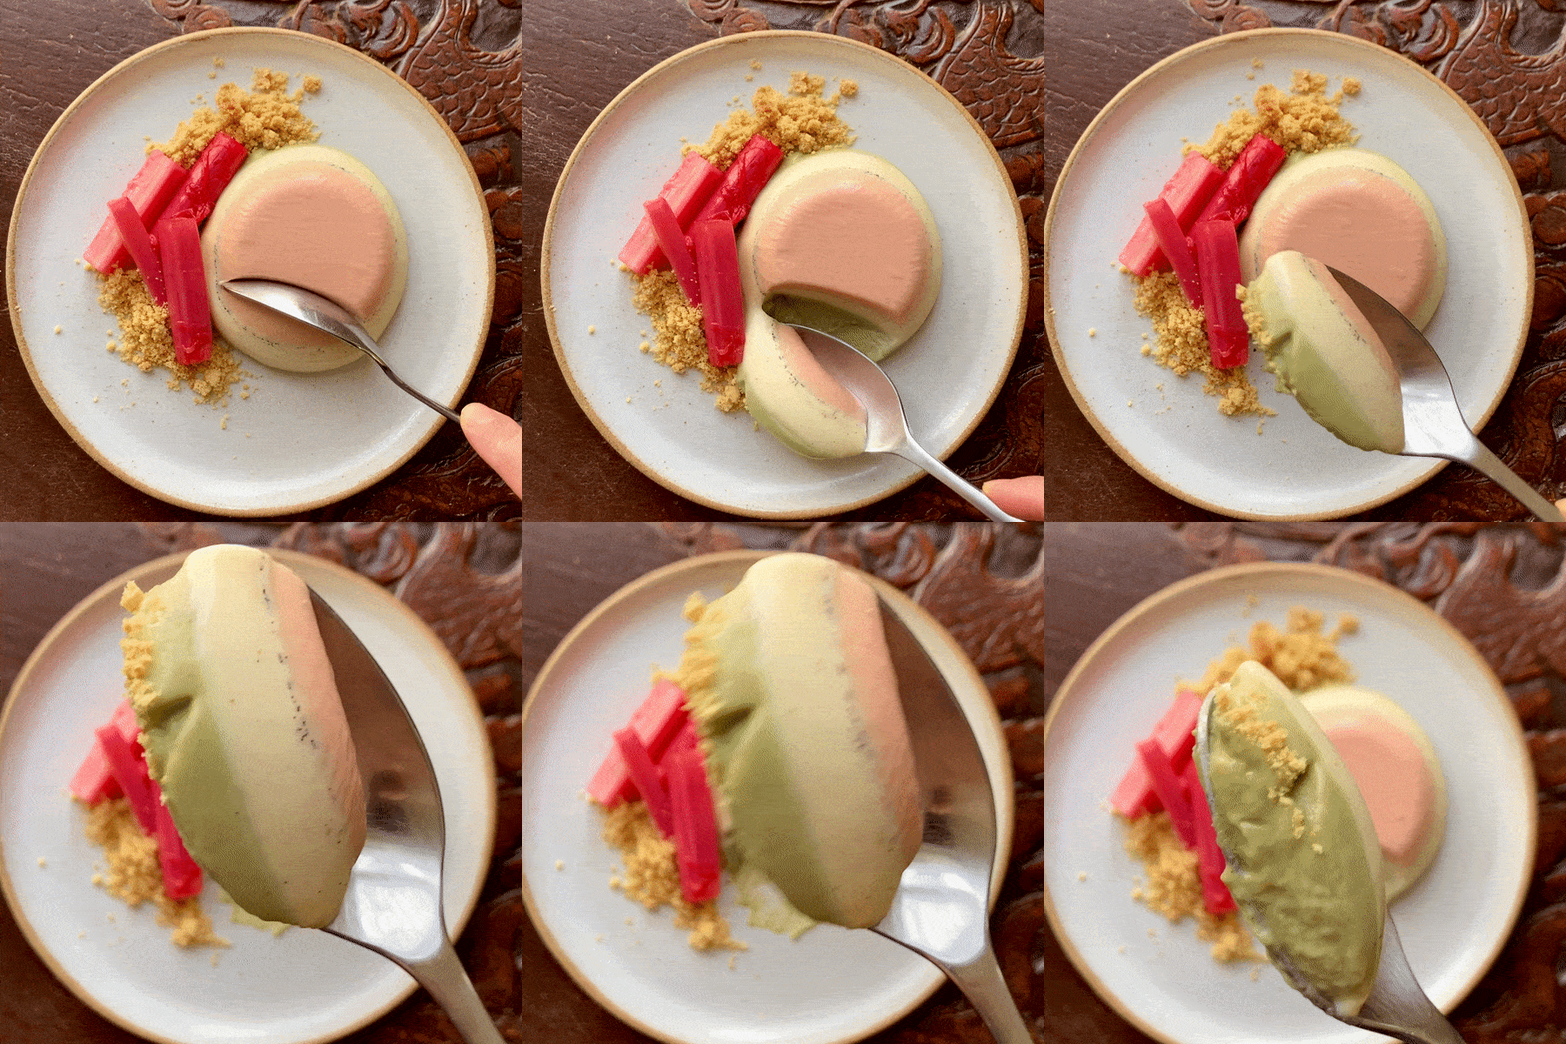
To serve, the panna cotta mould is dipped briefly in warm water and then upturned on a plate. When behaving, it slips out neatly the first time. Panna cotta can also be set and served in a glass - you do miss out on the thrill of the flip though. And you never get to truly appreciate the jiggle.
I need to start off by saying that if you are a vegetarian - and I know you’re out there! - I’m so sorry but this week’s newsletter just isn’t for you. Although you can absolutely substitute agar agar for gelatine and though I’ve heard great things about the Dr Oetker vege-gel, I haven’t practised it myself so I can’t with good faith give you a substitution. That being said, I have my eyes on a vegetarian friendly panna cotta in the next month or so. I got you!
Flavouring the panna cotta
I don’t know about you but anything Neapolitan-esque totally lifts my spirits. The greedy side of me is always so gleeful at getting three flavours at once.
For this take on a Neapolitan I am going a bit off piste (soz chocolate) and I’m combining three of my absolute favourite ingredients: Rhubarb, vanilla and pistachio.
So, how do we get those flavours into our panna cottas? When it comes to dairy, you’ve got a few options. You can infuse the dairy (e.g. with coffee or citrus peels) or mix flavours directly into the base. We get to do both today - hurrah!
For the former, it’s quite simple: You aren’t really changing the make-up of the milk/cream by infusing a flavour into it so you can go wild with your add-ins.
For the latter, it’s a bit more complicated - by mixing or melting things directly into the base itself, you are changing the physical structure, affecting the fat content among other factors. This means you have to consider each addition carefully. Let’s break it down:
The pink layer
When I first tried this Neapolitan recipe back in November, when there was nothing pink in season, I ended up making a hibiscus infusion. It was absolutely delicious, seasonally sensitive and had the perfect colour. But then… January came.
Every year at this time, Instagram feeds and newspaper food sections are suddenly alight with the brightest pinks. Rhubarb has ARRIVED. I wouldn’t be a pastry chef if I didn’t make the most of the season, so for the pink layer we’ll be making our own slightly sweetened puree.
NB. For the puree, we’ll be making more than we need (like always) but there’s lots of lovely things you can do with rhubarb puree: rhubarb icing, rhubarb glaze, rhubarb curd, rhubarb sorbet, rhubarb mousse, rhubarb jelly (sans dairy) etc. let your rhubarb inspired heart run wild!
Using fruit in a panna cotta is a great way to showcase flavours, but there are a few considerations to make:
Firstly: ENZYME ACTION! Since gelatine is a protein (and it’s gelling capabilities are a result of proteins forming new bonds with other substances), any fruit that contains the ‘protease’ enzyme will wreak havoc with your panna cotta. These fruits include kiwi, pineapple, figs and papaya. Ginger is also a tricky area. Fortunately for us, rhubarb does NOT contain protease so we don’t need to find a workaround for that.
Secondly, you need to consider acidity, as it can interfere with gelatine’s gelling ability as it can denature the protein involved with the setting. Rhubarb is approximately 3.5 on the pH scale and has mild concentration of acid. So, to counteract any gelatine destroying nightmares, we make sure to introduce gelatine to the rhubarb once it has been combined with the dairy
Thirdly, sweetness. All fruits have their own level of sweetness and you need to adapt the sugar accordingly. However, this needs to be done carefully. Sugar can actually bolster gelatine and make your mix set-up even firmer.
Rhubarb has a wonderful flavour but definitely needs sugar to sing. I played around with the quantities a few times before settling on the final formulation: By adding a little to the puree as well as the dairy, the final result is a beautifully tart but not too acidic.
The additional sugar (compared the the other layers) means the rhubarb layer is slightly firmer than the others but this actually turns out to be a good thing: Whilst the pistachio and vanilla layers disappear almost immediately, the rhubarb layer takes just a few seconds longer to dissolve, allowing it to remain on your palate. Heaven.
The white layer
When you are making vanilla panna cotta, timing is everything. Sure, you could pour warm vanilla panna cotta directly into your basin, but you’ll find that all of the vanilla sinks to the bottom. This won’t affect the taste but can be a bit visually lacking.
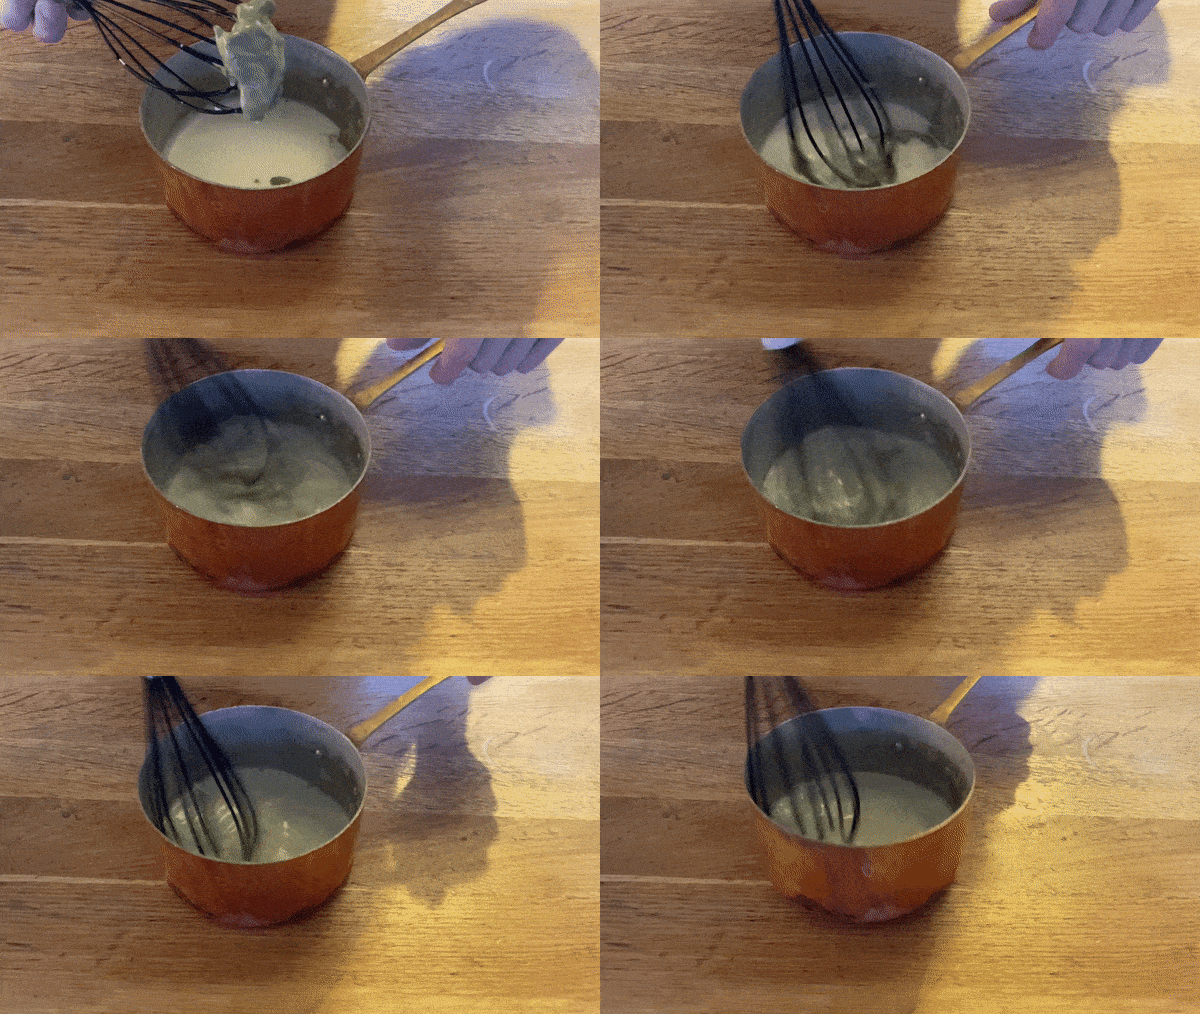
To counteract this, you need to leave the mixture to thicken, stirring regularly as the viscosity changes. As the pannacotta thickens, the vanilla seeds will be suspended in the mixture. Only now is it sensible to pour the panna cotta. You can speed up this process by whisking the mixture over an ice bath until it is noticeably thicker.
The green layer
This recipe is also the first in a Kitchen Projects series I call ‘making the most of the insanely delicious (but terrifyingly expensive) pistachio products’.
Pistachio is the absolute queen in my eyes but, in pursuit of my queen, I’ve gone through too many jars during R&D without getting proper results: I’ve sunk whole jars off the stuff into cake batters to such small effect that it’s my mission to only pass on 100% legit recipes that majorly showcase it and make it worth the cost.
Panna cotta is a PERFECT destination for pistachio - it is reasonably simple and your nut paste is in safe hands. And I know it’s traditional for chocolate to be the third flavour in the Neapolitan but trust me, this pistachio really brings your panna cotta to a glorious level.
Given the high fat content of the pistachio cream (I’ve used this brand and it has 38g fat per 100g), I decided to replace half of the double cream (which has approx 50g fat per 100g) weight with pistachio to avoid throwing off the formulation too much.
Alicia wrote to me about the fact that I use pistachio CREAM and not pure pistachio paste. Pistachio cream is pistachios with added sugar, whilst pistachio paste is the pure stuff. If you use the pure stuff, your panna cotta won’t be as sweet but given the reasonably small quantity, it shouldn’t throw this recipe off. Just make sure you pass it through a sieve before pouring in
When heated, some pistachio products really break down into an oily mess so I decided to introduce the paste by heating up the milk and cream first, allowing it to cool slightly and then whisking in the pistachio paste, off the heat. This mix must be continued to be whisked as it cools down to keep it emulsified.
Would nutella or something similar also work here? I should think so. If you try it, let me know!
Managing texture
I loved the idea of making a multilayered panna cotta. BUT it comes with its issues, starting with texture. A panna cotta needs only enough gelatine to ‘just set’ the mixture. When it is demoulded, it spreads out pleasingly on the plate and of course has the iconic wobble.
All is well and good when the panna cotta is still safe in its mould… but what about when you turn it upside down? Hell may break loose. Adding separate layers into this equation complicates things even further - it is crucial to make sure each one has a complimentary texture and is therefore structurally sound.
If one of the layers, for example, is very firm but the others are soft, then you’re going to have some issues - and not in a cute leaning tower of Pisa way.
How much gelatine?
I took a goldilocks approach to the gelatine quantity for these panna cottas. I wish I could say it was more scientific but it was definitely more trial and error here. I wanted to get a stable yet perfectly wobbly base that I could then impart texture cues to via sugar or mix-ins, rather than via gelatine.
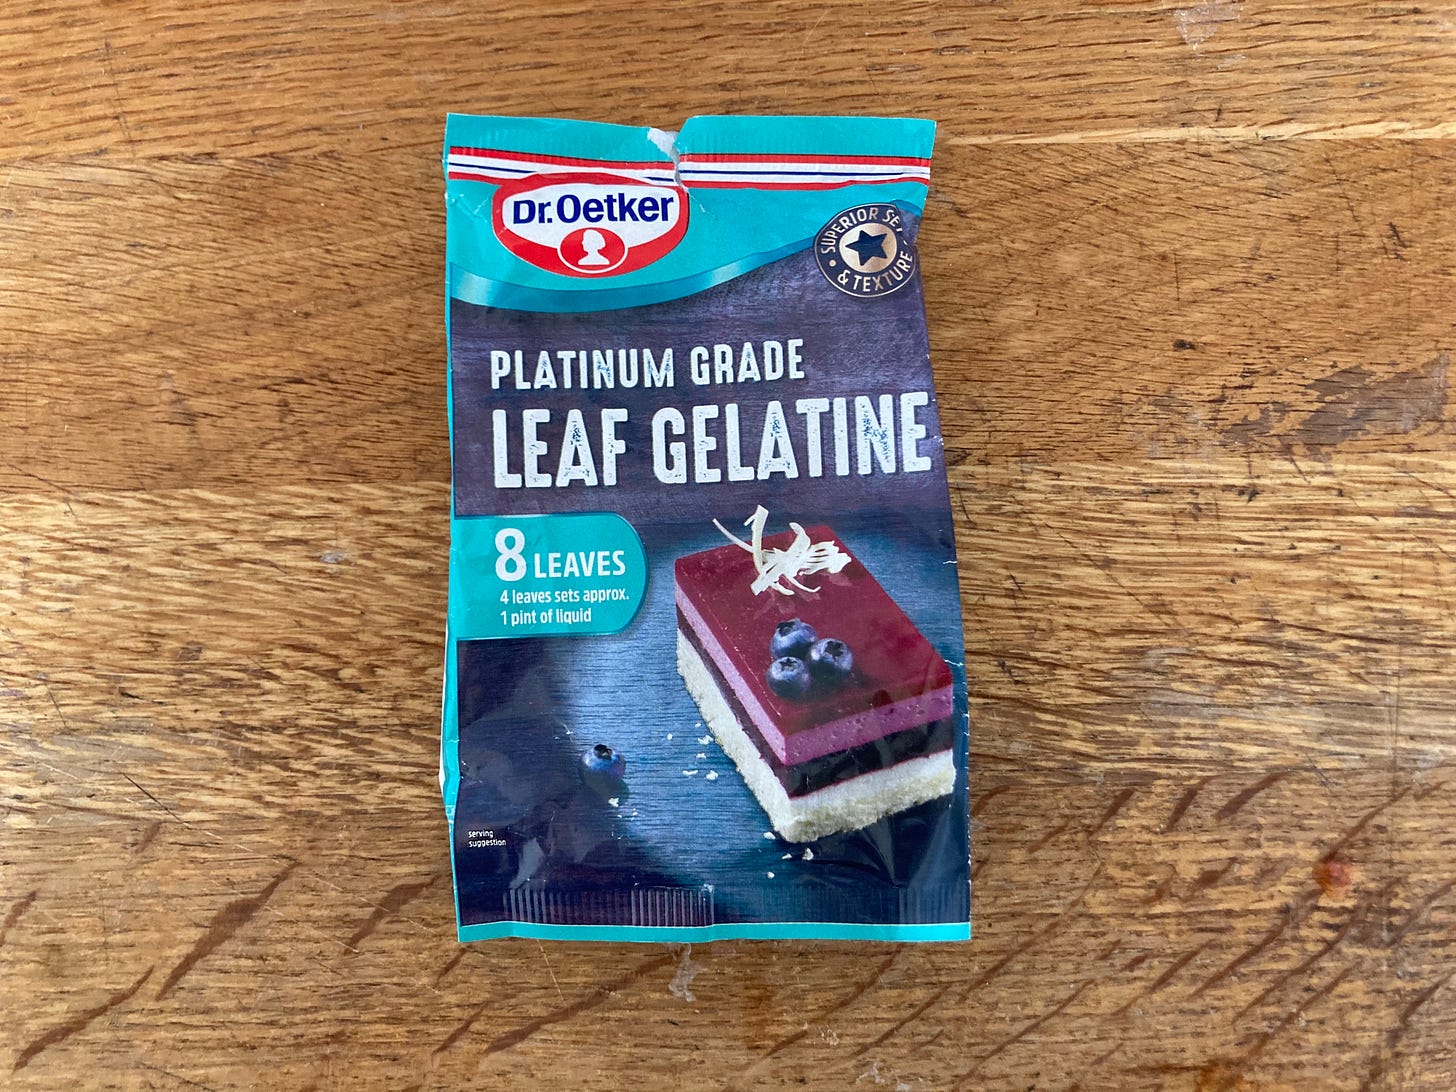
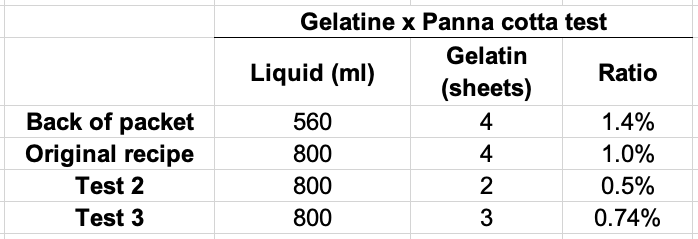
NB: I am using Dr Oekter Platinum grade leaf sheets. According to the back of the gelatine packet, 4 sheets will set 560ml of liquid - this means to set completely, so it’ll be a block of jelly.
In my original recipe (passed down from previous restaurant jobs), I used a ratio of 4 gelatine sheets to approximately 800ml of liquid. To be honest, I’d never really questioned it until now when I found it a bit too firm for my liking.
Let’s go to the spreadsheet:
The original recipe did have a pleasing wobble but it was set very firm. It was more jelly-like than I’d like and didn’t fully melt in the mouth. Although it was nice to eat, I wanted a set that only *just* holds together and disappears when you eat it.
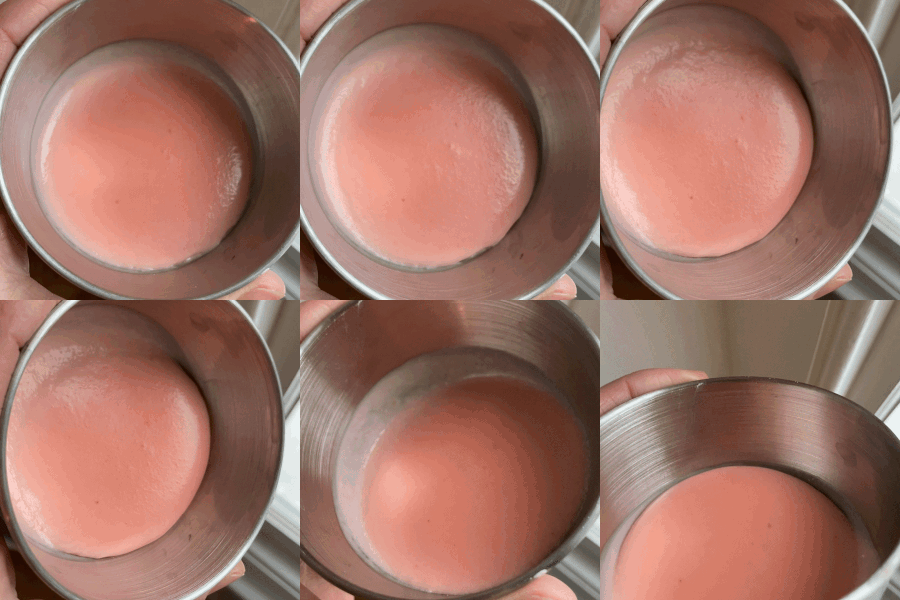
For Test 2 I slashed the gelatine in half and - surprise surprise - it was way too runny. It was thick but definitely would NOT hold itself up. Here it is after a few hours in the fridge:
Test 3 was just right. It held together pleasingly but disappeared on the palate. Gelatine melts at around 35c aka body temp, so you really only want enough gelatine in your mix that the panna cotta literally disappears and dissolves in your mouth. Beautiful.
A note on sheet gelatine
Gelatine remains a murky topic due to its seemingly endless variations (Powdered? Leaf? Bovine? Fish? Bronze? Platinum? ARGH!) and the inconsistency of its notation throughout pastry books. Some pastry books refer to sheets by number (but what size?) and some books will refer to sheets by weight.
Both of these have problems - let’s start with sheet size: Gelatine sheets in professional kitchens are double the length of those sold in supermarkets. Some fancy pastry books don’t take this into account. So annoying.
Let’s talk about weight: Sheet gelatine comes in many different blooms: titanium, bronze, silver, gold and platinum. In my understanding, these blooms represent different strengths and qualities (namely clarity), titanium being the 'weakest' and platinum being the 'strongest'. So, you need more bronze gelatine to set the same amount of liquid as you would need gold gelatine.
Rather confusingly, four sheets of bronze will set the same amount of liquid as four sheets of platinum. This means you can generally swap like-for-like between the blooms when you’re using sheets, without any serious issues. WTF right?
This is because the sheets are actually produced at different thicknesses - pretty imperceptibly to the eye though. However, if you were to weigh them you’d find that the bronze weighs about 30% more than the platinum. It’s due to this difference in weight, that gelatine sheets are actually interchangeable, since the weight of a bronze sheet is larger than that of a gold sheet, even though they look the same.
Dealing with the fusing of layers
The second problem I ran into whilst testing was the fusing of the layers.
The first time I tried this, the panna cotta simply didn’t fuse together properly and well I demoulded it, the layers slid off each other in a farcical manner. To fix this, you’ve got two options:
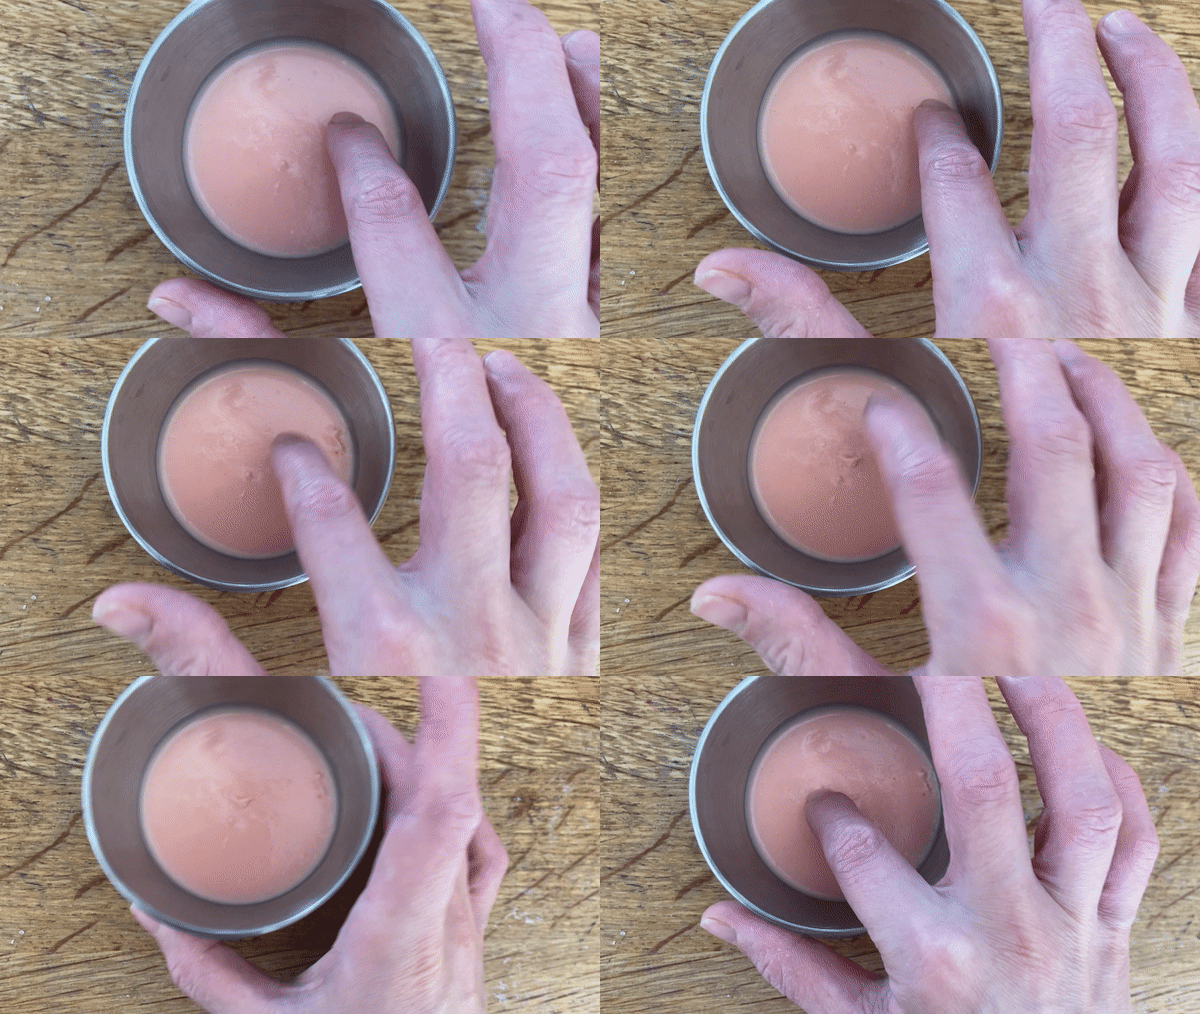
Eyes on the clock: You want to pour the layers when the panna cotta is only “just” beginning set - ie. when it is firm enough to bear weight but still sticky to the touch. If you leave it too long, especially uncovered in a fridge, a sort of skin can form on the top which gets in the way of a good fuse. Gelatine takes about 30 mins to set in the fridge (depending on how hot it is when it goes in) so just keep checking and using your fingertip to check
Blowtorch: If you happen to have a blowtorch, you can briefly melt the top of your panna cotta to make it a bit stickier. But when I say brief I MEAN brief - one or two seconds is enough. And do it from a distance!
What about spread?
The third issue I had was spread. I initially scaled out the same quantity of panna cotta base for each layer. But due to spread, the panna cotta layers looked totally uneven once demoulded.
To counteract this, I decided to increase the weight of each layer as it is built. Due to this imbalance in weights, I needed to select the strongest flavour for the top layer as there is physically less of it to shine through. Rhubarb, of course, was the obvious choice here.
The dreaded smudge
The final issue I had was smearing. As I demoulded the panna cotta, the edge would melt too much and - after all that effort - I’d be left with undefined edges. It was way worse with my original Neapolitan (the chocolate layer left a brown tinge to the whole thing, ugh, will have to revisit this summer…) but I found the only way around it was to not go OTT with the warm water dipping.
If you can be bothered to temp your dipping/demoulding water, I suggest 60c is a good not-too-hot temp to get things moving. And 5 seconds MAX at a time! That should be enough to have it slip out nicely.
Alright, let’s make it!
Special equipment
Blender
Pudding moulds - mine are from tala and are 200ml
Blowtorch - if you have a blowtorch, you don’t have to worry about timing of the layers as you can slightly melt the surface of the layer to get better adhesion. If you don’t have one, follow the recipe and timings more closely
Makes 4 x 140g(ish) panna cotta
As I mentioned before, each of these layers are beautiful on their own. If you really cba with the whole layering thing (and I wouldn’t blame ya) you can scale up any of the below and you’ll be happy with the result. Promise.
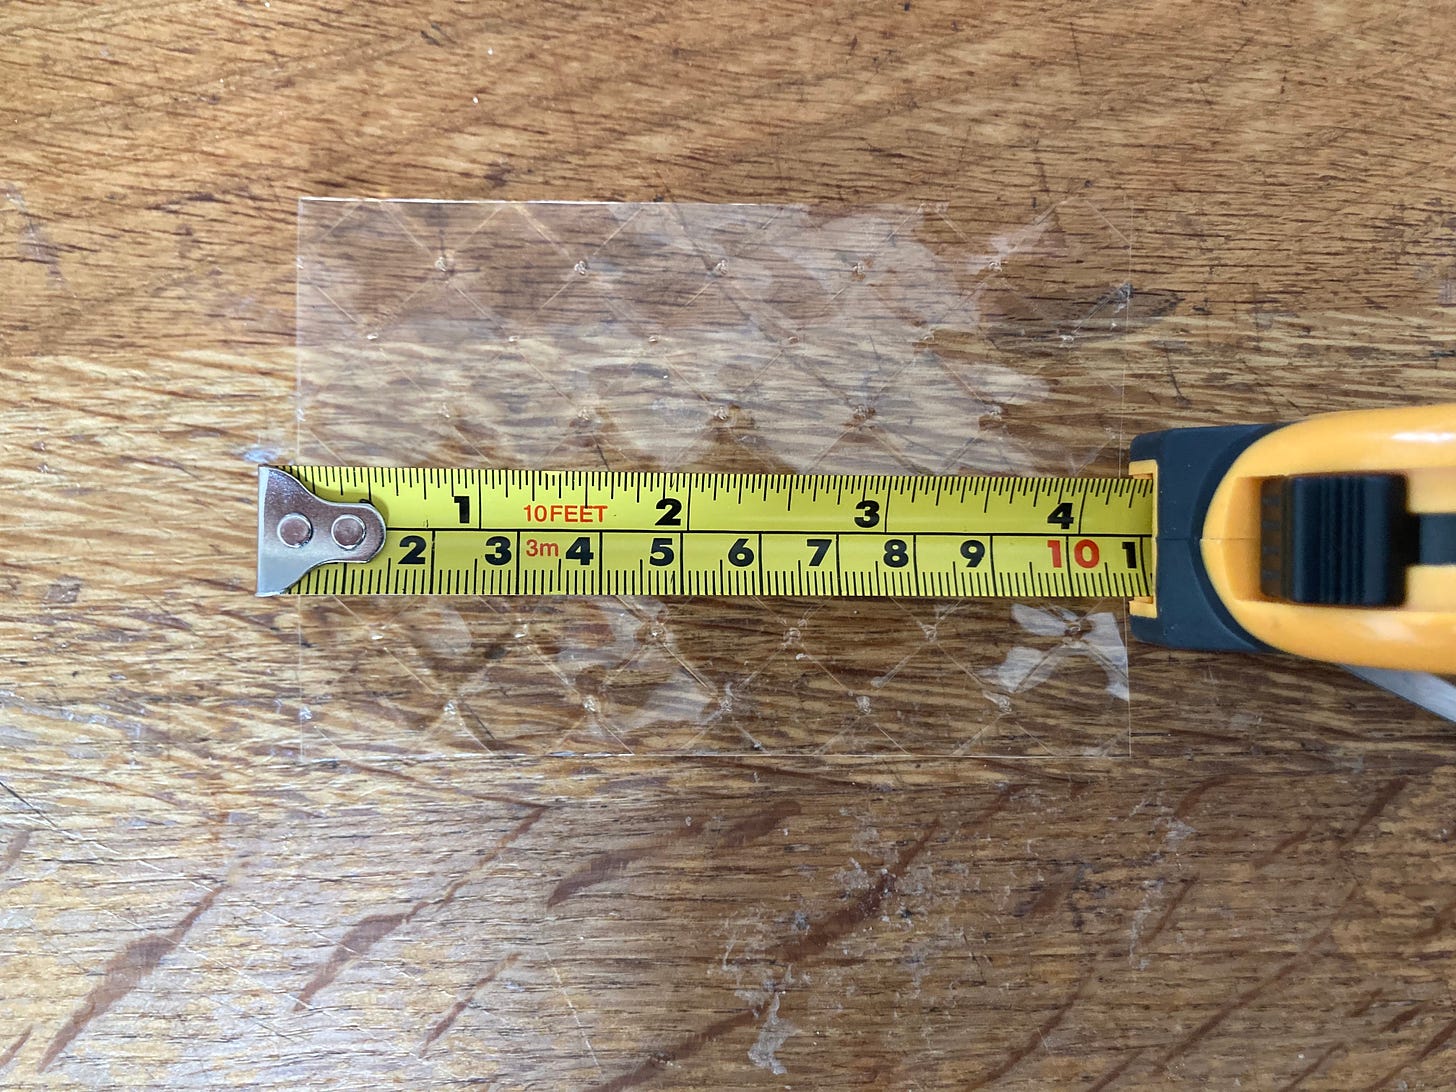
I cut my Dr Oetker platinum gelatin sheets with scissors to try and get it as accurate as possible. Mine are 11cm x 7.5cm, btw!
For the rhubarb puree - this makes a large batch. You can turn the rest into curd or something else lovely:
200g rhubarb, cut up into small pieces
30g sugar
30ml orange juice
For the rhubarb layer
70g double cream
70g rhubarb puree
20g caster sugar
½ sheet of platinum gelatine
For the vanilla layer
90g double cream
90g milk
½ vanilla pod, seeds scraped
30g caster sugar
¾ sheet of platinum gelatine
For the pistachio layer
65g double cream
65g pistachio cream (I use ‘Eatalian’ brand but any should work fine! If you’re using pure pistachio paste, please just make sure you pass your mix before you set it and note your mix will be slightly less sweet)
130g whole milk
25g caster sugar
1 leaf of platinum gelatine
Method
Rhubarb Puree
Pre-heat oven to 180c (please note I’d never normally cook rhubarb so high but the aim here is to obliterate it into a puree so I pick SPEED)
Wash briefly and then cut your rhubarb up into large chunks
Toss with sugar and orange juice on a tray
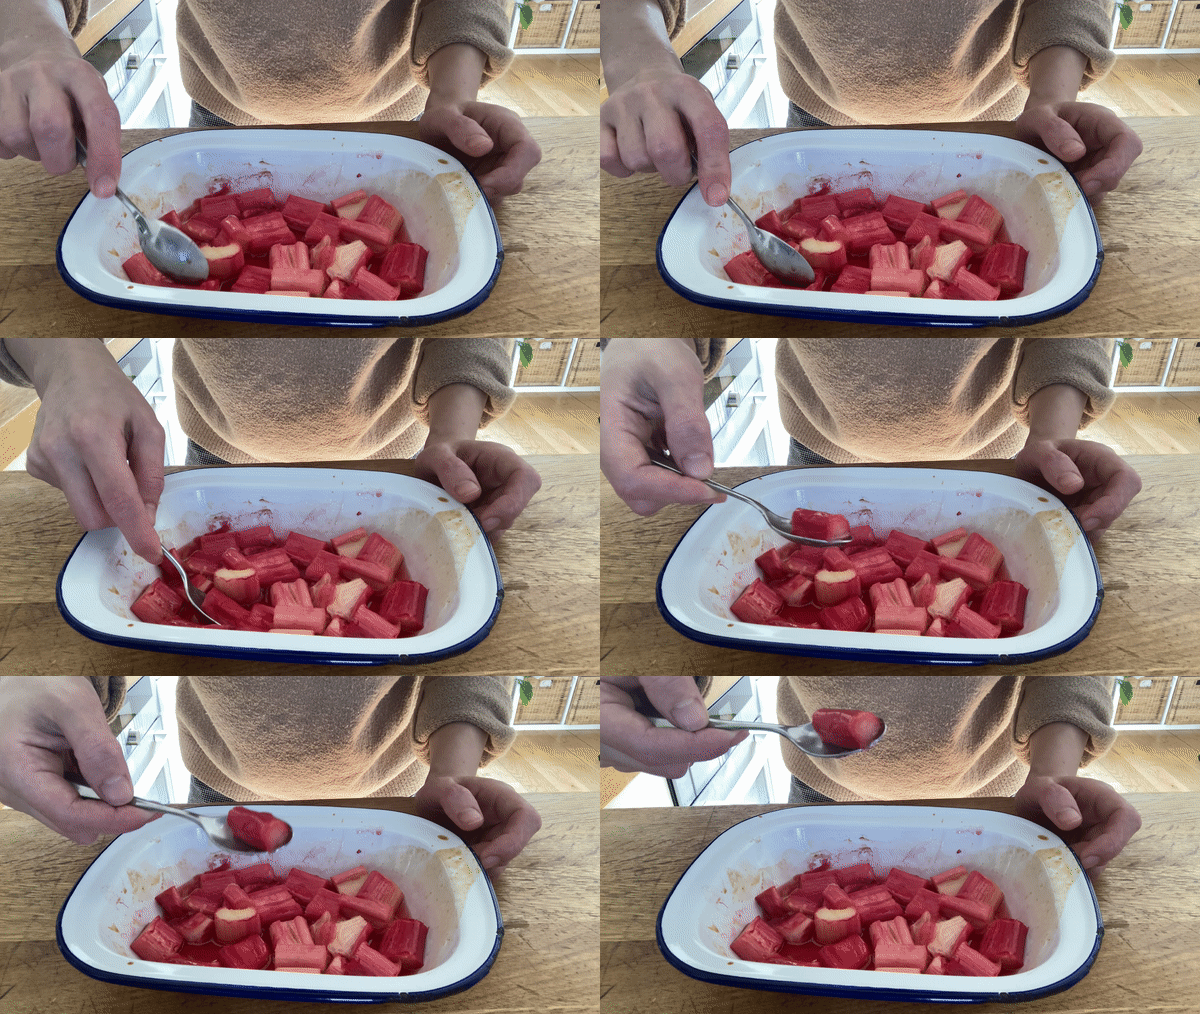
Put tray into oven and roast for 10-15 mins until soft (can be spooned apart)
Allow to cool slightly before blitzing in a food processor
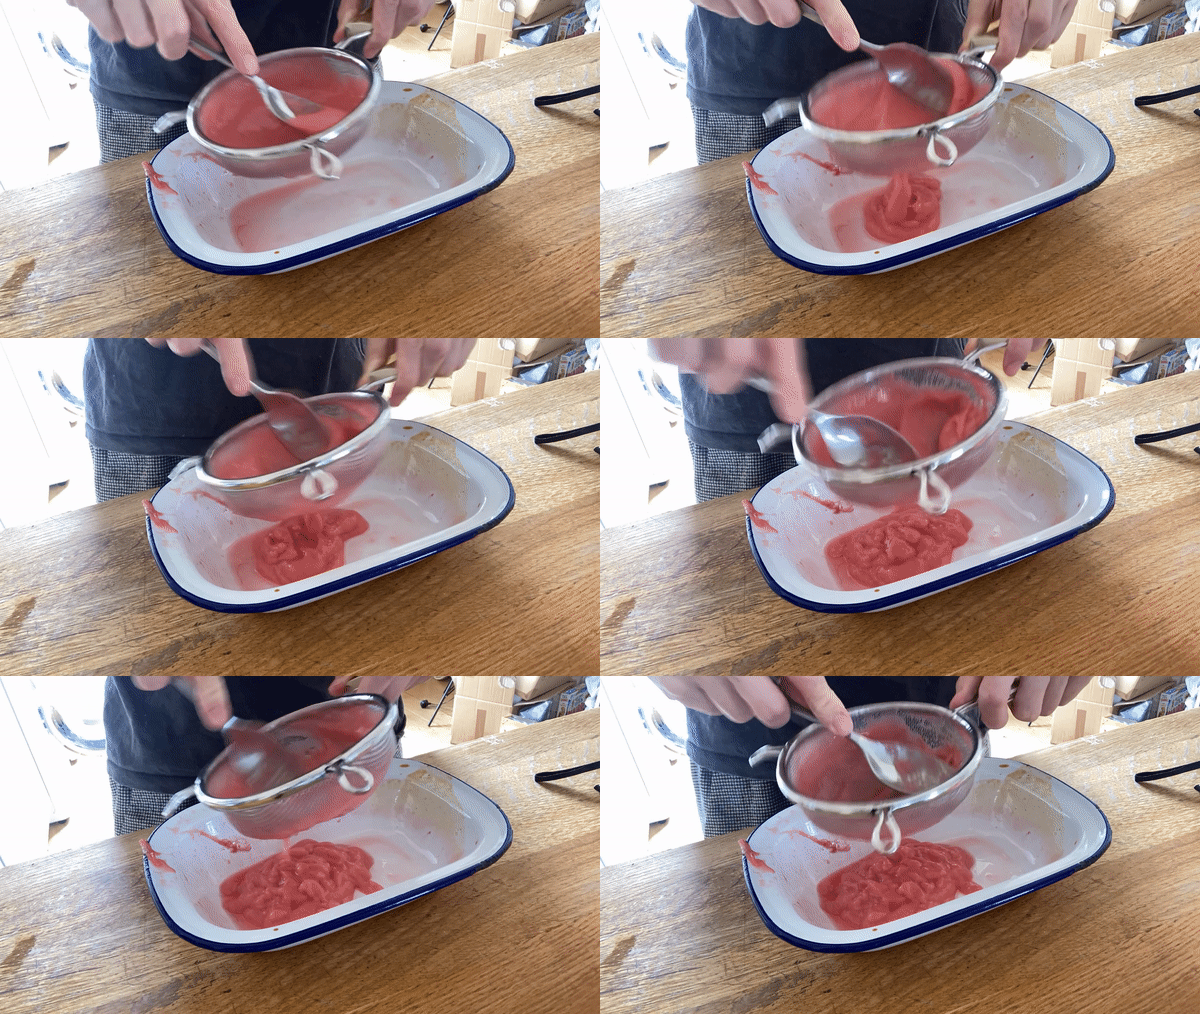
Pass it through a sieve and set aside
If you would also like to prepare some roasted rhubarb to serve alongside, cut rhubarb into whatever shape you like (I like batons!) and use 60g sugar per 200g rhubarb - keep the orange juice the same, adding in zest too if you like. For these, roast at 160c fan and continuously check for done-ness after the 10 min mark - you want to be able to *just* pierce it. There will be carry over cooking too.
Rhubarb layer
Bloom your gelatine in cold water. Blooming means soaking it until soft - it should take about 5 mins. Make sure it is all-the-way covered
Heat together the sugar, double cream and rhubarb puree. Whisk it well to ensure all the sugar is dissolved
Once it has reached simmering, whisk in your bloomed gelatine
Pour hot panna cotta mix through a sieve - you might need to press it through quite a lot to get all the rhubarb fibres through
Allow to cool to around 35-40c, stirring regularly to stop a skin from forming, then pour 35g into each mould
Leave to set. It will be completely set within 45 mins so I like to begin my vanilla layer right away
Vanilla layer
Bloom your gelatine in cold water as above
Heat together the sugar, double cream and milk with the seeds and scraped vanilla pod. Whisk it well to ensure all the sugar is dissolved
Once it has reached simmering, whisk in your bloomed gelatin
Move into a clean bowl set over a large bowl with ice (an ice bath!)
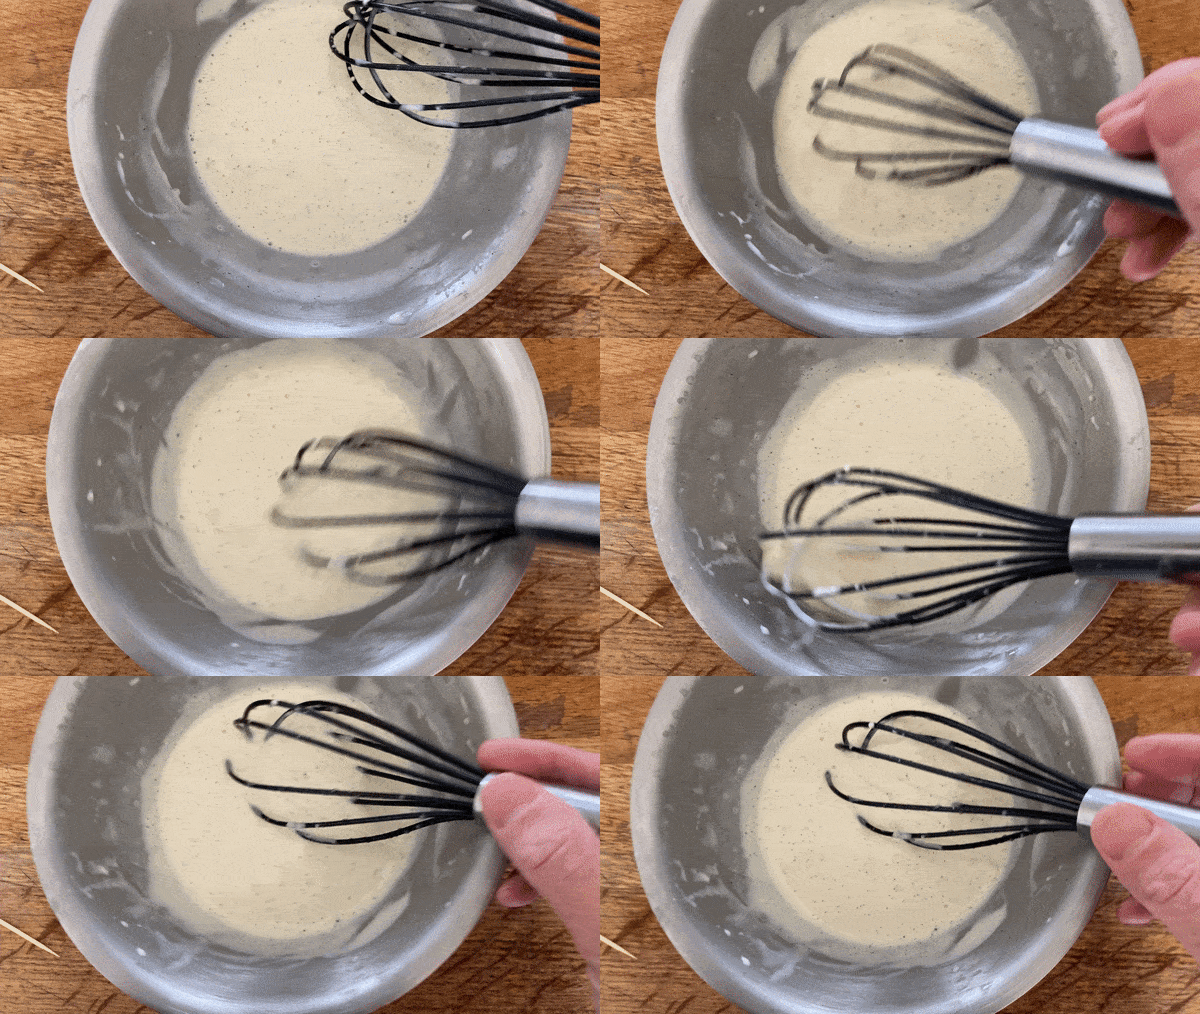
Whisk your panna cotta regularly until it begins to thicken slightly and you can see the vanilla seeds are well suspended throughout. You don’t want to introduce too much froth so just be gentle
Check the rhubarb layer - remember, you want it to be sticky still to adhere the cool vanilla layer. My rhubarb layer went into the fridge at approx 35c and after 30 mins it was perfectly tacky:
Pour 45-50g vanilla mix into each mould
Leave to set completely
Pistachio layer
Instead of rushing, we will simply cool the pistachio down to around 30c degrees which will be just enough to melt and fuse the layers together, but not too warm that it destroys the vanilla layer
Bloom your gelatine in cold water as above
Heat together the sugar, double cream and milk, whisking well to ensure all sugar is dissolved. Bring it to a simmer then whisk in your bloomed gelatine
Take off the heat and then whisk in pistachio paste. Whisk it really well to make sure it is all dissolved!
Allow to cool to 30c-35c, whisking often to ensure you don’t get a skin - this mixture needs encouraging to stay homogenous
Pour 60g into each mould - a 30-35c temp should be just warm enough to adhere the layers together
Leave to set completely. At least an hour - you be the judge. Since we have been setting each layer one by one, it should be ready fairly quickly
Demoulding and finishing
Get a bowl of warm/hot water - 55c - 60c is perfect if you want to temp it! Boiling is 1) not hand friendly and 2) just wayyyy too hot.
Gently dip the mould into the water for 5 seconds - if you move it from side to side the panna cotta will look like it has ‘come loose’ from the edges
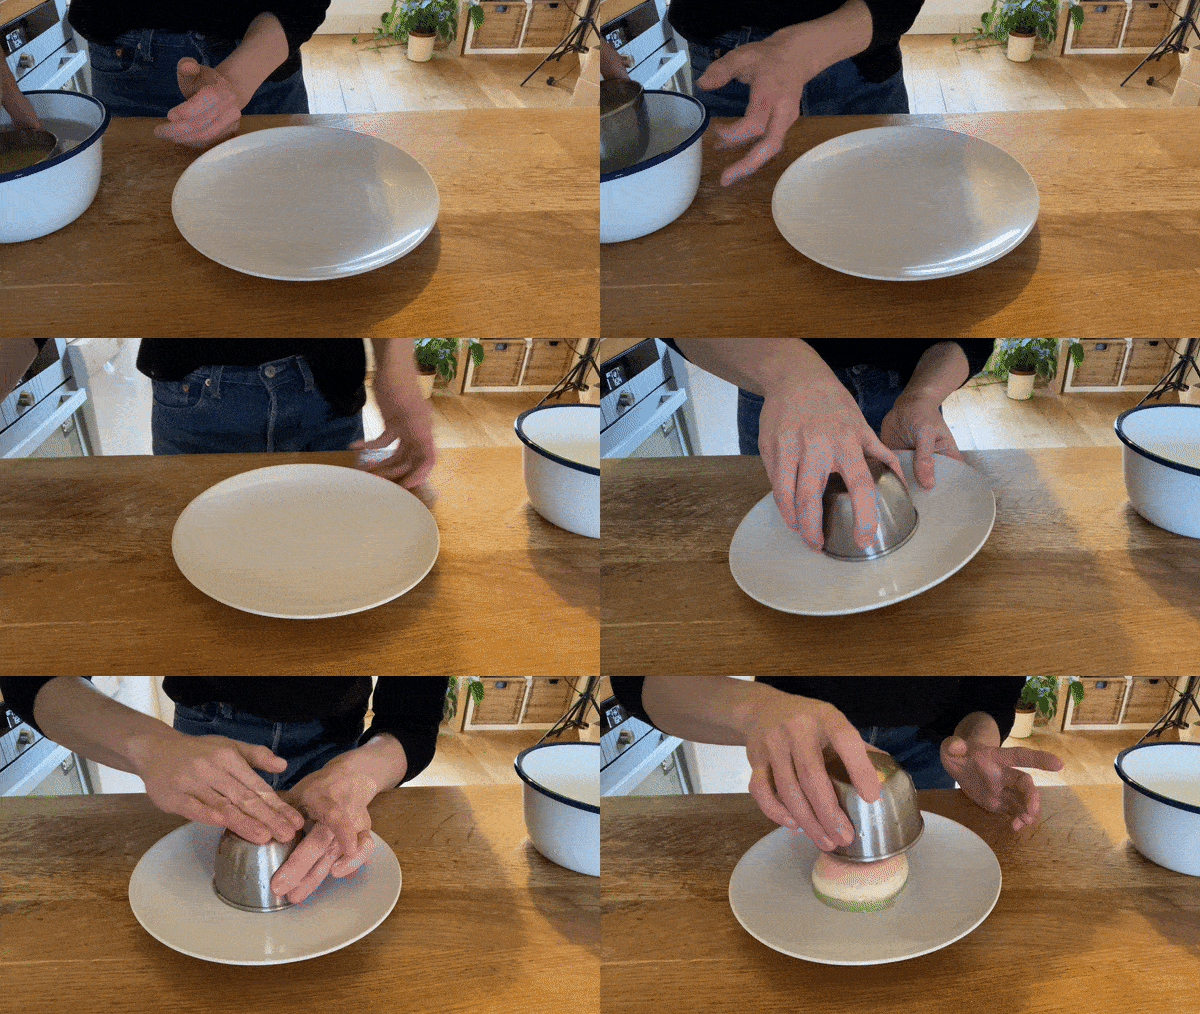
Invert onto a plate
Tap on the base to encourage the panna cotta to slide out
If it doesn’t slide out after the tapping, return to the water and repeat the steps, but this time only hold it in the water for 3 seconds or so… it doesn’t take much, promise!
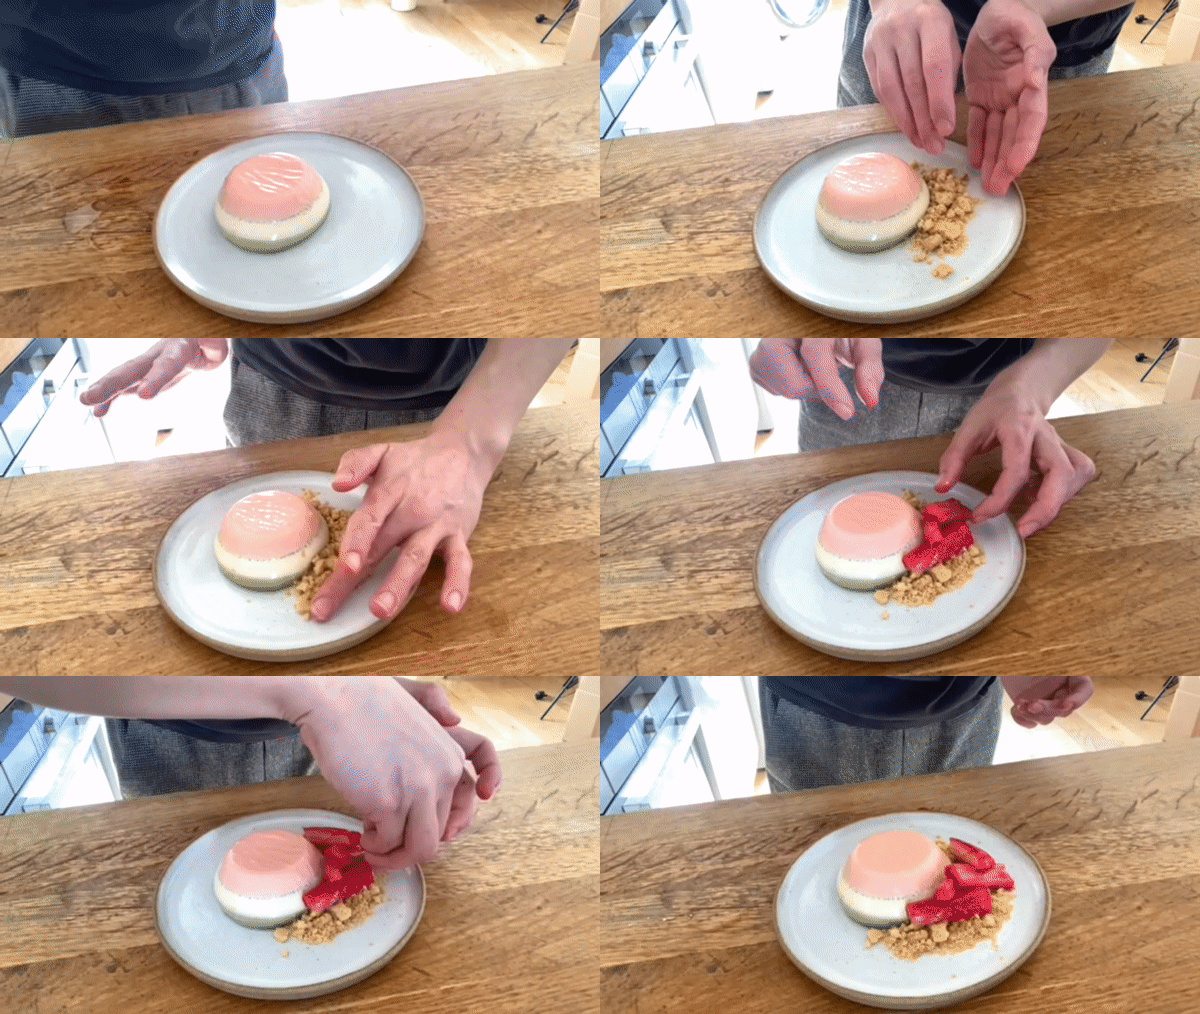
Eat as is or serve with some artfully crumbled up biscuits and roasted rhubarb
These will last in the fridge HAPPILY for 5 days and you can also freeze them for long term storage. Just defrost in the fridge before demoulding!



Hi Nicola, I only have whipping cream (36% fat) available where I live. How do I substitute this with double cream? Thanks so much~
As always, I really enjoy reading about your recipe testing process and the sciency stuff behind it. Another great read.
Thank you for the detailed gelatine explanation and testing as I always end up having to make two different halved batches of a recipe to test my gelatin.
When I saw the recipe I was a bit sad at first because of the rhubarb. Until about 5 years ago, I have never seen or heard of rhubarb, even my fairly well sourced greengrocer in Bilbao doesn't know what rhubarb is. It was only when I started buying books and reading recipes online from other countries when I learnt about rhubarb and I felt like I was missing out on a great but elusive ingredient. A few years ago, when I was studying in Madrid for a year, I walked by a really expensive greengrocer's shop everyday on my way to the library and it caught my eye. One day I decided to go in and buy some really good looking tangerines and that's when I saw a bunch of rhubarb. It was incredibly expensive but I had to buy it, I couldn't miss the opportunity. So I made a strawberry rhubarb pie since I was really into pies back then. Since I have never seen rhubarb in person or tasted it I went ahead and baked the pie to my disappointment when I took a bite, the flavour was off. My rhubarb was off. It was the most expensive dessert I have ever made and I couldn't even eat it. My time in Madrid ended two weeks later and I tried to find rhubarb in Bilbao to no avail. I resigned myself since then on my quest to find rhubarb but when I saw your recipe I had to try again. I asked my greengrocer again, I looked in different shops and nothing. I tried to search online again and I found a shop that sells frozen rhubarb but it was out of stock, my luck is amazing haha. 2 days later I get an email saying it's back in stock and here I am waiting for it to arrive today. There really needs to be a petition to make rhubarb more available and known in Spain😂.
All of this just to say I really can't wait to make this 😂. It will be my proper first time having anything rhubarb and I couldn't be more excited.